Hello, world! This is my first ITP blog post, in which I document my first lab for the Introduction to Physical Computing class!
Since this is my first time documenting a process at ITP, I (1) had to set up this blog. (Here it is!)
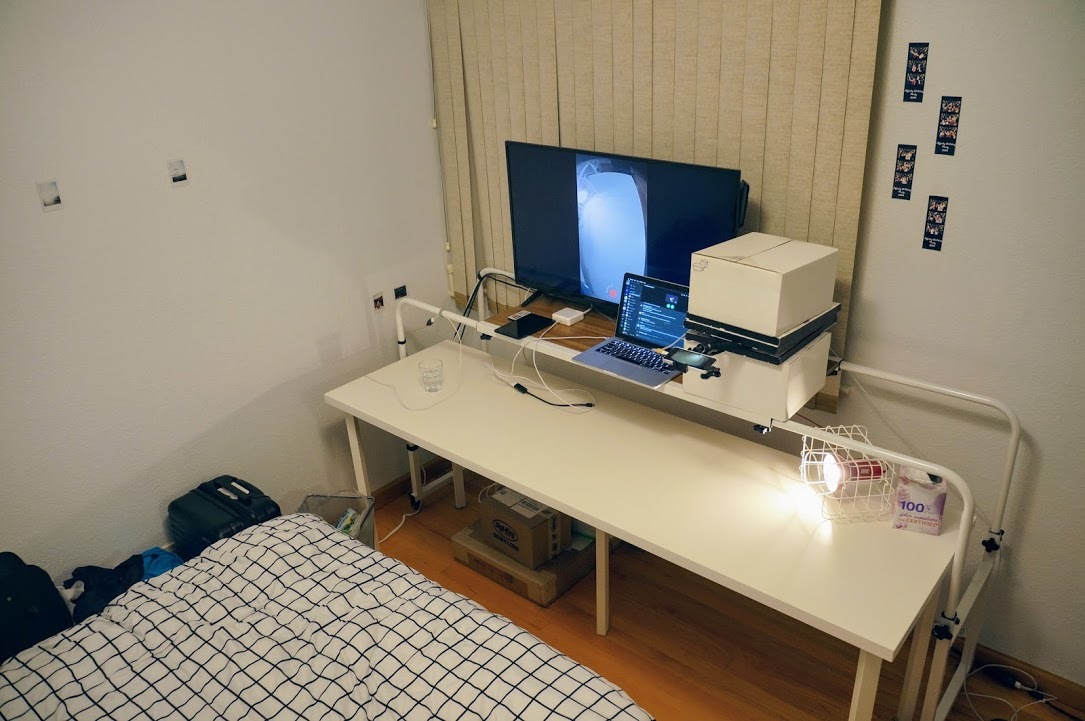
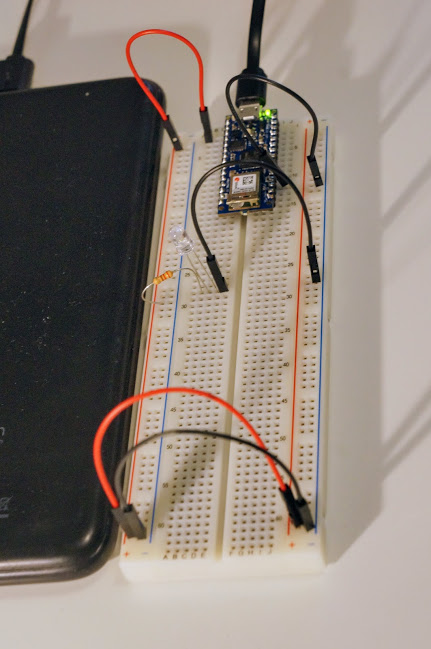
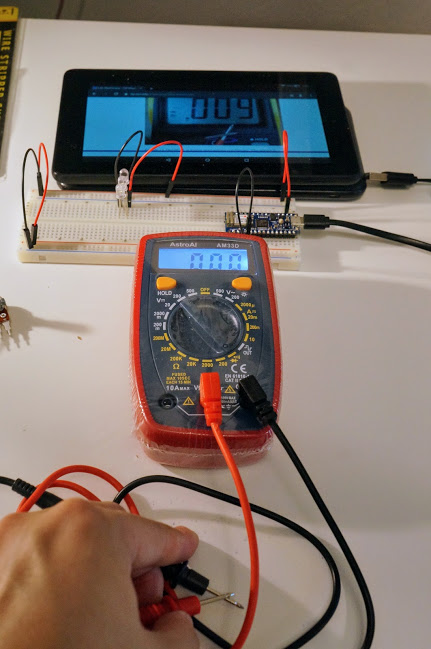
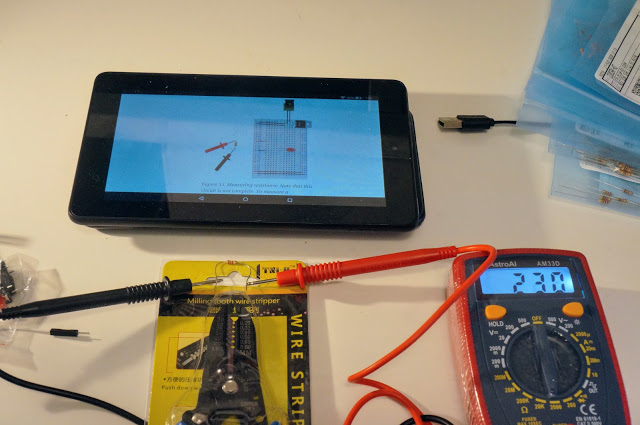
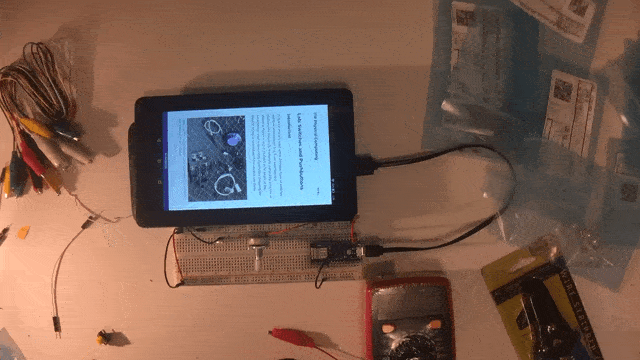
... and (2) had to create a camera setup for capturing my process. Here's what it looks like:
Before getting my hands dirty
After finishing all of these labs
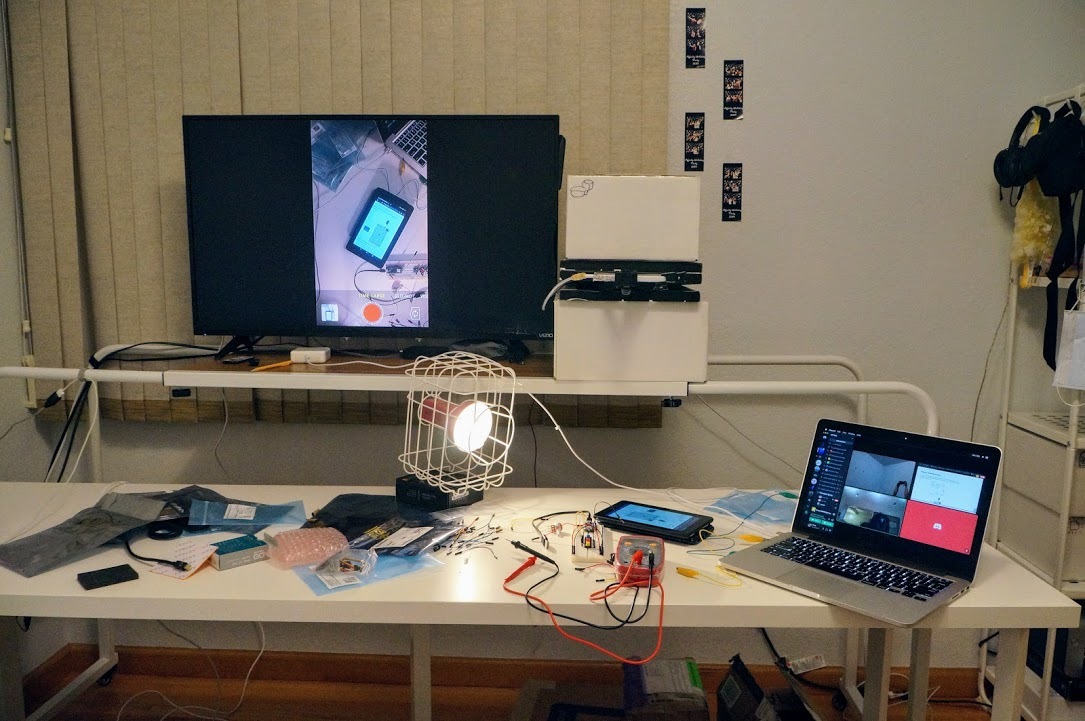
Equipment shown:
- A long table and a over-the-bed adjustable desk. I love both of these.
- An iPhone for recording a time-lapse overhead video.
- A monitor -- mine happens to be a 40" TV -- for displaying the time-lapse viewfinder.
- The phone is sort of precariously mounted onto a tripod, streaming to a Apple TV 3rd gen via AirPlay and connected to the monitor, so that it was easy to make sure my hands were always in frame. This seems complicated but I'm just making do with the equipment I have.
- A nice aesthetic light I randomly got from IKEA a few years back. It has an internal battery and charges via USB, which is quite nice.
- A Sony NEX-6 digital mirrorless camera. I couldn't use my phone to take pictures because it was recording the time-lapse videos.
None of this equipment was super expensive! I bought most of this stuff used rather than new.
And a note about the post-processing:
- The large GIFs: Taken using continuous shooting mode on the camera. Photos -> GIF conversion done using Google Photos.
- The time-lapse GIFs: Taking using time-lapse mode on the phone. Video -> GIF conversion done using a Mac app called Gifski. (I've done the conversion process before using ffmpeg but it requires finding the right args to pass to it. The app does the same thing more intuitively.)
I've had some basic EE experience before, so the labs were pretty straightforward to follow -- I mostly just followed the instructions and tried to recreate the reference photos throughout the process! I've used a 💡 to denote insight and questions I had.
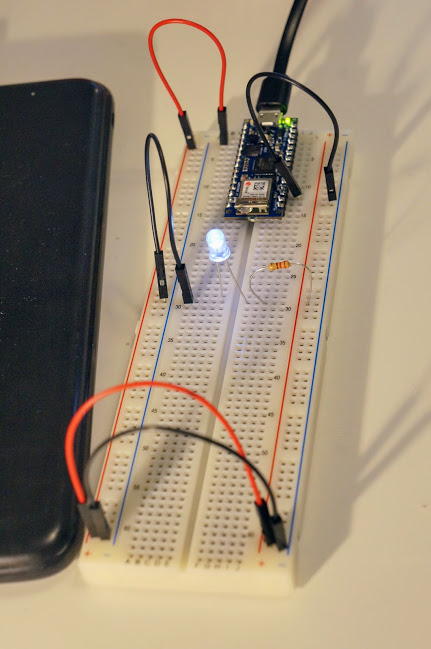
https://itp.nyu.edu/physicalcomputing/labs/breadboard/
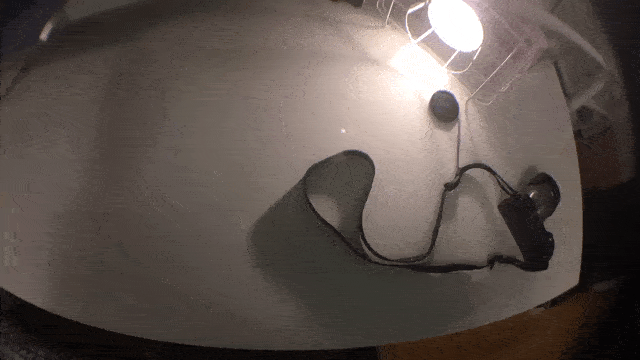
Time-lapse of me doing the entire lab
💡💡💡
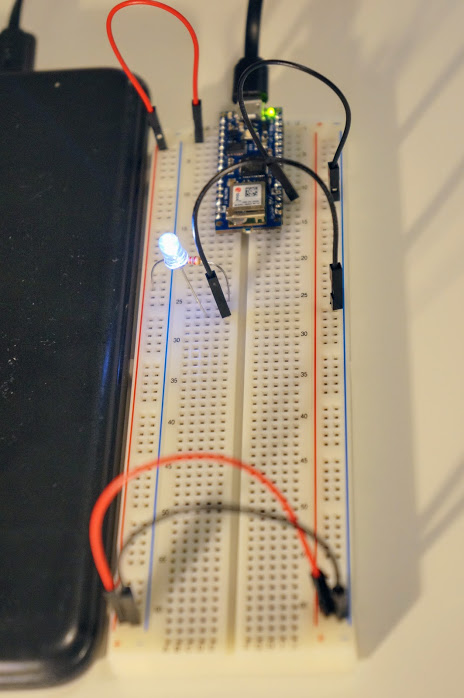
For this lab, I didn't have the listed power source. Instead, I used the
Arduino's 3V power out pin, which later labs included instructions for.
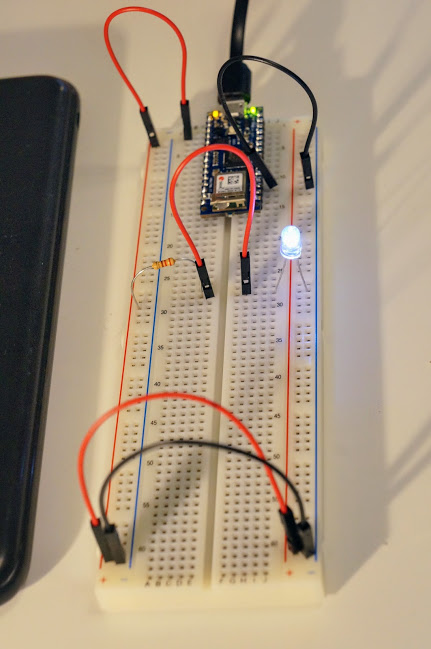
Reference
My result
Reference
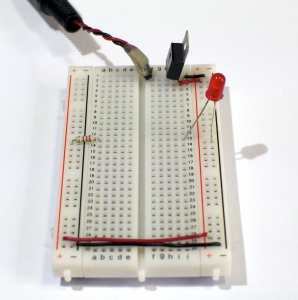
My result
Reference
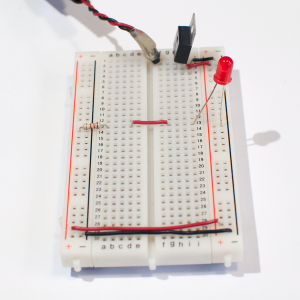
My result
Reference
My result
Reference
My result
Reference
My result
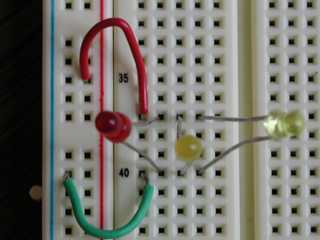
https://itp.nyu.edu/physicalcomputing/labs/electronics/
Time-lapse of me doing the entire lab
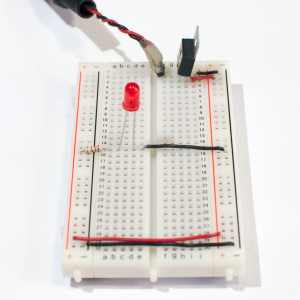
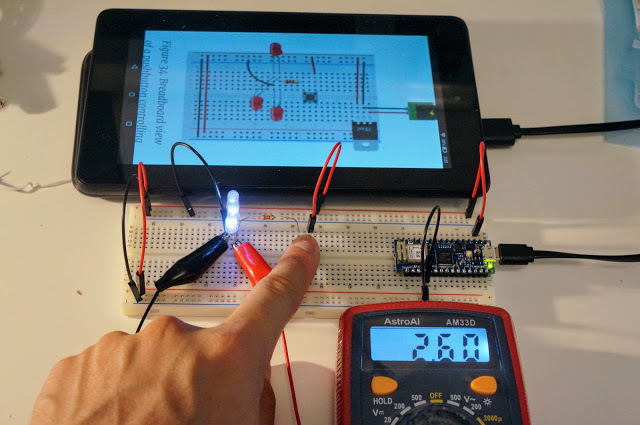
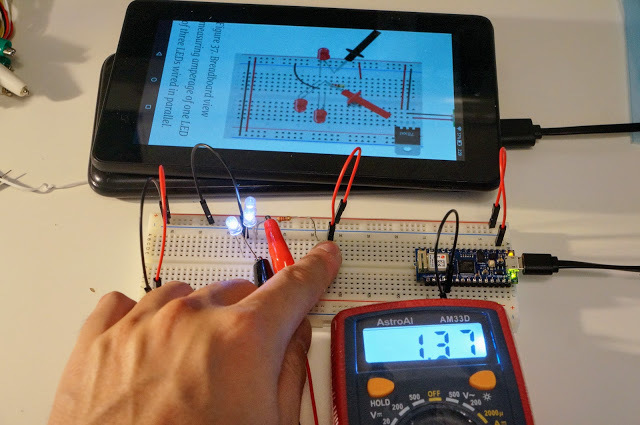
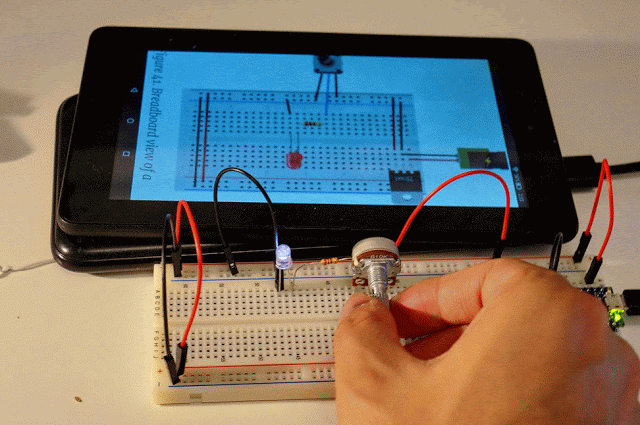
Reference
My result
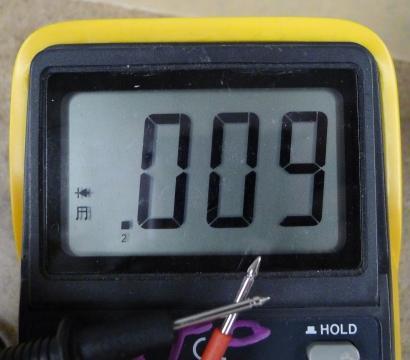
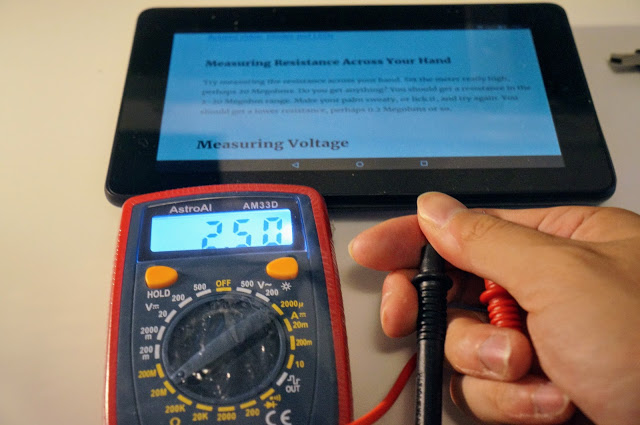
Initial reading
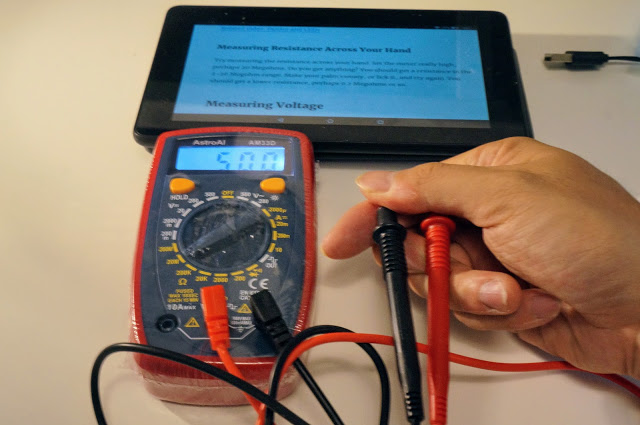
After my hand got sweaty
💡💡💡
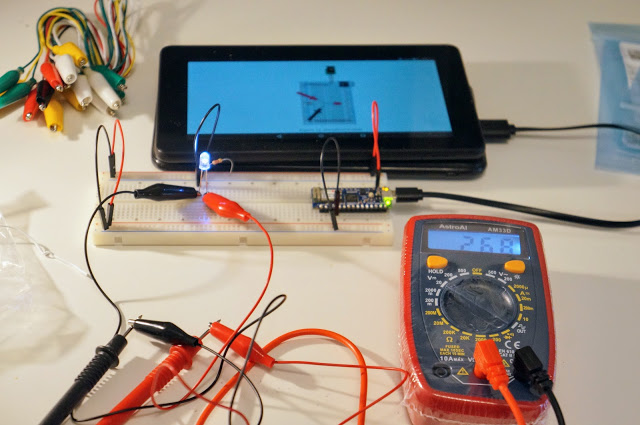
In which I discovered the convenience of alligator clips.
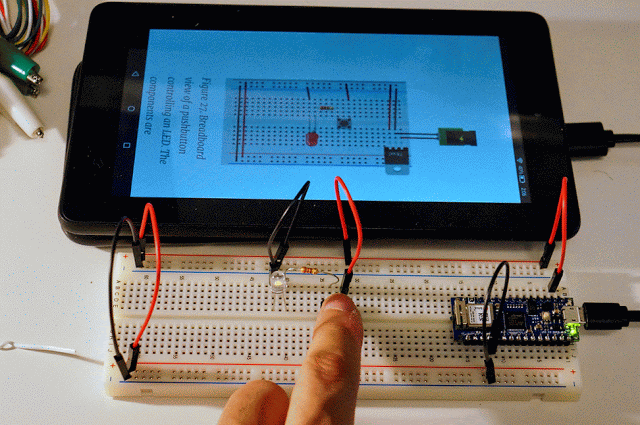
My result
My result, but with alligator clips
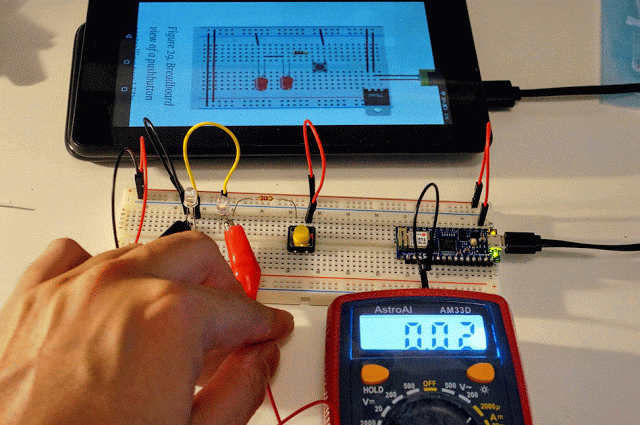
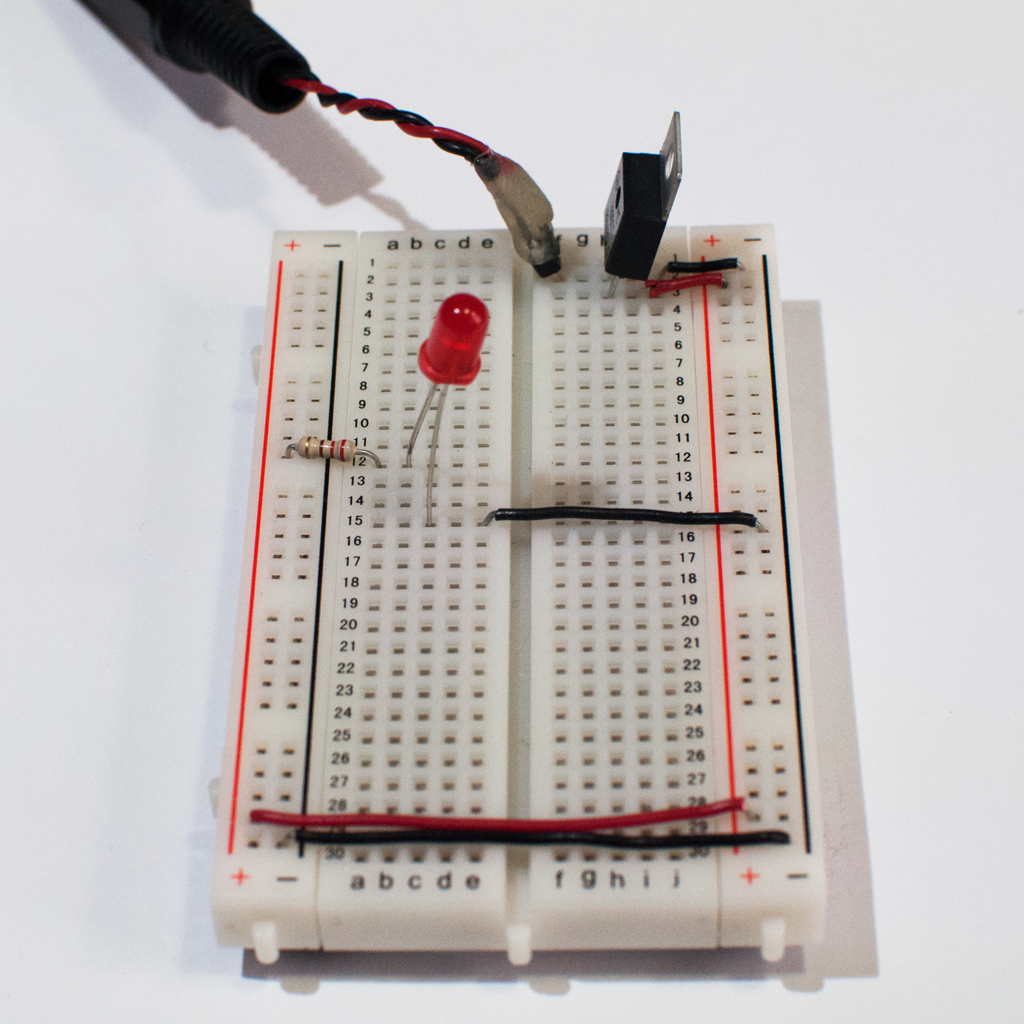
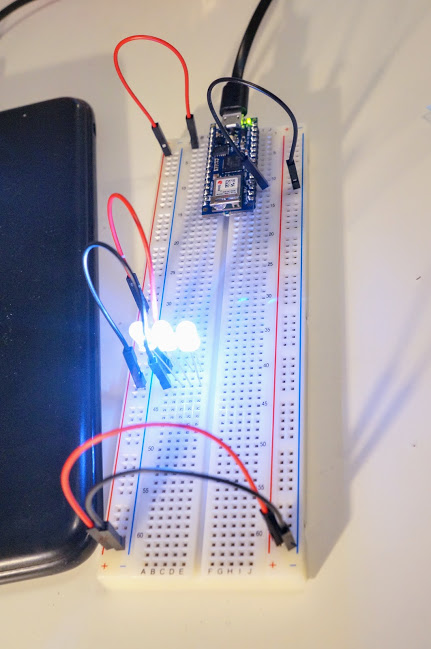
💡💡💡
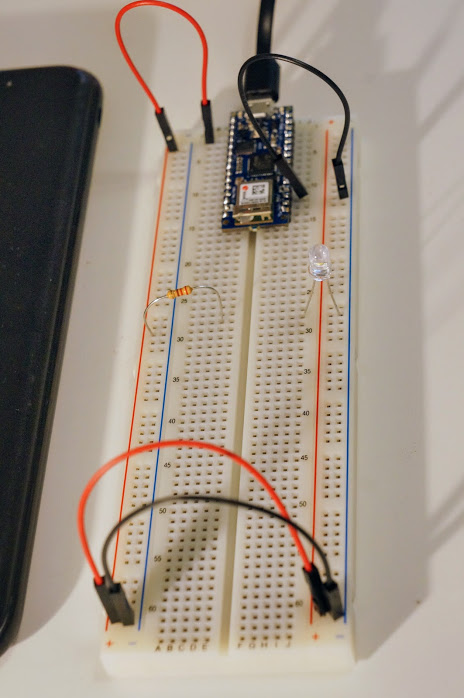
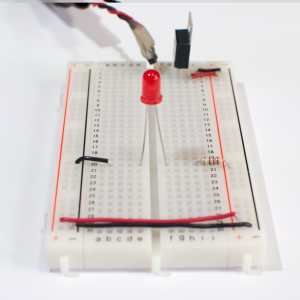
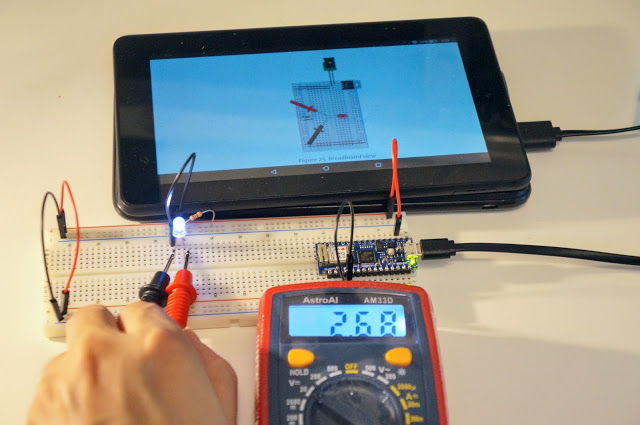
The LEDs aren't lighting up! As the lab states, the LEDs require 2V
minimum to light up. The lab assumes we're using a 5V power source
(each LED gets 2.5V), but I'm using a 3V power source and there's a
resistor attached (each LED gets less than 1.5V), so it makes sense
that the LEDs don't light up.
Reference
My result
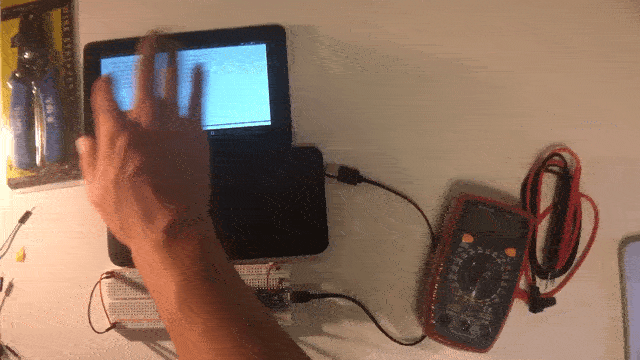
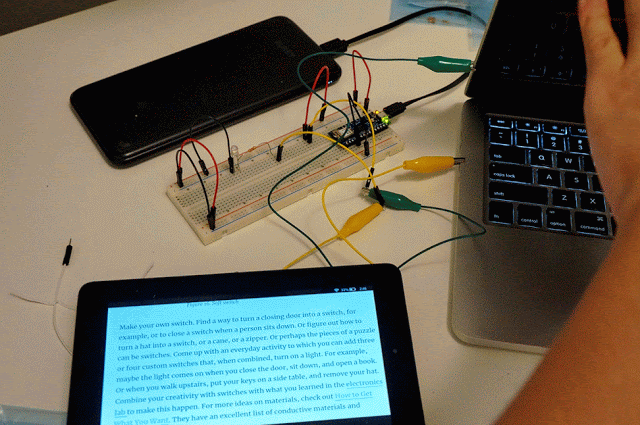
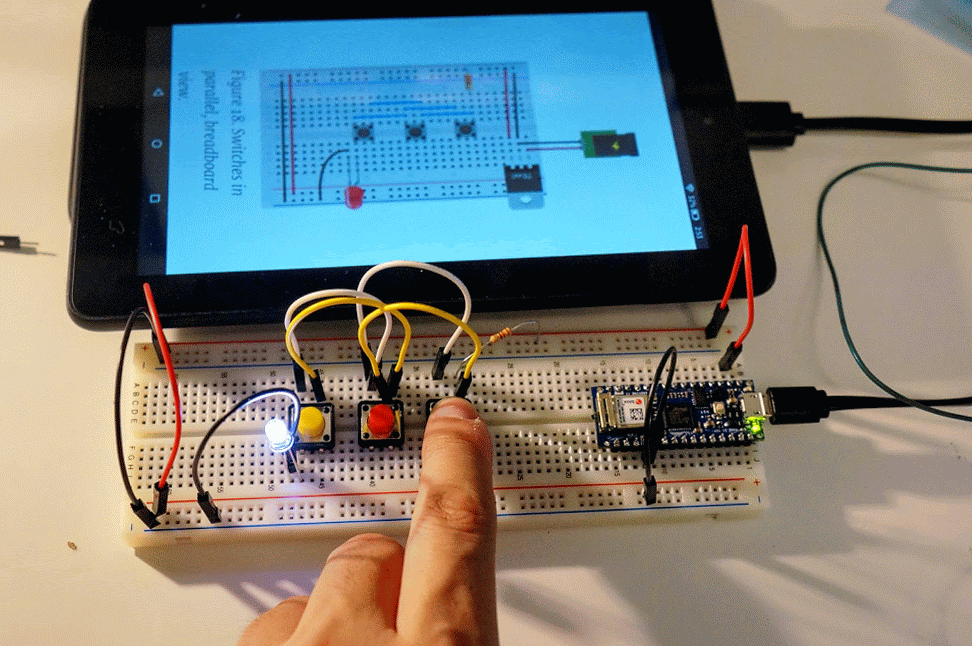
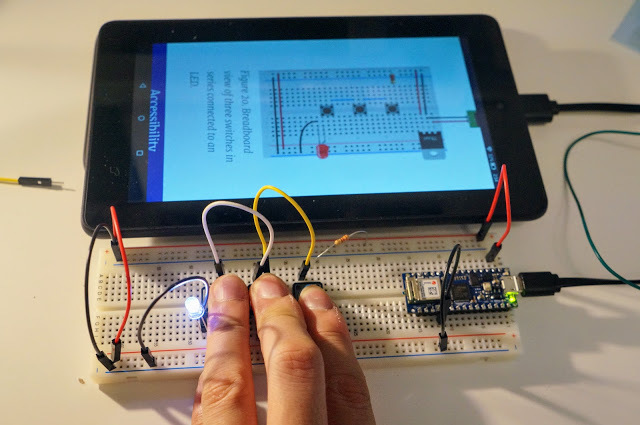
https://itp.nyu.edu/physicalcomputing/labs/switches/
Time-lapse of me doing the entire lab
I made a switch that turns on when I close my laptop lid!
💡💡💡
My initial thought was that I could use the lid as a conductor, and so
I could put the clips anywhere I wanted. It turns out that homehow the
MacBook body doesn't conduct electricity? Perhaps there's some
nonconductive coating on it. I work around that, I positioned the clips
so that they would touch when the lid was closed.
💡💡💡
I didn't do this part! This project requires motor and a dual-pole
switch, neither of which I had available.
And that's all for my first blog post!