This is my blog post for working on week 3's labs.
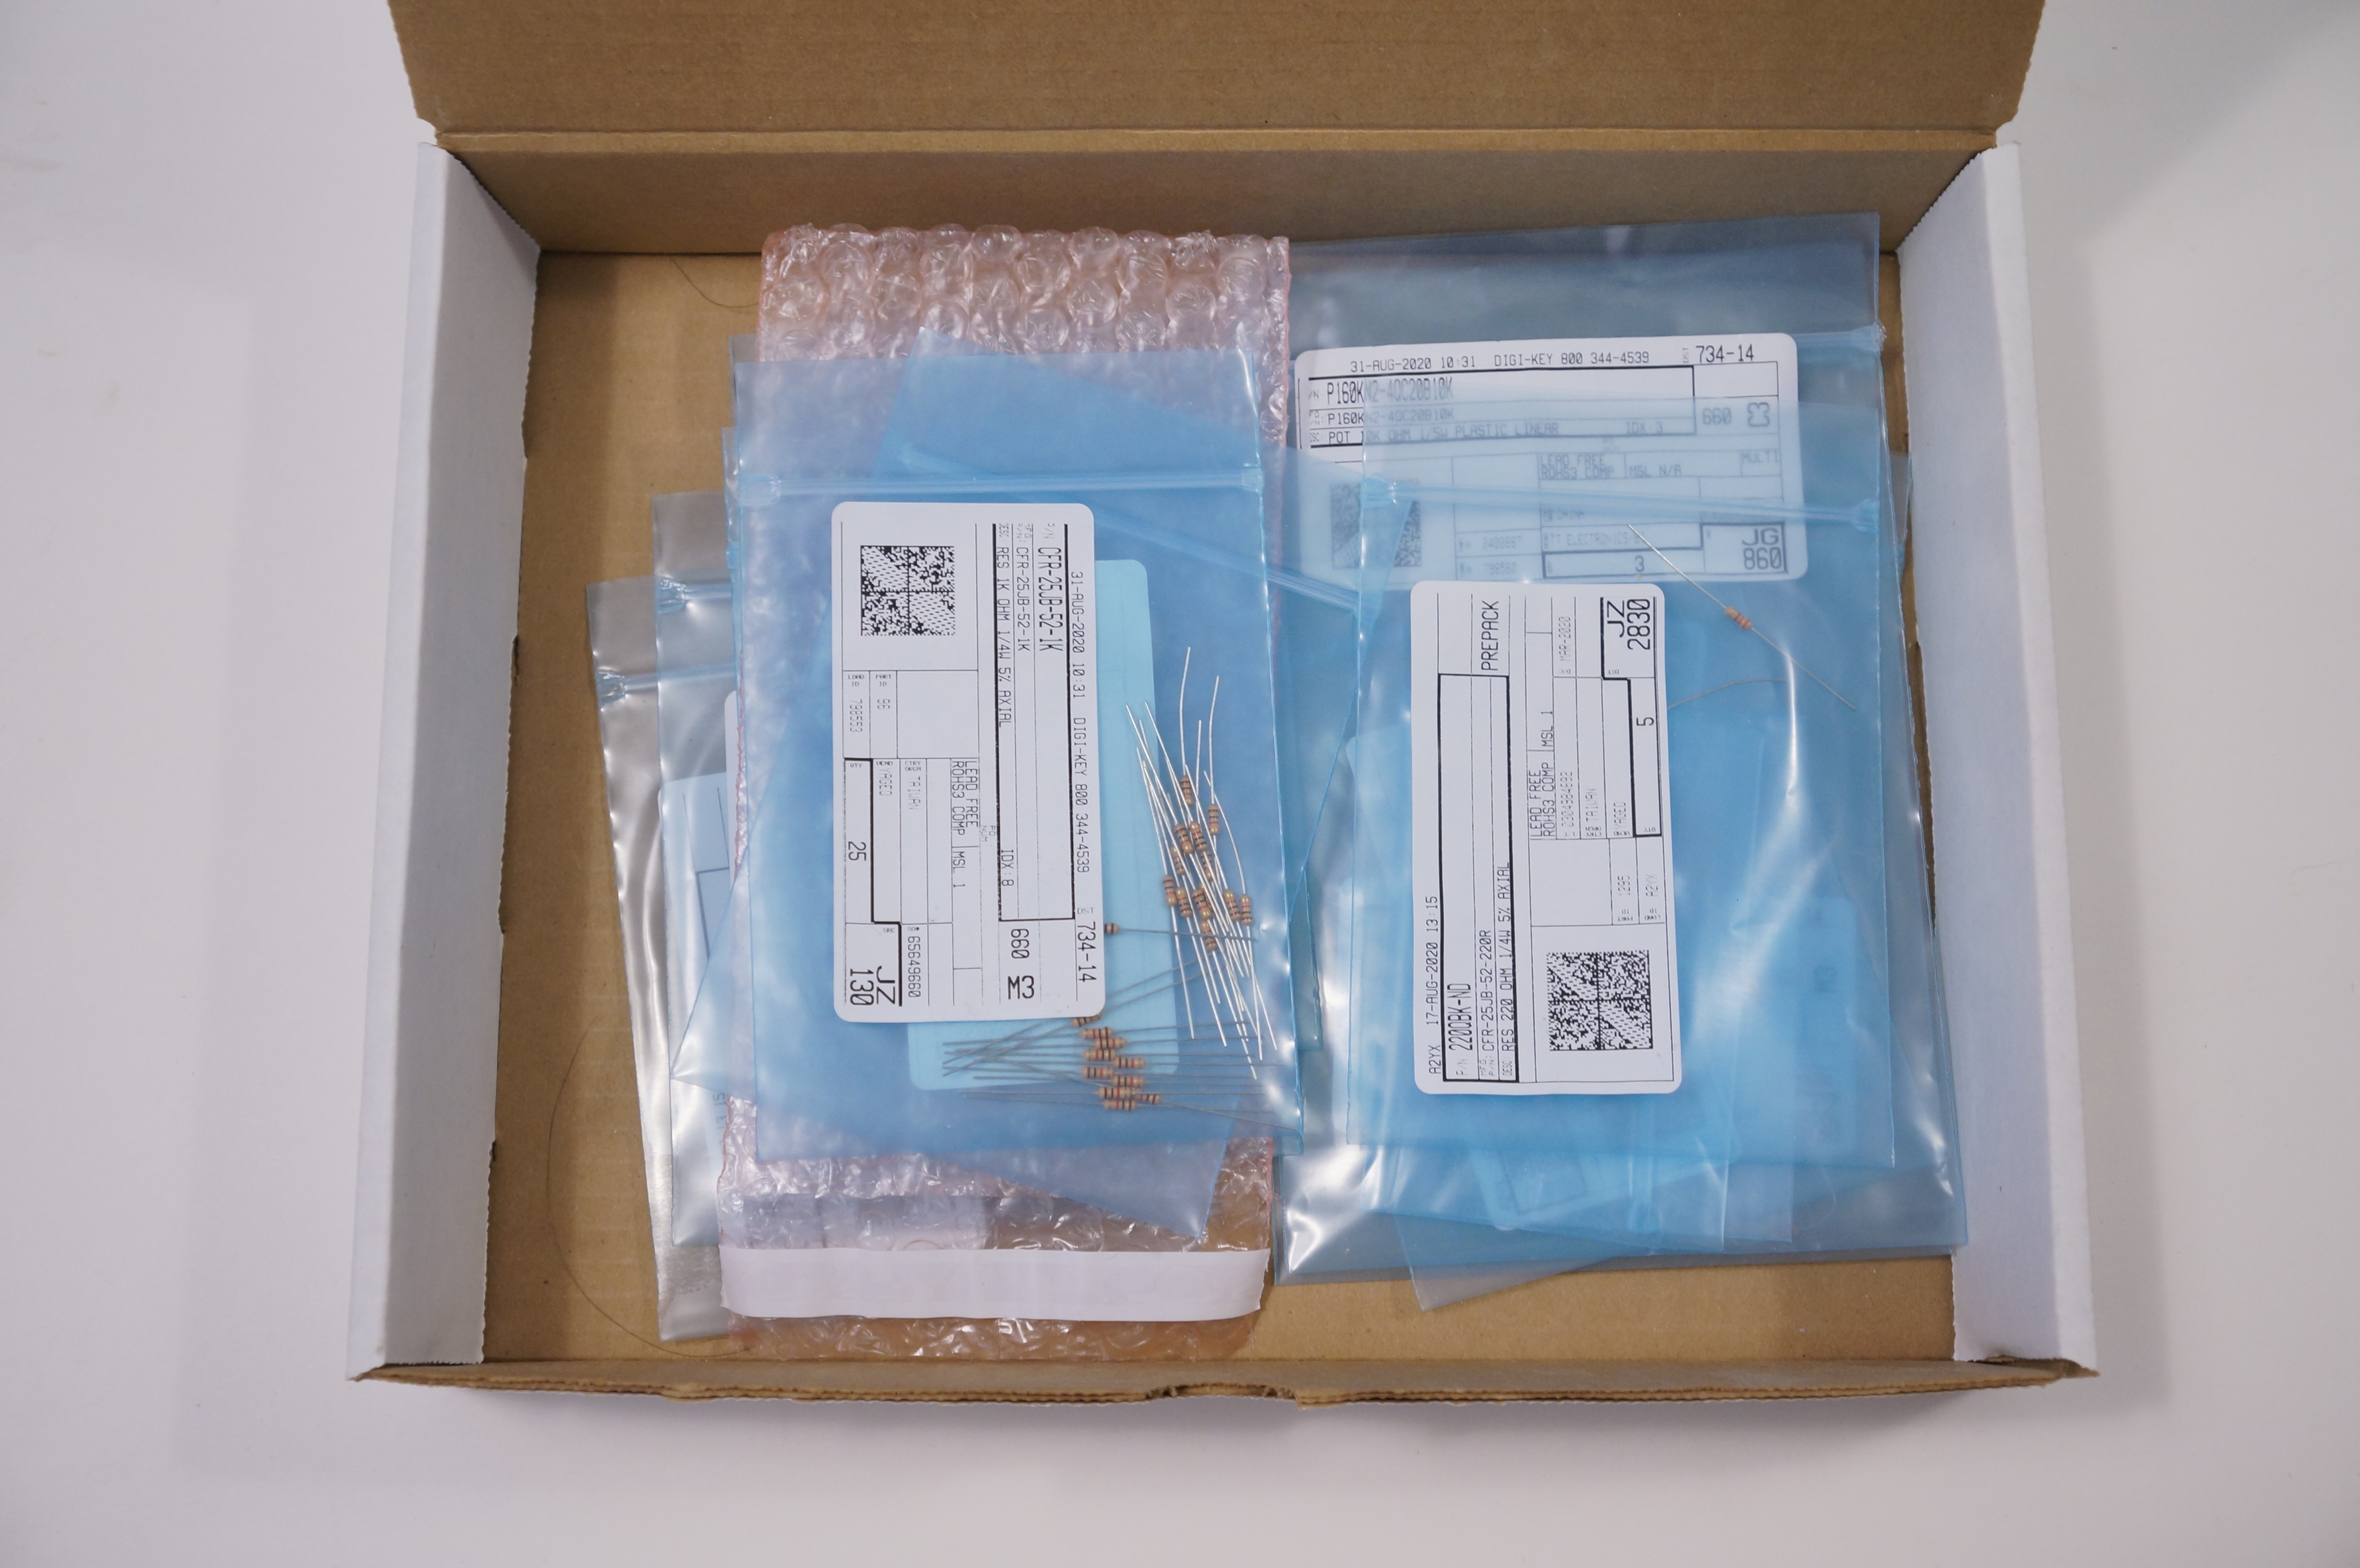
So far, I've still been storing and organizing my parts in the bags they came in. Turns out, having a lot of tiny parts in flat bags stacked on top of each other is not the best way to find things!
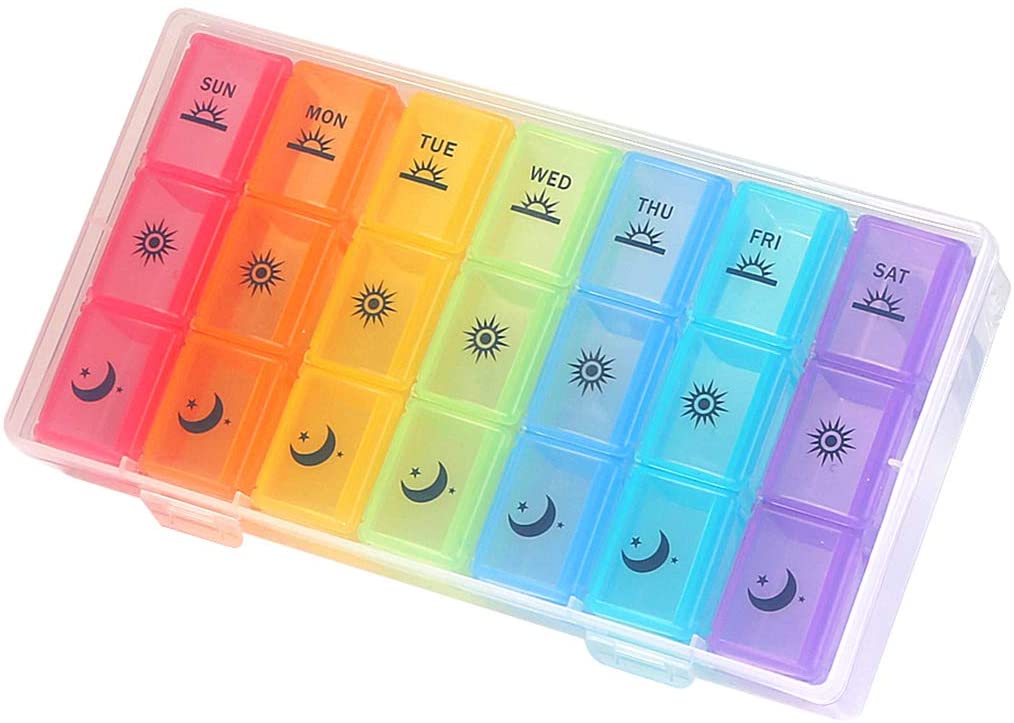
I wanted to find a container that has a lot of different subcompartments, so that I can use each one to hold a different kind of part. I was about to order something like a pill box...
...when I got hungry and made food. I made some fried rice happened to use the last egg in the carton. Lo and behold, my new organization strategy was right in front of me!
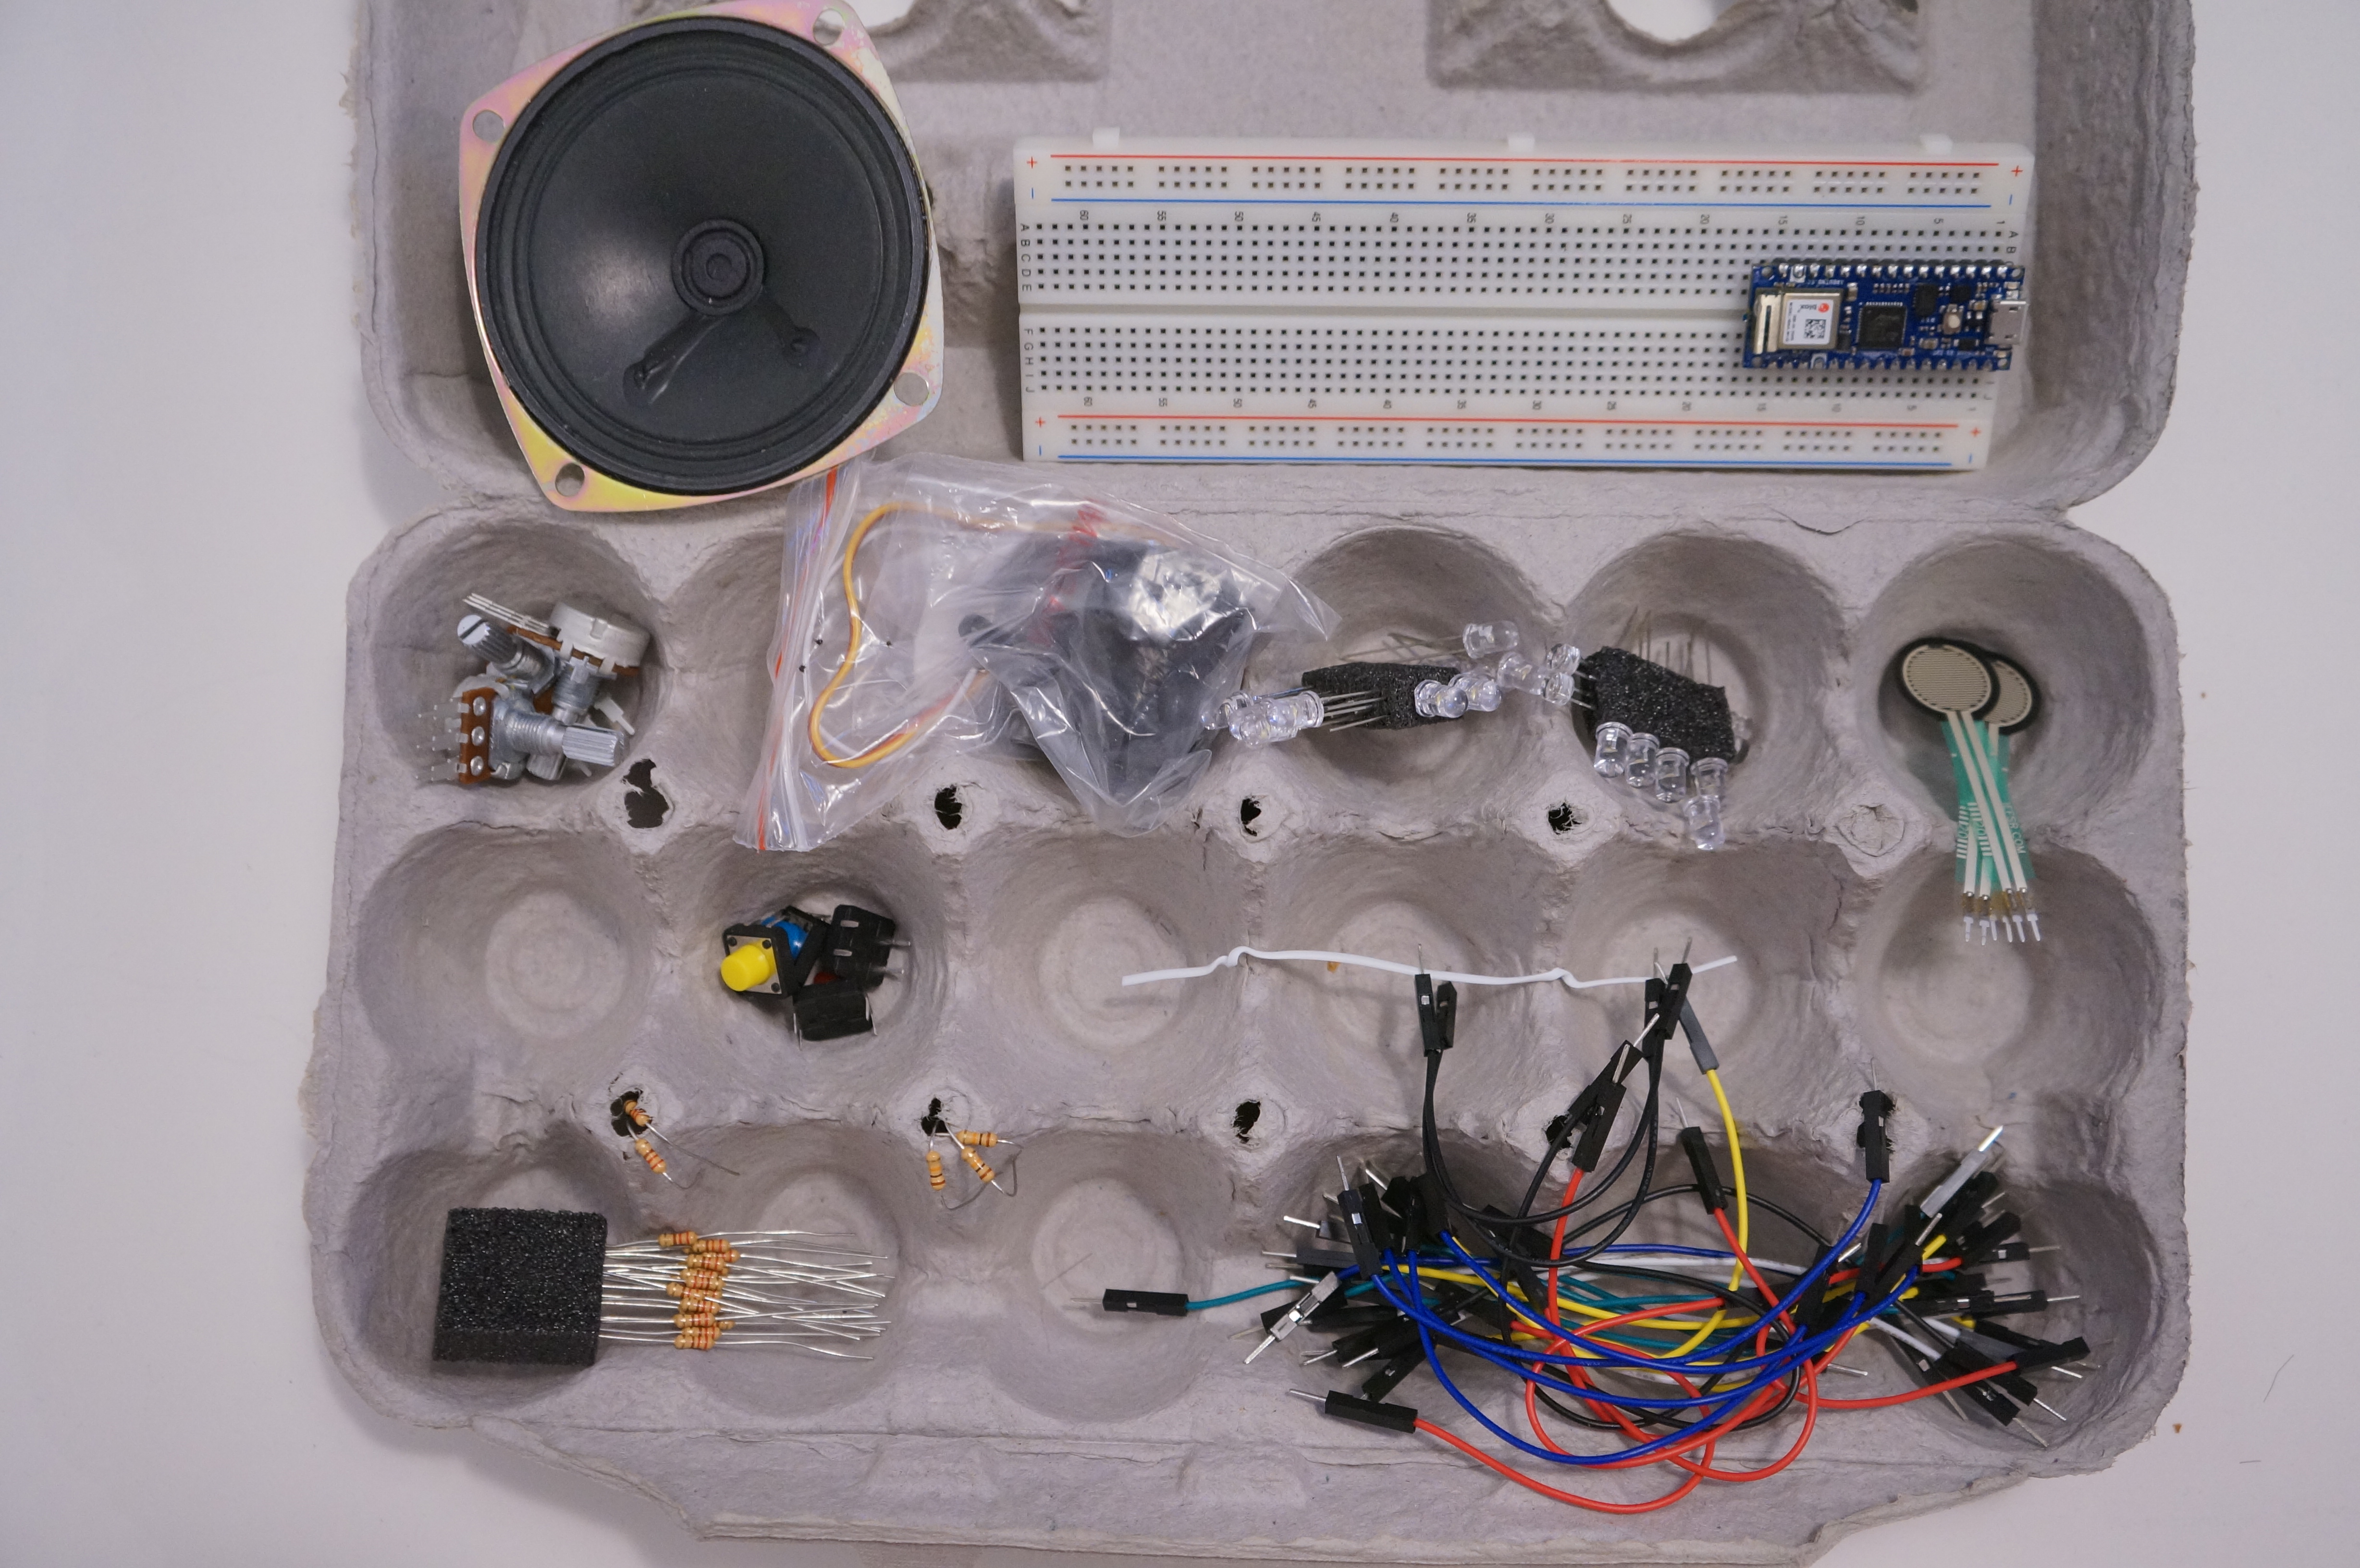
Organizing my compartments this way ended up saving me a lot of time, frustration, and eyestrain compared to last week's lab -- I'd highly recommend it!
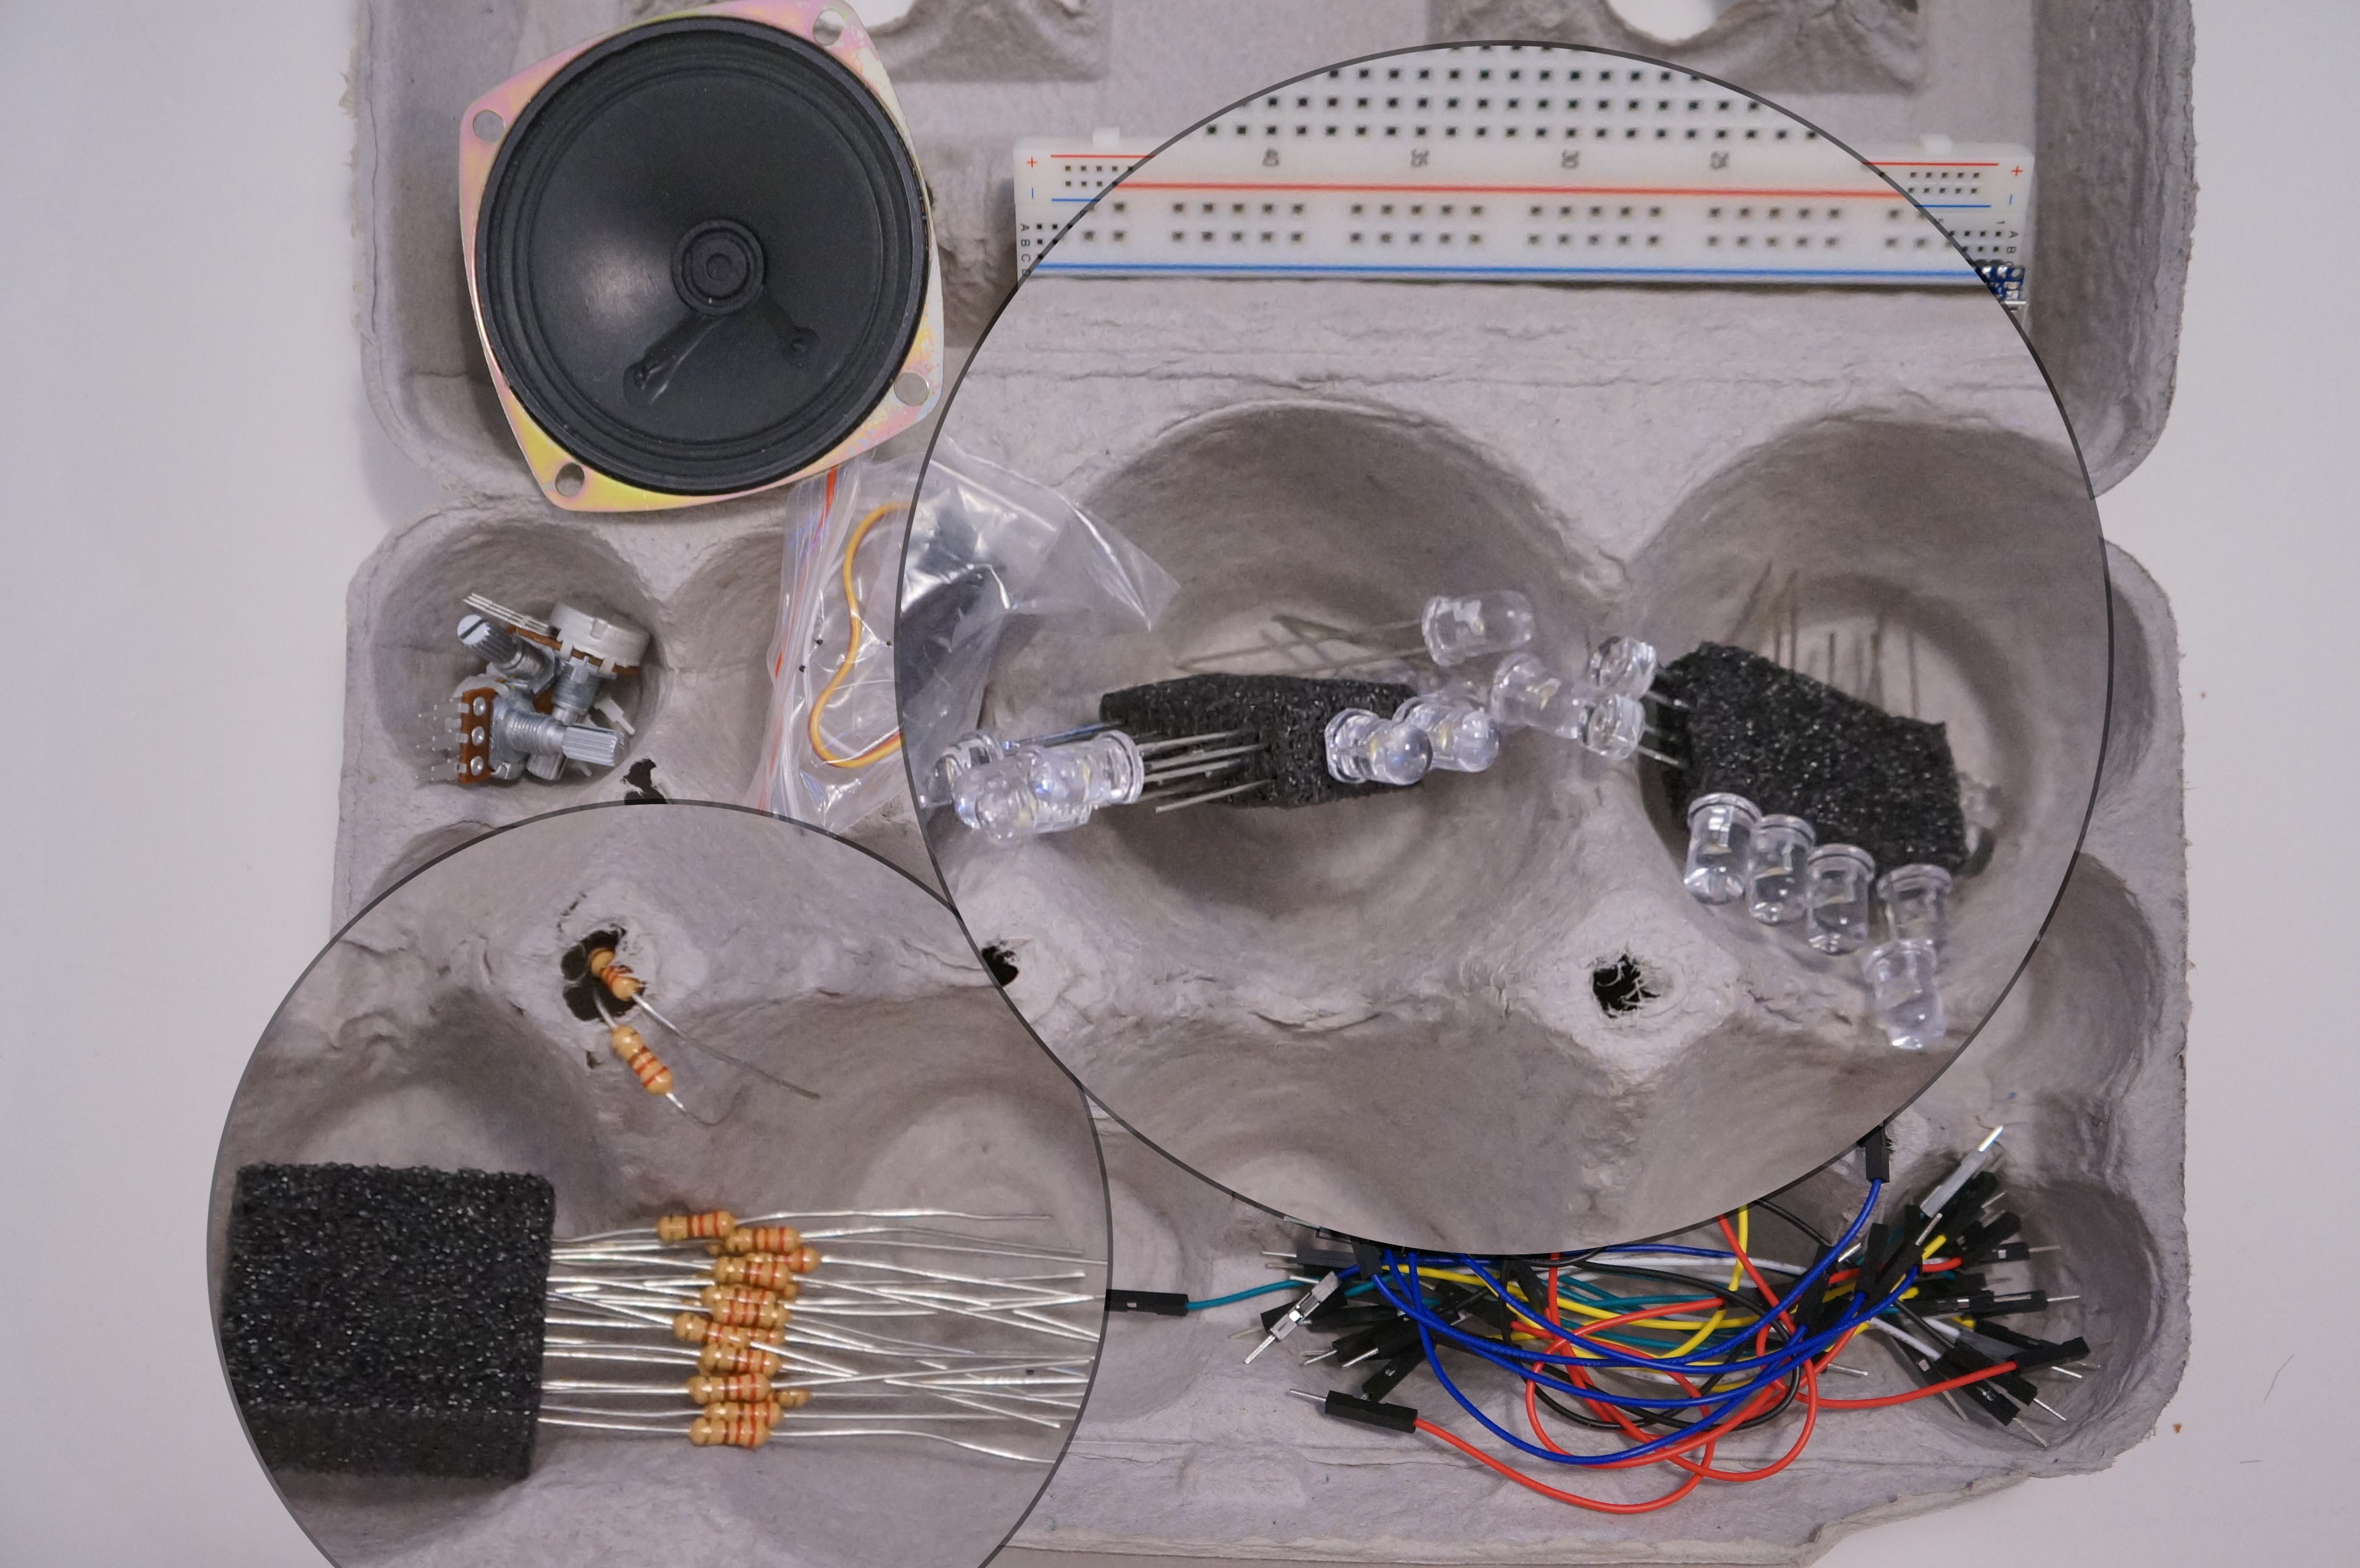
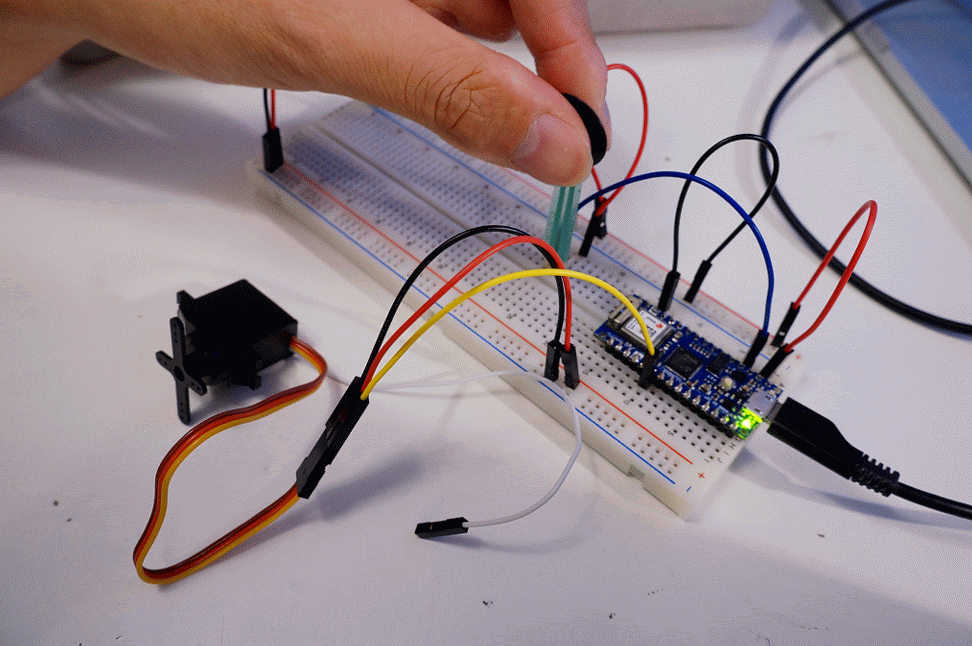
Note that the resistors and LEDs are pushed into foam blocks. This way they'll stay together even if the container gets jostled! I used the foam that came with the Arduino.
https://itp.nyu.edu/physcomp/labs/labs-arduino-digital-and-analog/tone-output-using-an-arduino/
Code
void setup() {  //
  // tone(8, 440, 10000);
}

void loop() {
  // get a sensor reading:
  int sensorReading = analogRead(A0);
  debugInt(sensorReading, " ; ");

  // map the results from the sensor reading's range
  // to the desired pitch range:
  float frequency = map(sensorReading, 0, 950, 300, 800);
  if (frequency < 0) frequency = 0;
  debugInt(frequency, " ; ");
  // change the pitch, play for 10 ms:
  Serial.print("\n");
  tone(8, frequency, 300);
  delay(300);
}
I found that using Serial.println to log multiple lines
gets pretty hard to read because of the fast-scrolling input, so I
created debugInt to help with that.
Code
#define debugInt(varname, suffix) \
    Serial.print(#varname);         \
    Serial.print(" = ");            \
    printLpad((varname), 3);        \
    Serial.print((suffix));

  void printLpad(int x, int length) {
    int digits = x == 0 ? 1 : floor(log10(abs(x))) + 1;
    for (int i = digits; i < length; i++) {
      Serial.print(" ");
    }
    Serial.print(x);
  }
How it's used:
void loop() {
  int sensorReading = ...
  debugInt(sensorReading, " ; ");

  int frequency = ...;
  debugInt(frequency, "\n");
}
The output looks like:
sensorReading =   0; frequency = 300
sensorReading = 603; frequency = 617
sensorReading = 877; frequency = 761
sensorReading = 923; frequency = 785
sensorReading = 159; frequency = 383
sensorReading =  35; frequency = 318
sensorReading = 773; frequency = 706
sensorReading = 914; frequency = 781
sensorReading =   5; frequency = 302
sensorReading = 720; frequency = 678
sensorReading = 916; frequency = 782
Super aligned and easy-to-read!
Code
#include "pitches.h"

  // notes in the melody:
  int melody[] = {NOTE_C4, NOTE_G3, NOTE_G3, NOTE_GS3,
                  NOTE_G3, 0,       NOTE_B3, NOTE_C4};

  // note durations: 4 = quarter note, 8 = eighth note, etc.:
  int noteDurations[] = {4, 8, 8, 4, 4, 4, 4, 4};

  void setup() {}

  void loop() {
    // iterate over the notes of the melody:
    for (int thisNote = 0; thisNote < 8; thisNote++) {
      // to calculate the note duration, take one second
      // divided by the note type.
      // e.g. quarter note = 1000 / 4, eighth note = 1000/8, etc.
      int noteDuration = 1000 / noteDurations[thisNote];
      tone(8, melody[thisNote], noteDuration);

      // pause for the note's duration plus 30 ms:
      delay(noteDuration + 30);
    }
  }
Modifications from the given code: none.
Code
#include "pitches.h"

// minimum reading of the sensors that generates a note
const int threshold = 100;
const int speakerPin = 8;      // pin number for the speaker
const int noteDuration = 300;  // play notes for 20 ms

// notes to play, corresponding to the 3 sensors:
int notes[] = {NOTE_A4, NOTE_B4, NOTE_C5};

void setup() {}

void loop() {
  for (int thisSensor = 0; thisSensor < 3; thisSensor++) {
    // get a sensor reading:
    int sensorReading = analogRead(thisSensor);

    // if the sensor is pressed hard enough:
    if (sensorReading > threshold) {
      // play the note corresponding to this sensor:
      tone(speakerPin, notes[thisSensor], noteDuration);
    }
  }
  delay(noteDuration);
}
Modifications from the given code:
-
Increased
threshold:10->100 -
The given code did not play a continuous tone -- it would click continuously as each call to
tone()overrode the previous call totone(). These two changes largely mitigated the problem.-
Increased
noteDuration:20->300. -
Added
delay(noteDuration);at the end ofloop(). (tone()appears to play the tone asynchronously, so we should add a slightly long delay to reduce the amount of clicking.)
-
Increased
Code
#include "Servo.h"  // include the servo library

Servo servoMotor;  // creates an instance of the servo object to control a servo
int servoPin = 3;  // Control pin for servo motor

void setup() {
  Serial.begin(9600);  // initialize serial communications
  // attaches the servo on pin 3 to the servo object
  servoMotor.attach(servoPin);
}

void loop() {
  int analogValue = analogRead(A0);  // read the analog input
  Serial.println(analogValue);       // print it

  // if your sensor's range is less than 0 to 1023, you'll need to
  // modify the map() function to use the values you discovered:
  int servoAngle = map(analogValue, 0, 1023, 0, 179);

  // move the servo using the angle from the sensor:
  servoMotor.write(servoAngle);
  }