The first half of the idea for my final project comes what I considered at the time a minor detail in the buildout of my Project 2.
Here it is:
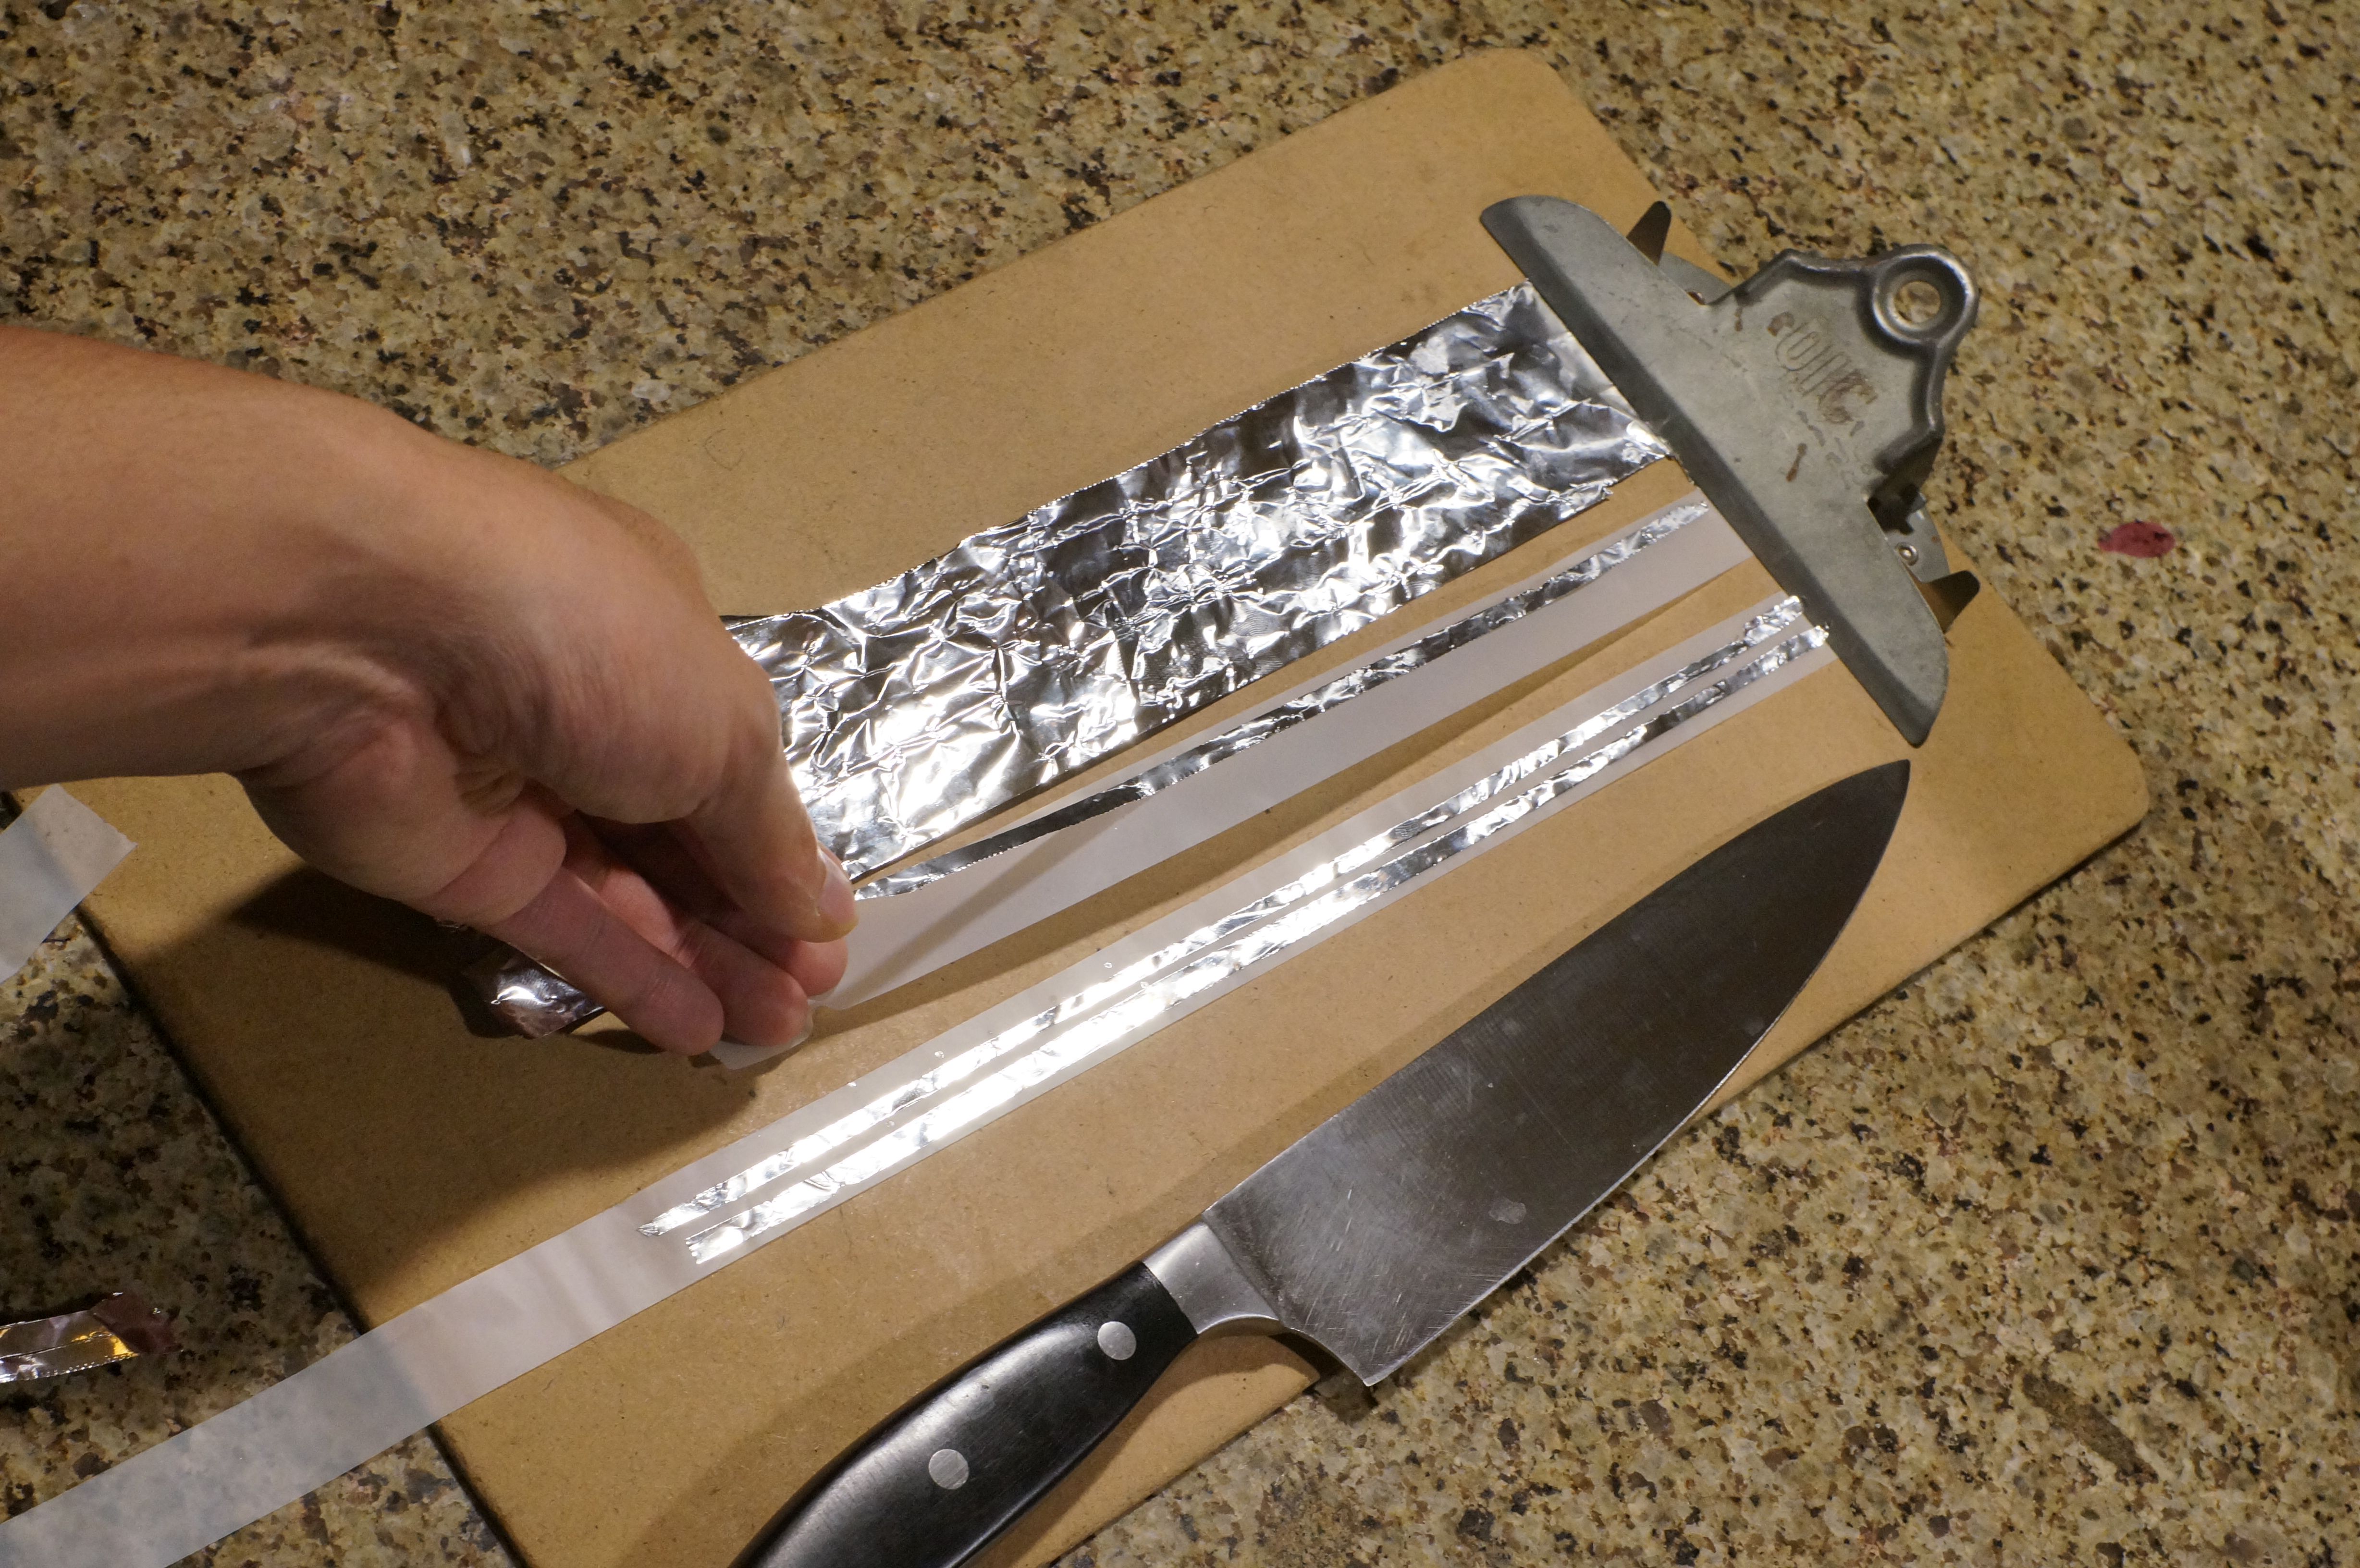
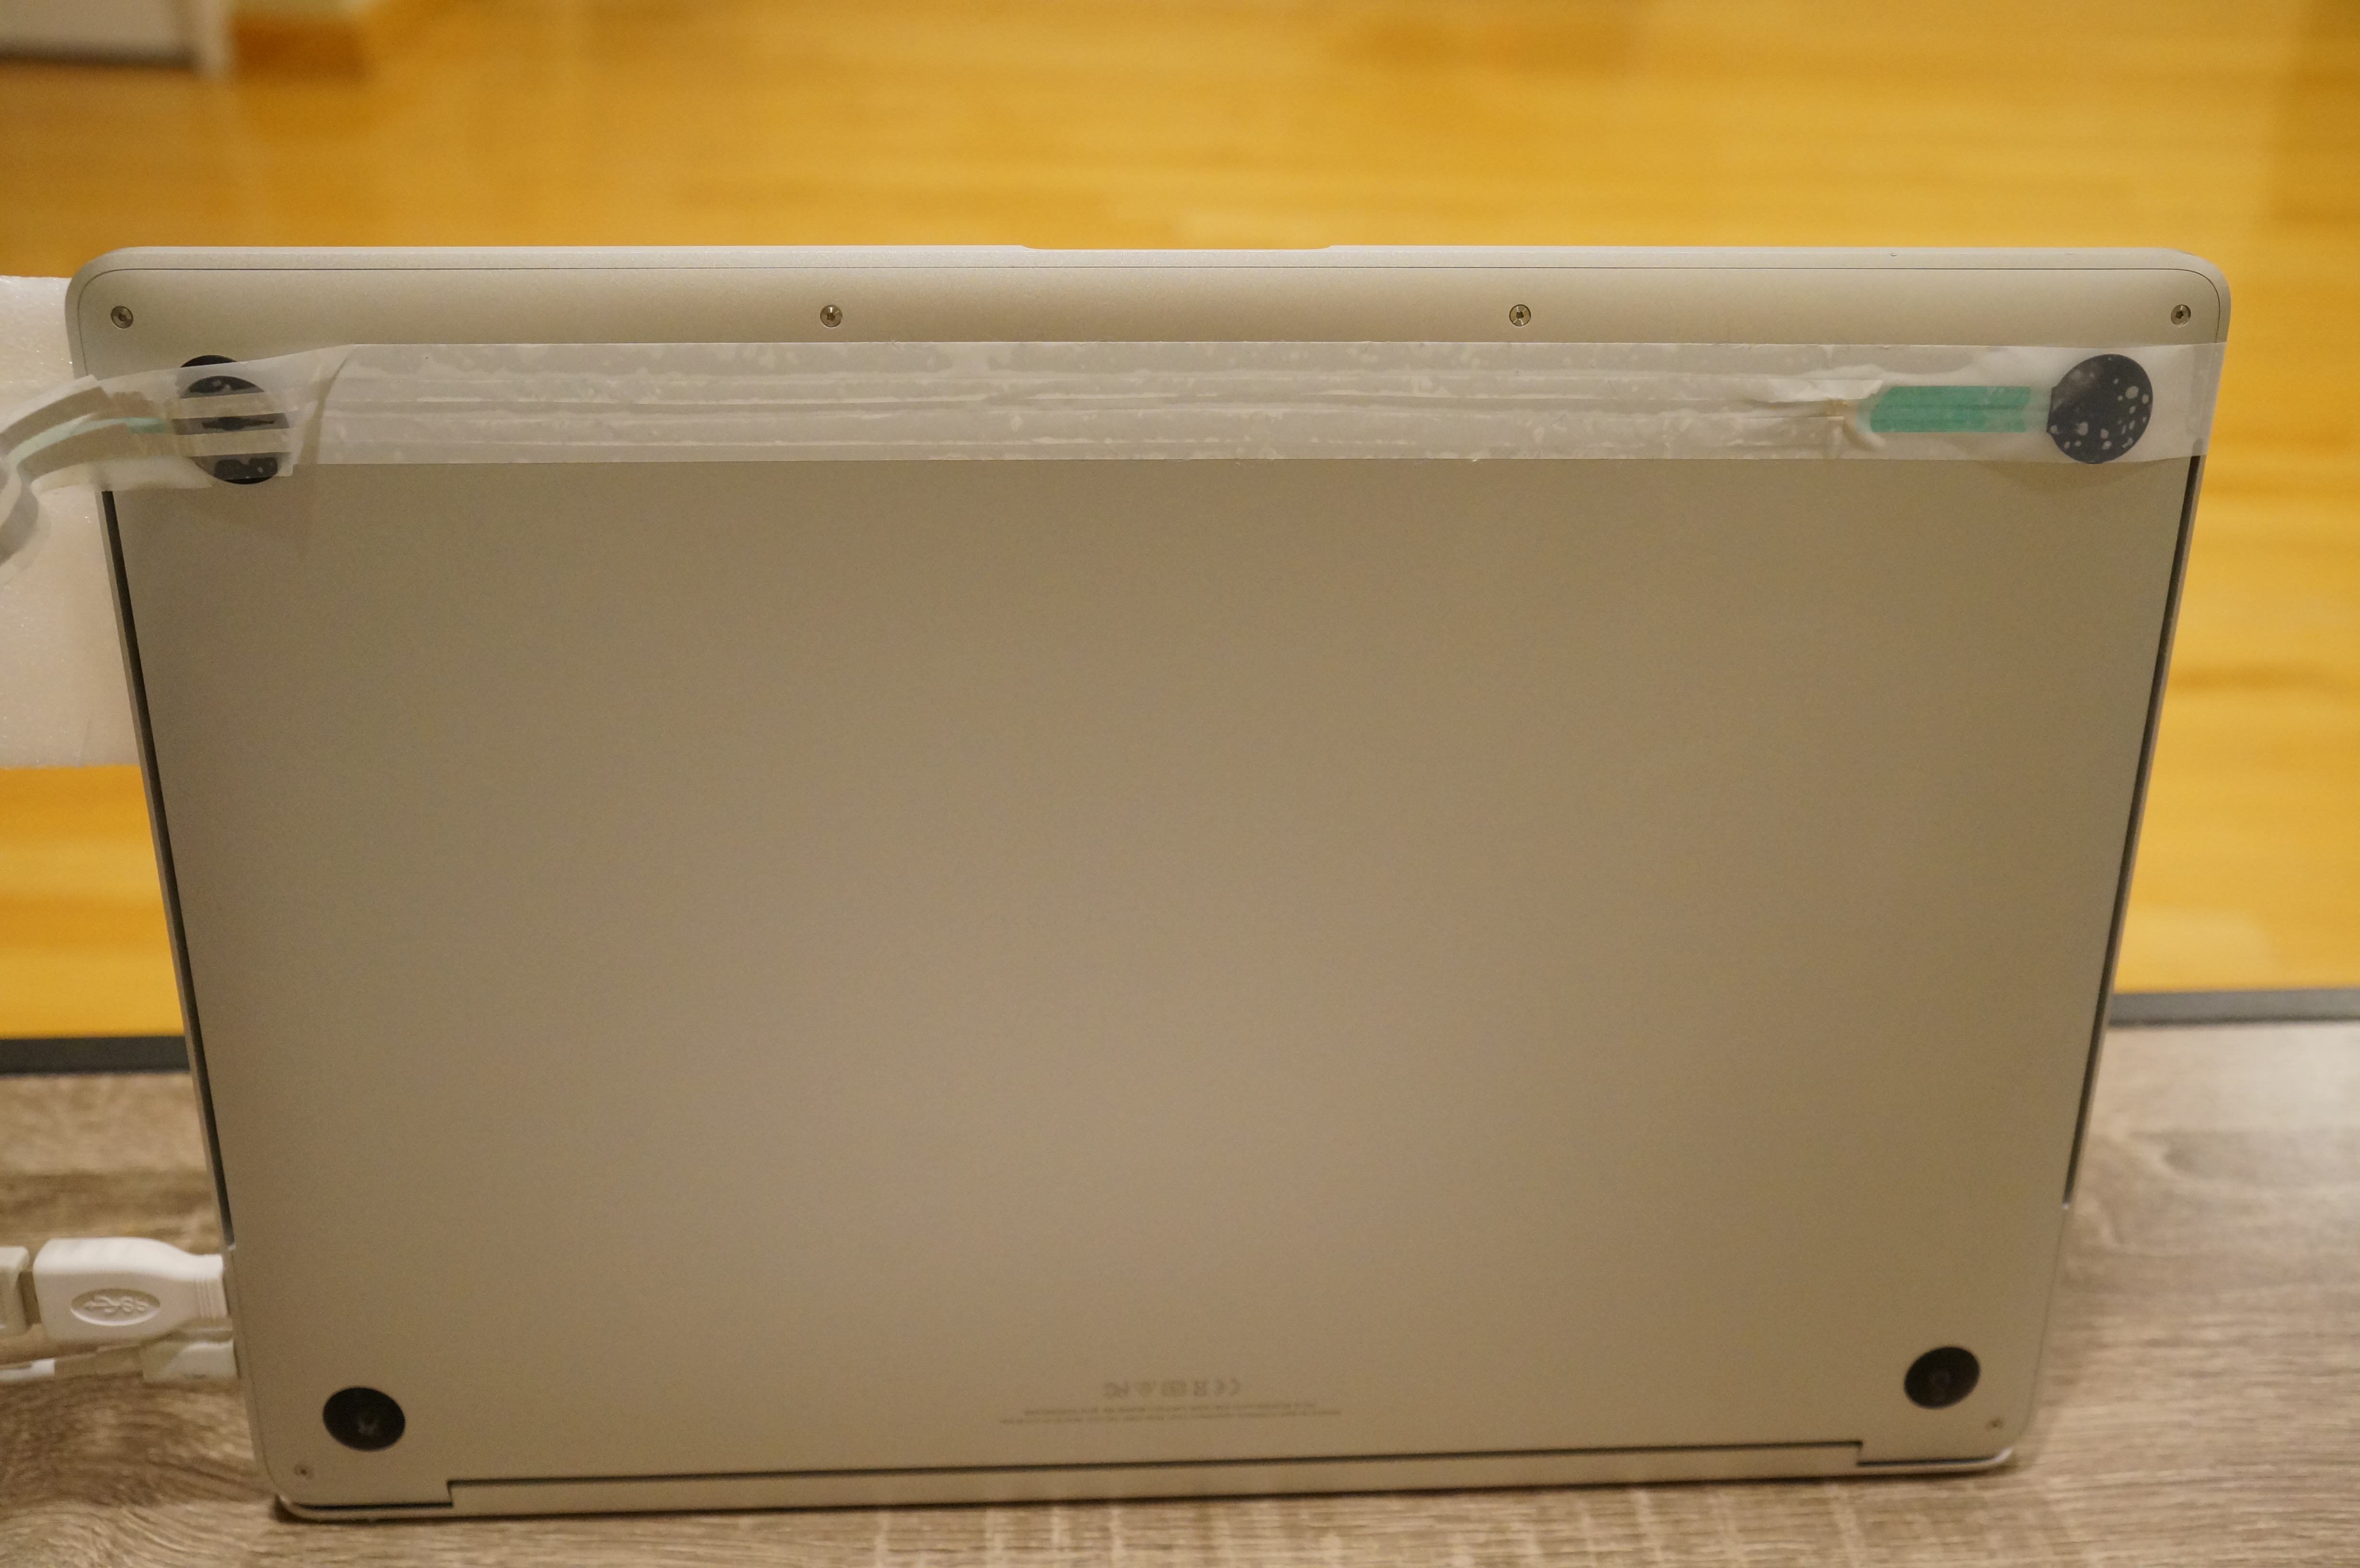
I used aluminum foil to make "wires" that wouldn't stick out when run along the underside of my laptop. It worked great for my project, and over the past few weeks, I left the foil attached to the underside of my computer, just because. In fact, they're still stuck underneath as I'm typing this.
I noticed a great property of these flat, sticky wires -- they're super durable, and they're unobtrusively pleasant. Maybe I can find more applications for this?
The second half of the idea came from two observations:
- Many analog input devices are implemented as a resistor.
- When doing some of the earlier labs, I was annoyed that sometimes when taking voltage or resistance measurements with a multimeter, my fingers would inadvertently cause variation in the reading.
So then I thought... use fingers to manipulate a resistor, when my fingers could be the resistor?
My Project 2 concept: A kind of input device that consists of two (or more) metal strips running in parallel. The user can press in the space between the two strips, and their finger will connect the strips (albeit with some resistance), in a way that can be sensed.
I will try to apply this sensor to the following use case: By running this sensor along the an entire wall, it should be possible for people to activate the sensor at almost any part of the room. This allows the entire device to be used as a remote control, except one that's much less complicated than normal remote controls, since it doesn't rely on wireless technologies.
I am particularly happy to work on this application. I have a current opinion that much of the technology we use today is overpowered, "too smart" for the applications we actually use it for. By using simpler technologies to achieve the same effect, we can make technology more secure, predictable, and accessible.
Okay, enough talk. Let's build it!
First, I am happy to announce that I was able to continue my trend of not changing the Arduino code at all. I need the Arduino to effectively measure two resistances, just like in my previous project.
In my head, I imagined that I wouldn't need to change that much from how I made the strips in Project 2. However, I found two differences in requirement:
- I needed these metal strips to be exposed at the surface; otherwise nothing will happen if the user presses on it.
- To have enough to wrap around an entire room, I'd need to figure out how to make a lot of it quickly.
A few hours of thinking and researching later, I figured out that:
- The ideal kind of product would be a form of metal tape, with metal on one side and adhesive on the other.
- This is already a product that people make and that I could buy.
- In fact, I had already bought some of it at the beginning of the semester, and it had been sitting in my room the entire time!
All I had to do was open this box, which I had not opened since the beginning of the semester.

Copper tape. Amazing that I don't have to make this myself anymore.
Sidenote: Video compression is very efficient. Can you believe this entire video is the size of a large-ish photo (1.4 MB)?
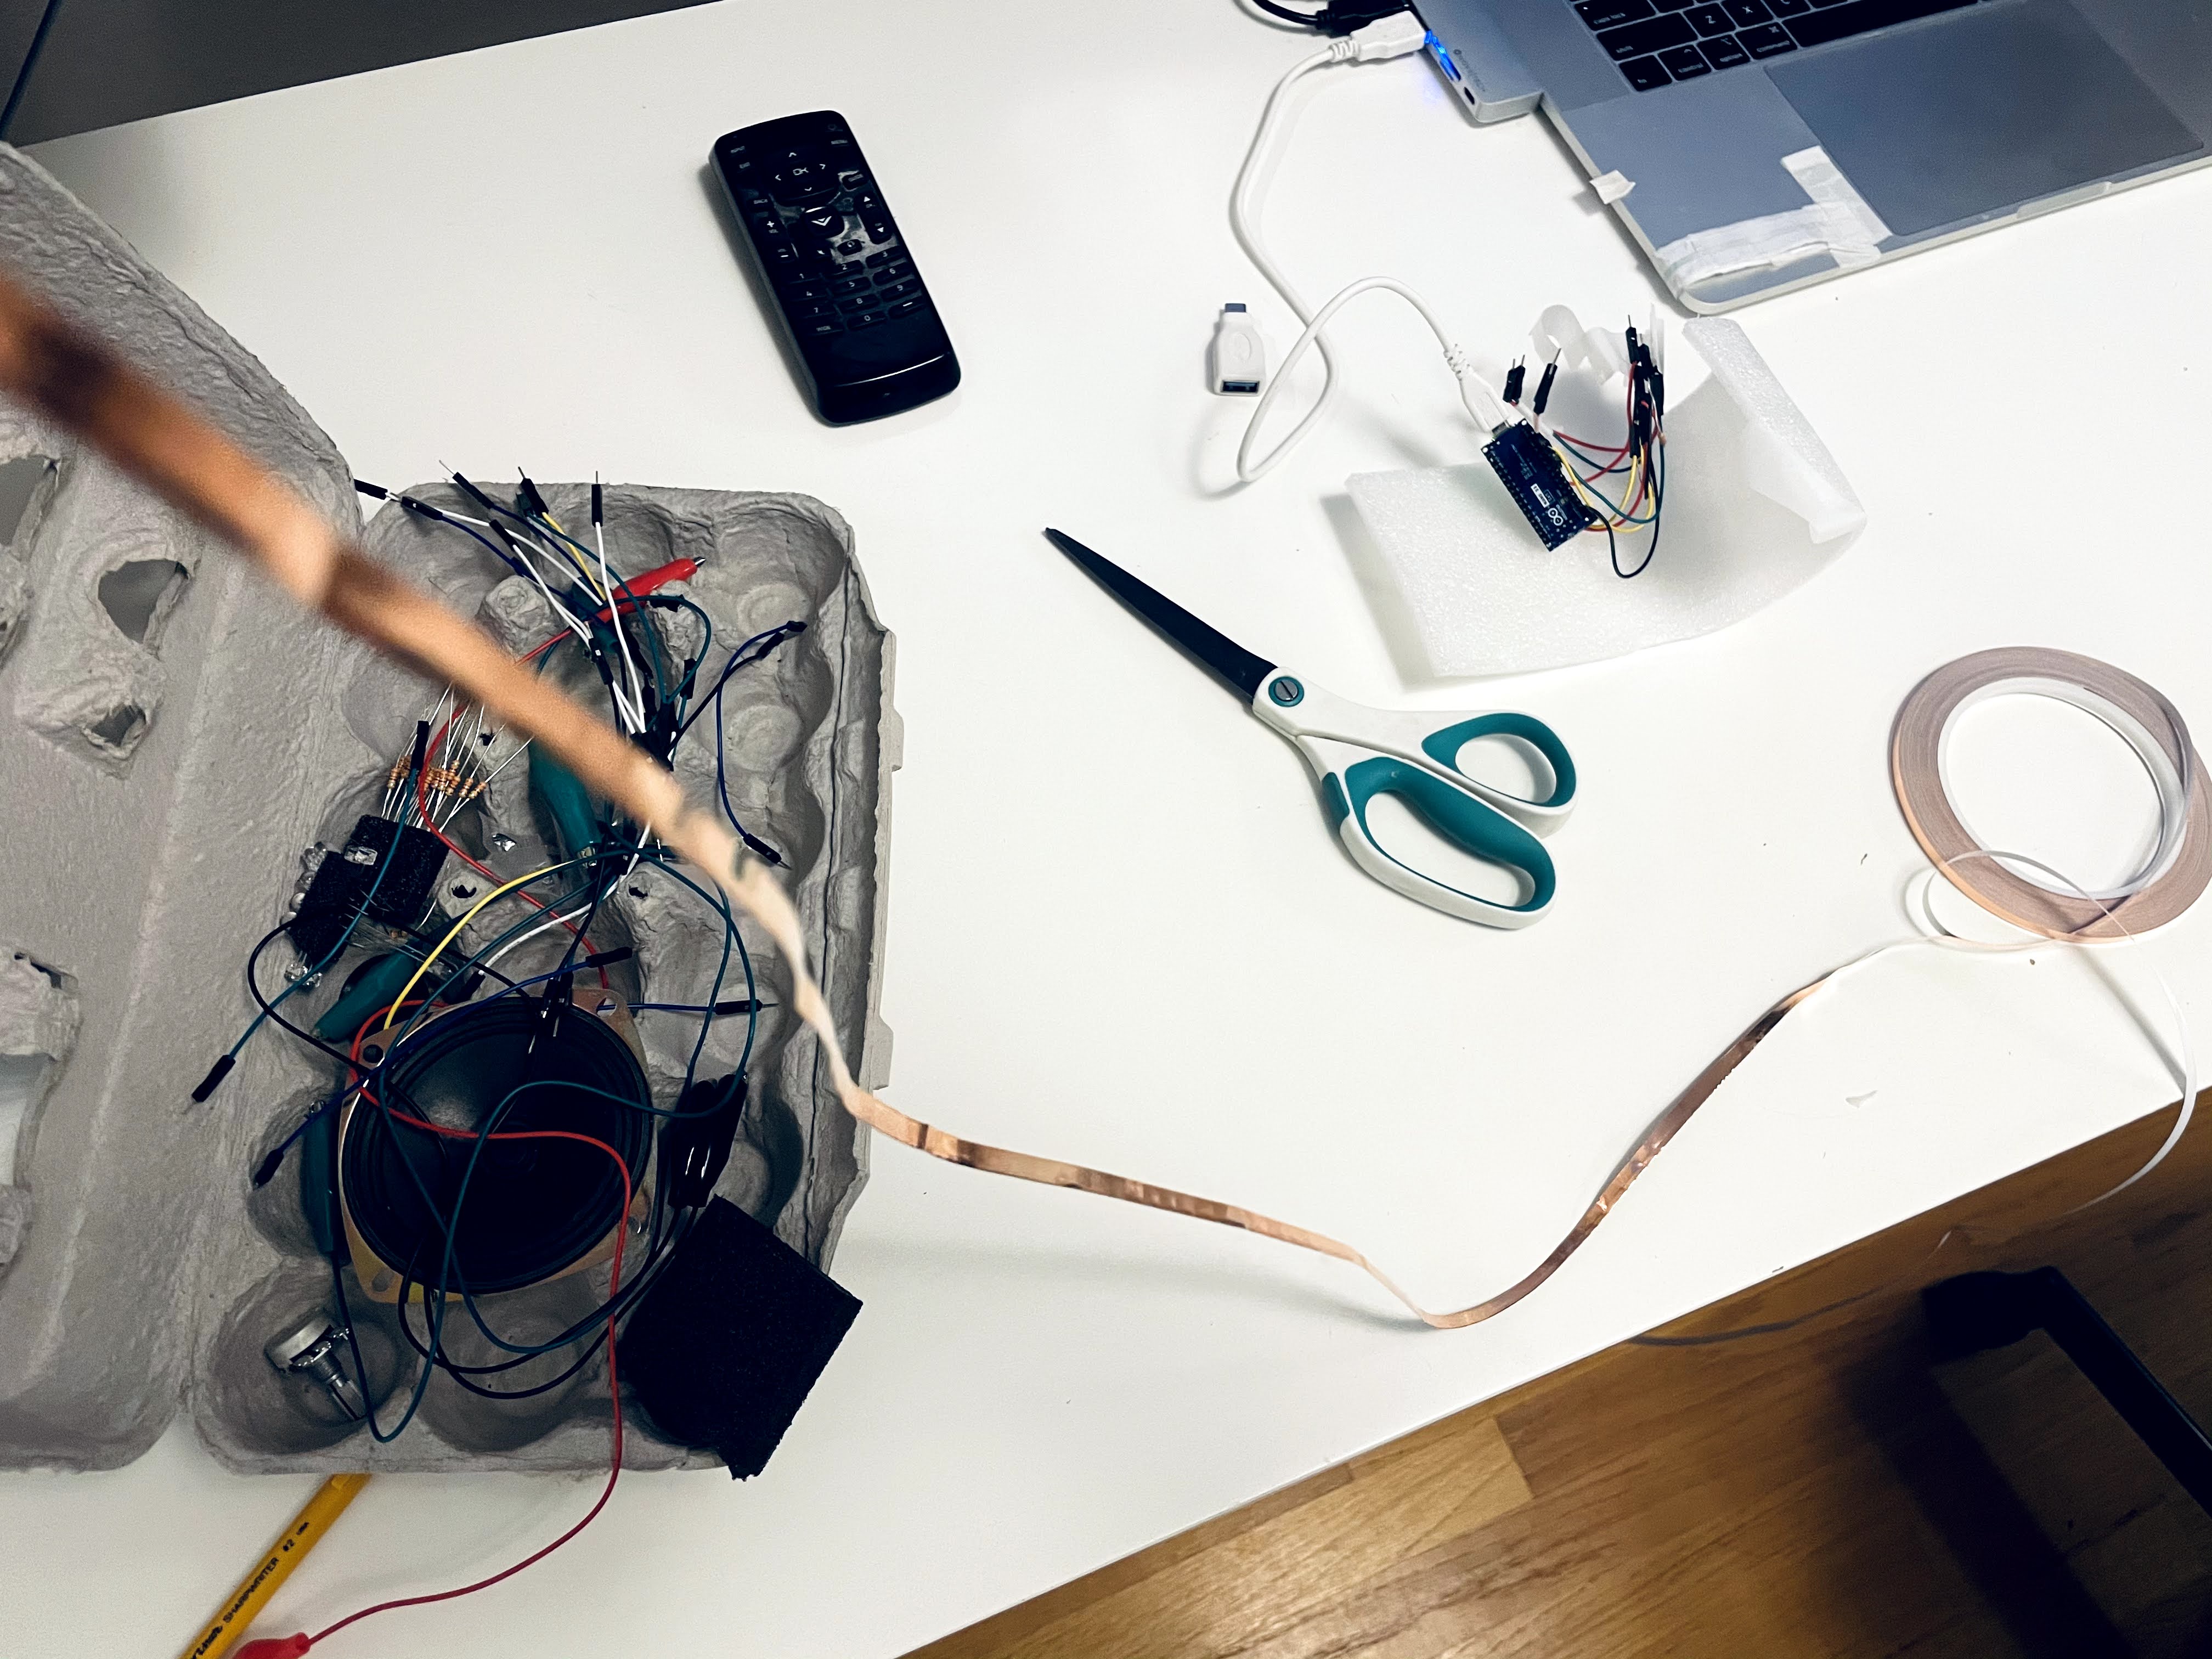
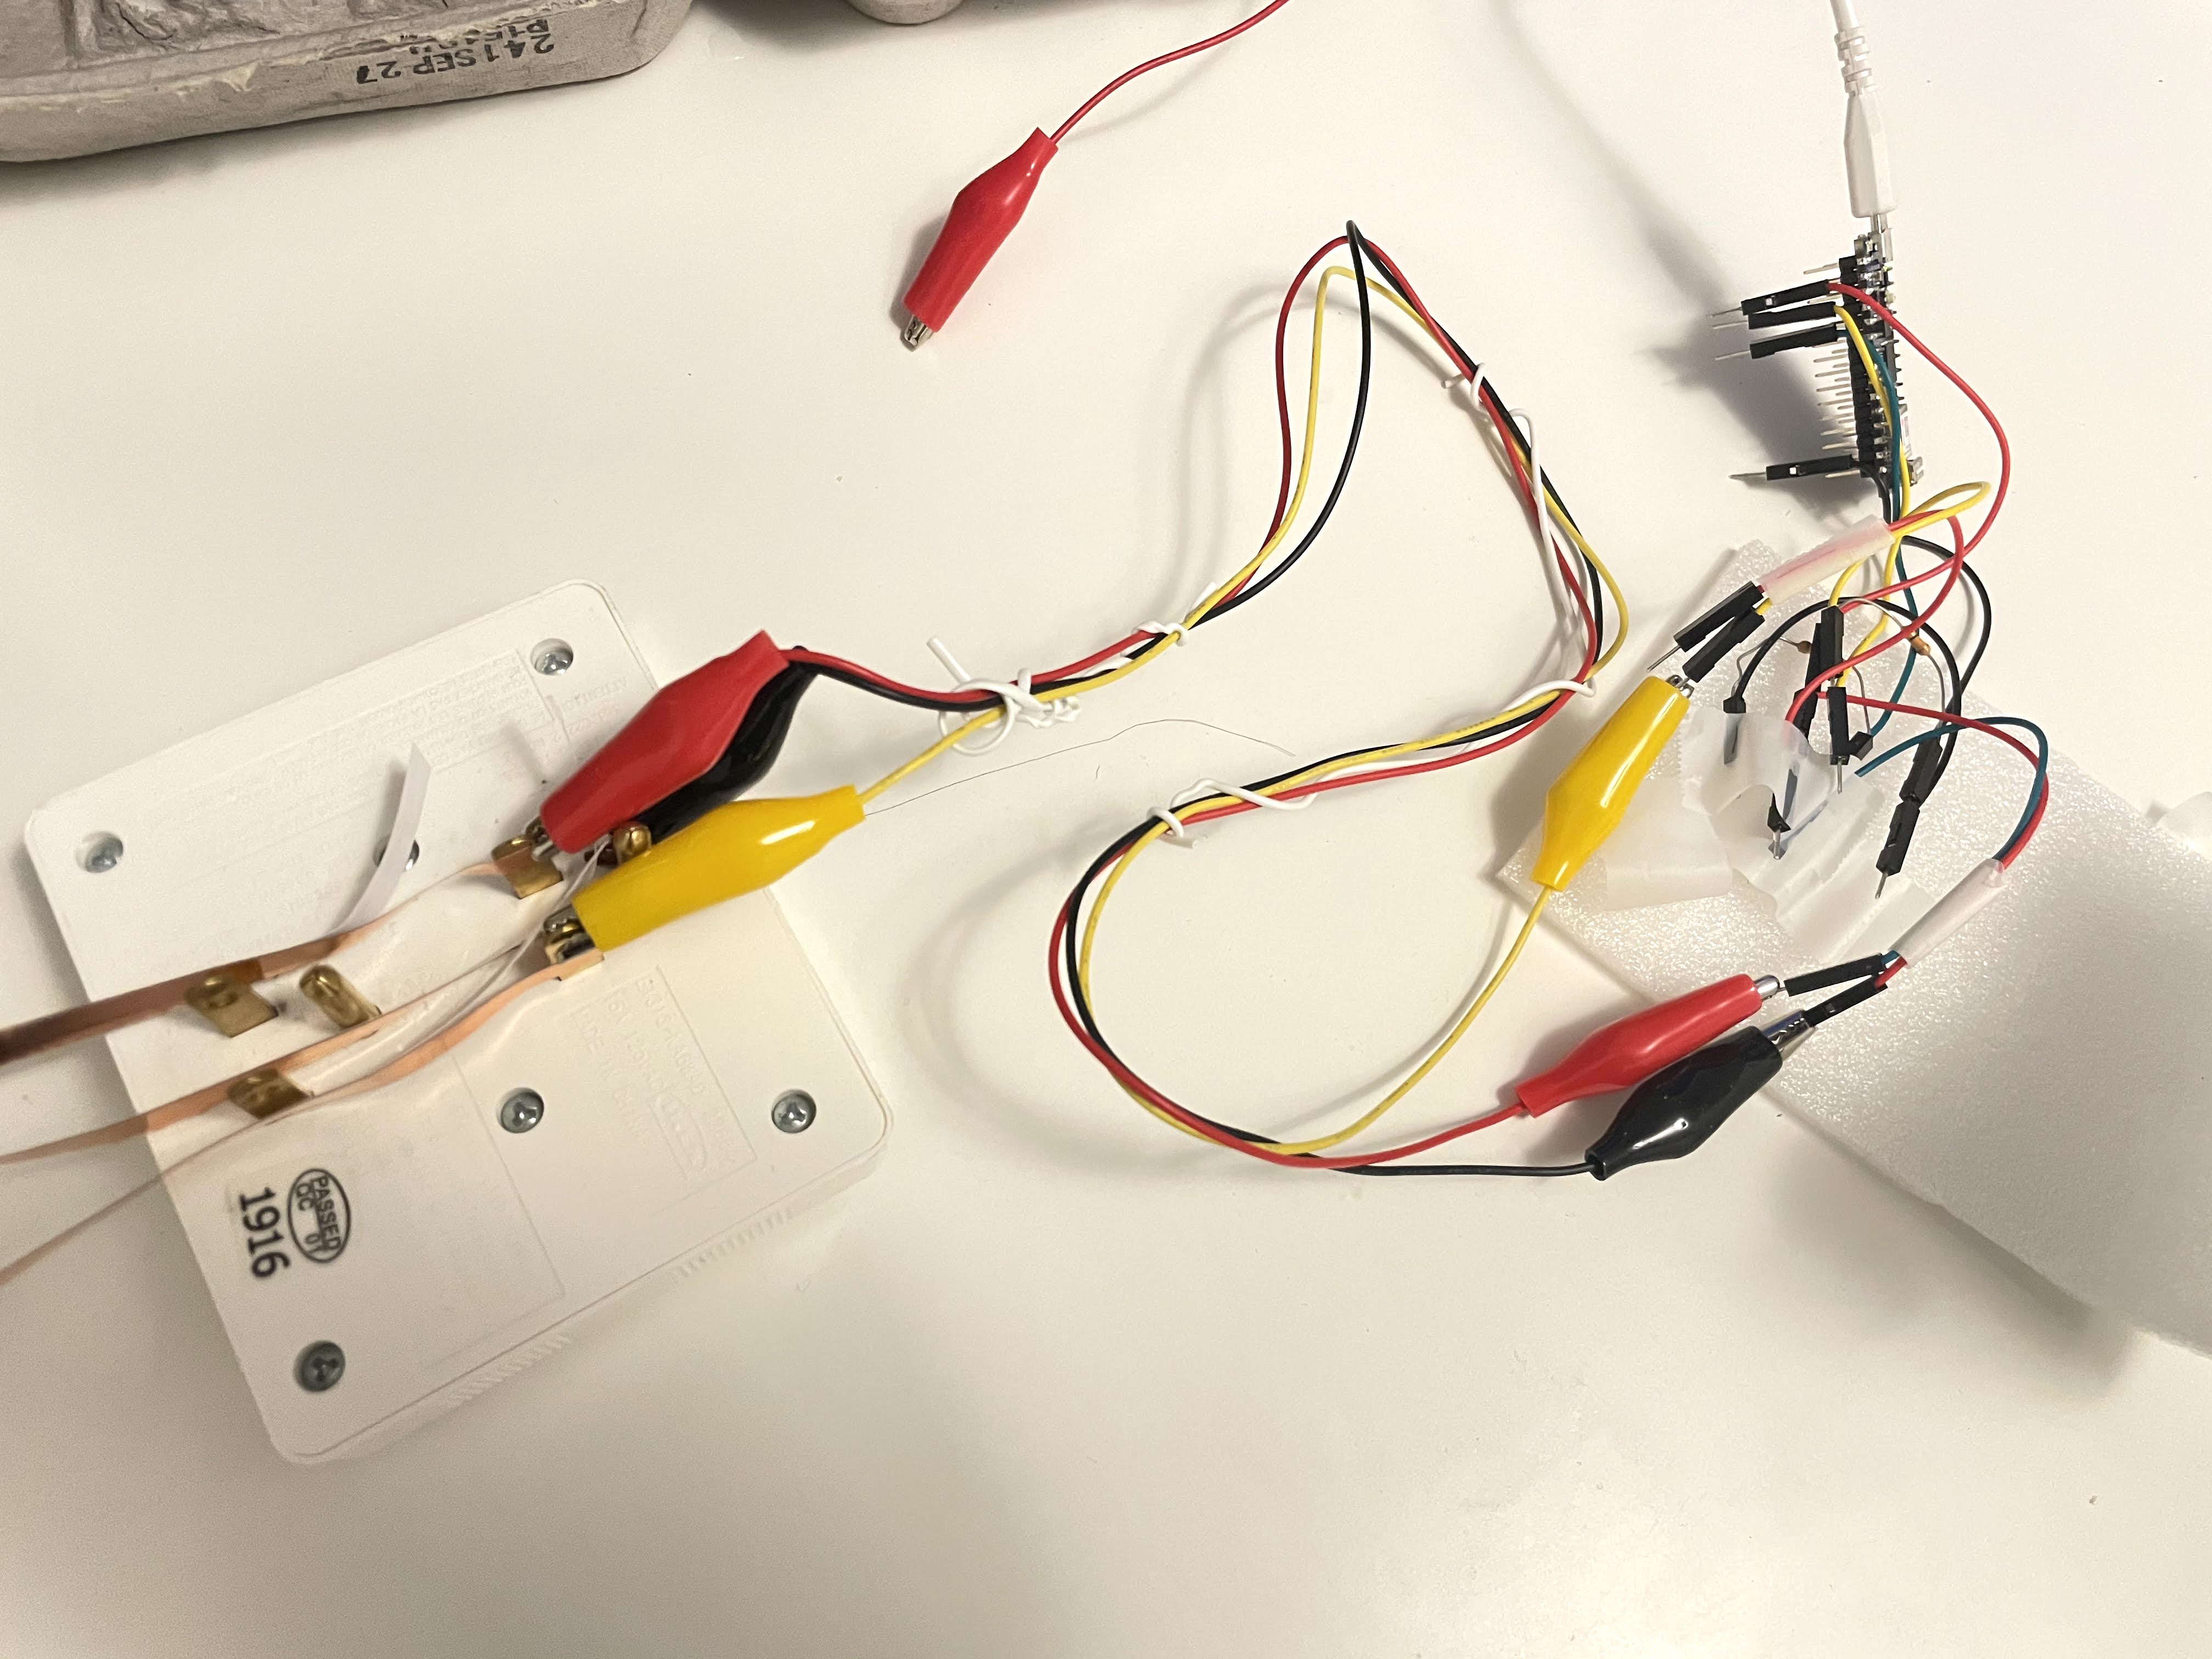
It took me some thinking to figure out how to attach the strips on the wall to the Arduino. I knew it was going to involve alligator clips -- coincidentally, I needed to use 3 alligator wires together, and I already had 3 of them twist-tied together from Project 1.
I realized that I couldn't alligator-clip it to the wall, because it would pull the tape off. So I used more copper tape to connect the wall strips to a fixed mounting point on the table. (I had a wall plug adapter lying around, so I decied to use use it.)
Some detail shots:

It did! And then I tried to record a video, and it didn't the second time around. What happened?
Note the part where I stuck some copper tape more copper tape. My suspicision is that the adhesive was slightly moist before application and conducted water, but became less conductive as it tried. I fixed this in a hacky way -- I curled the top strip over itself slightly, so that the tops of the strips would touch.
And then it worked once again!
Even with the finger touching, the measured voltage is quite low. I tested whether licking my finger would help lower the resistance and make for a more significant reading. It did :)
- Wrap the strips around my room a little more.
- I kind of liked the aesthetic of aluminum more. I wonder if I can buy aluminum strips...
- Do something when the sensor is activated! My current plan is to use to adjust the volume on my music -- this is probably the most common task I'd want to do. Maybe pressing both sensors at once can play/pause the music as well. Or perhaps it can toggle my room light?
- Make the sensor as accurate and as free from interference as possible.
- Investivate whether my Arduino can be used to directly control my computer using keyboard input. (I don't think the Arduino Nano 33 IoT can do this, but I need to double-check.)
- Come up with a better wiring plan for connecting wall to computer. I wonder if I can repurpose some USB cables for the wiring?
From the professor (heavily paraphrased based off my memory):
- Consider having the device be sound-activated. This allows you to really knock anywhere on the wall, rather than on a particular strip. It also means that you don't need to stick anything on the wall, although the strips could be good decoration. You can also use multiple microphones to figure out where the sound is coming from.
- This idea uses a resistive switch, which is not reliable for detecting whether someone is touching the strips, since the resistance varies depending on the amount of sweat. (See galvanic skin response.) A more reliable way to detect a hand is to use a capacitative switch. See https://www.instructables.com/Capacitive-Switch-for-Arduino/ and https://makeymakey.com/products/makey-makey-kit for a pre-made kit.
- What applications are you looking to use this for? Hopefully the suggestions above reduce the amount of time it takes to get the setup working, so you can have more time to explore different things you can do with the sensor.