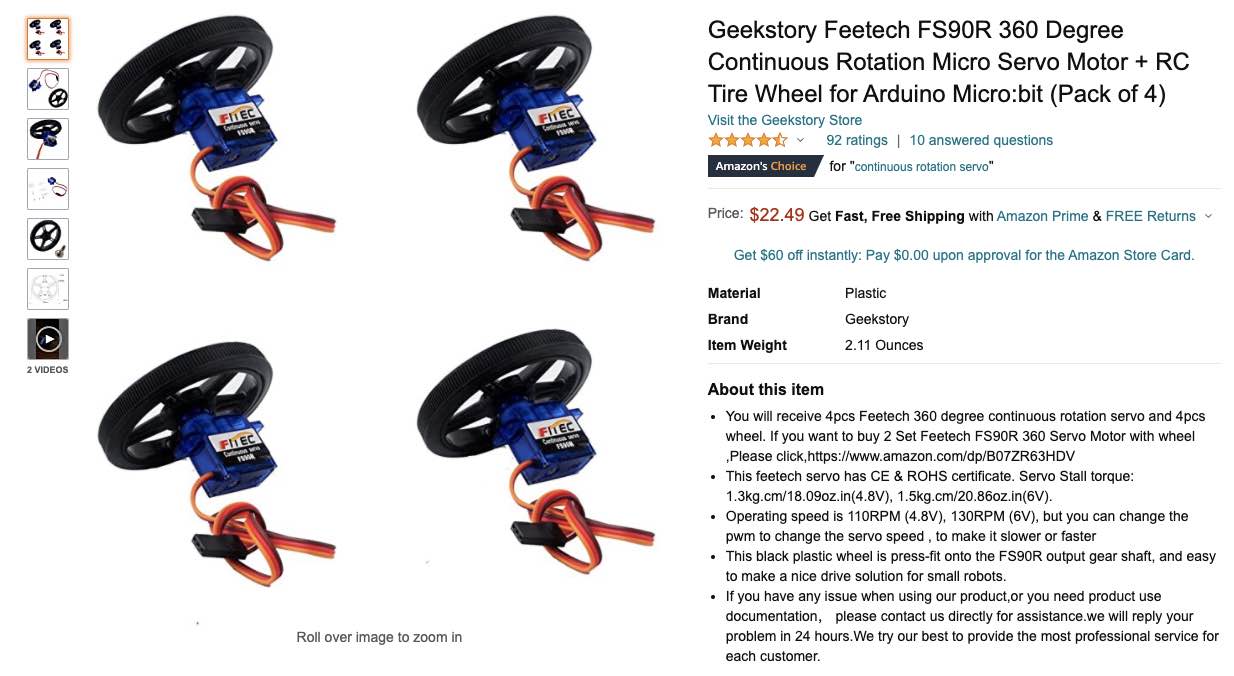
A few weeks ago, I got a continuous servo kit for another project, but I ended up not using it:
I decided to use this kit for this week's assignment to create a car.
I worked with Pauline on this assignment -- we decided to use the same kind of servo and mount for our projects so that we could split the learning curve.
First, we tested out the servo using Arduino's Sweep tutorial. Initially, the servo didn't move at all, and it took more than half an hour of modifying the sample code to figure out why. It turns out to be not a code issue at all, but that the servo only works when plugged into 5V out, not 3.3V out. (I'm still not sure why that is.)
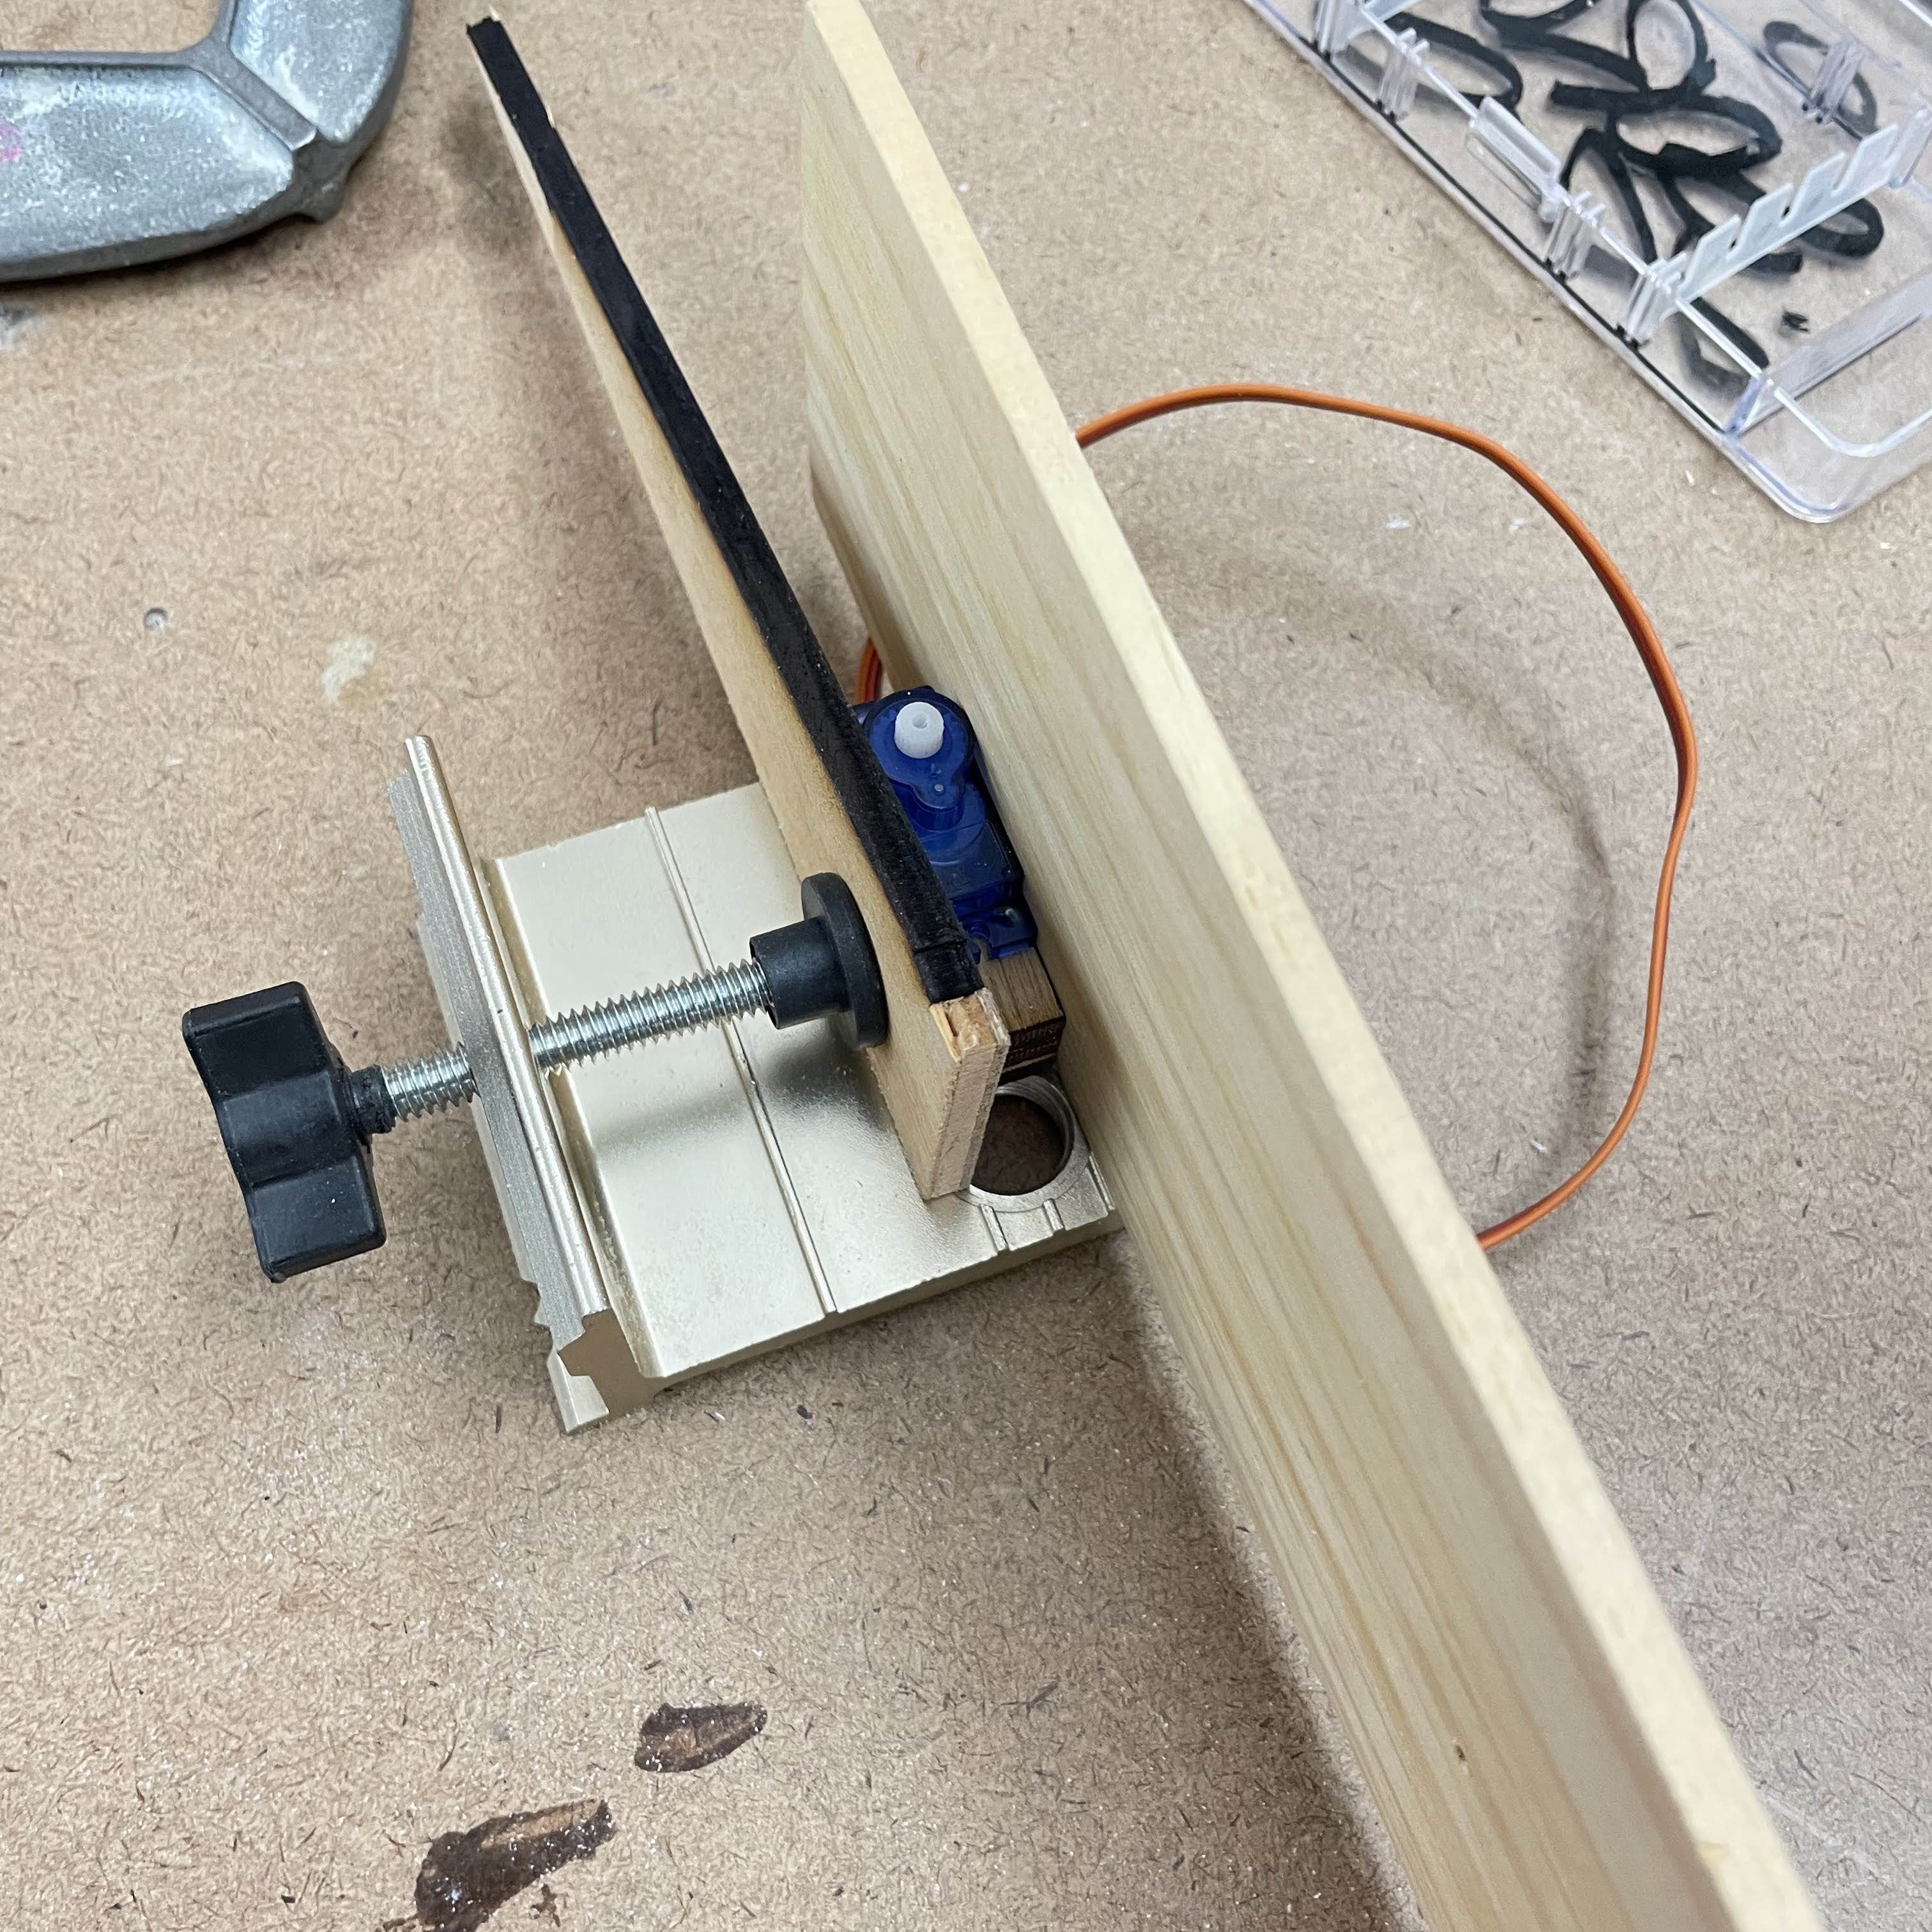
Then, we measured the dimensions of the servo to create a mount for it:
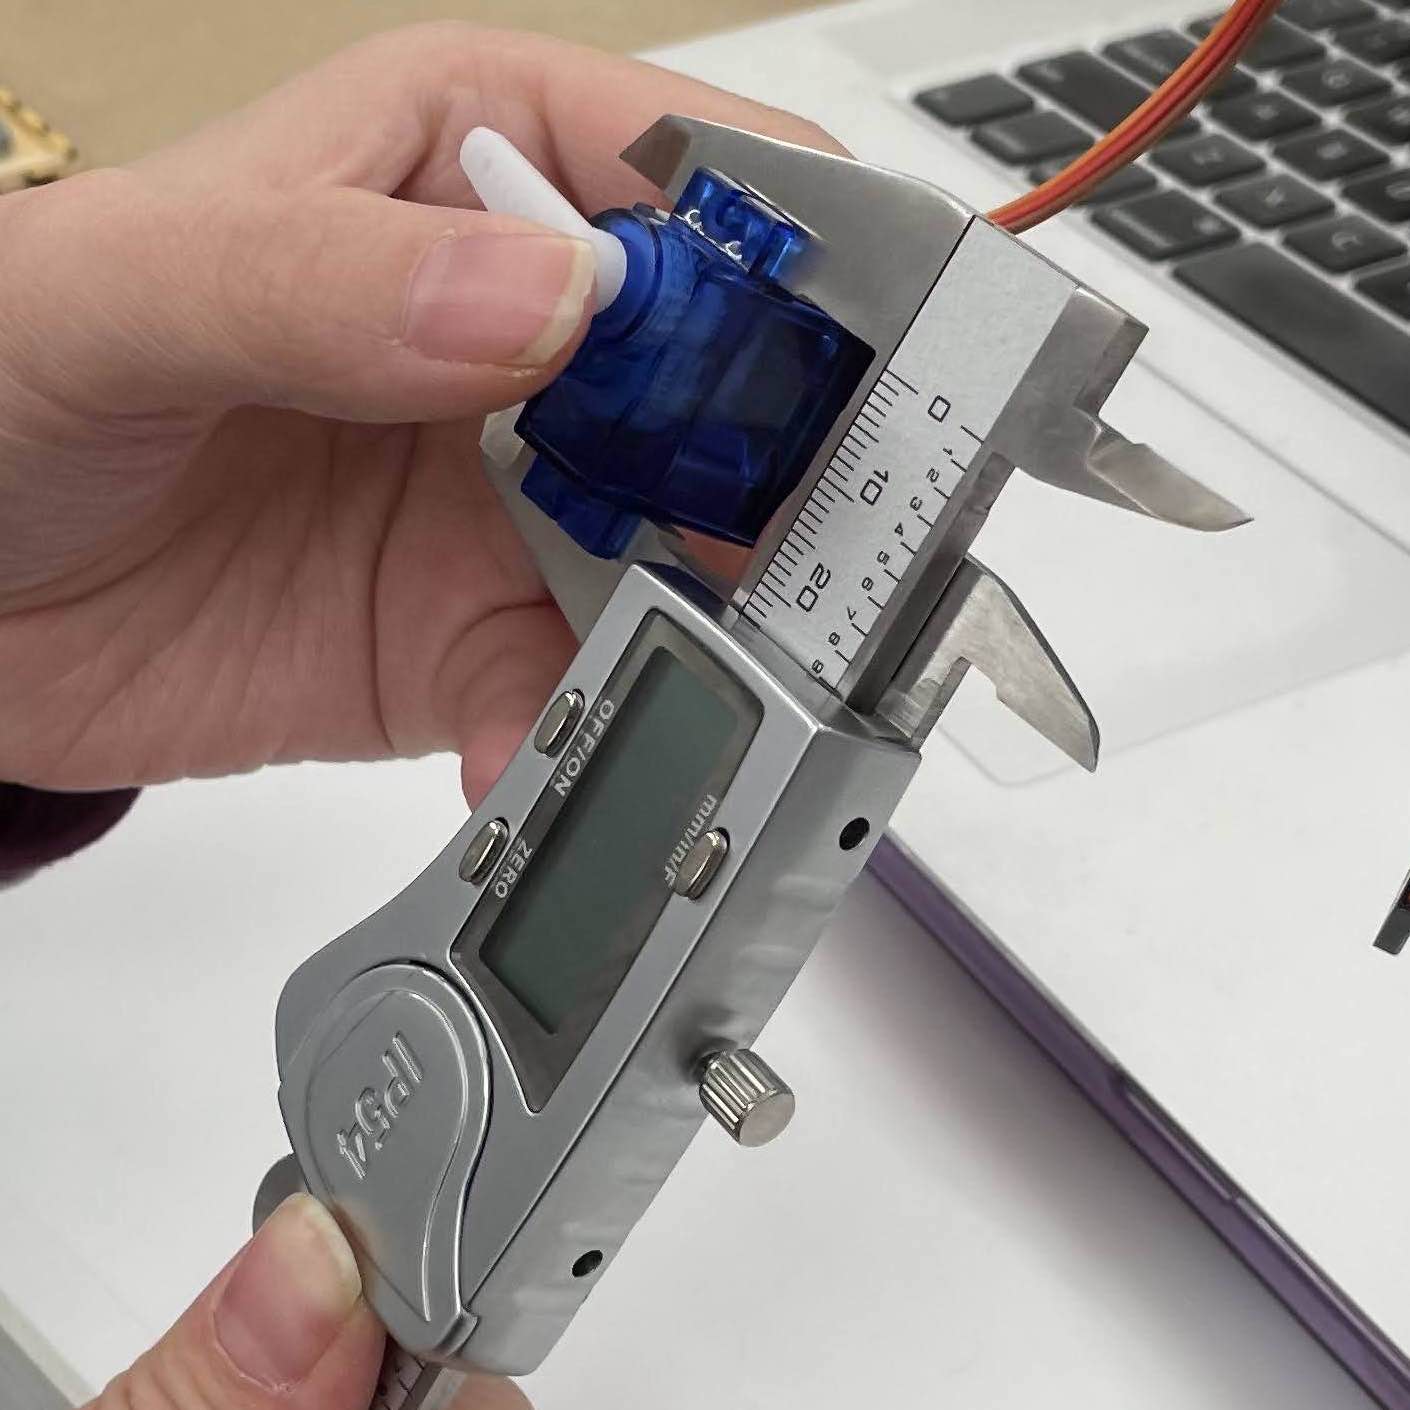
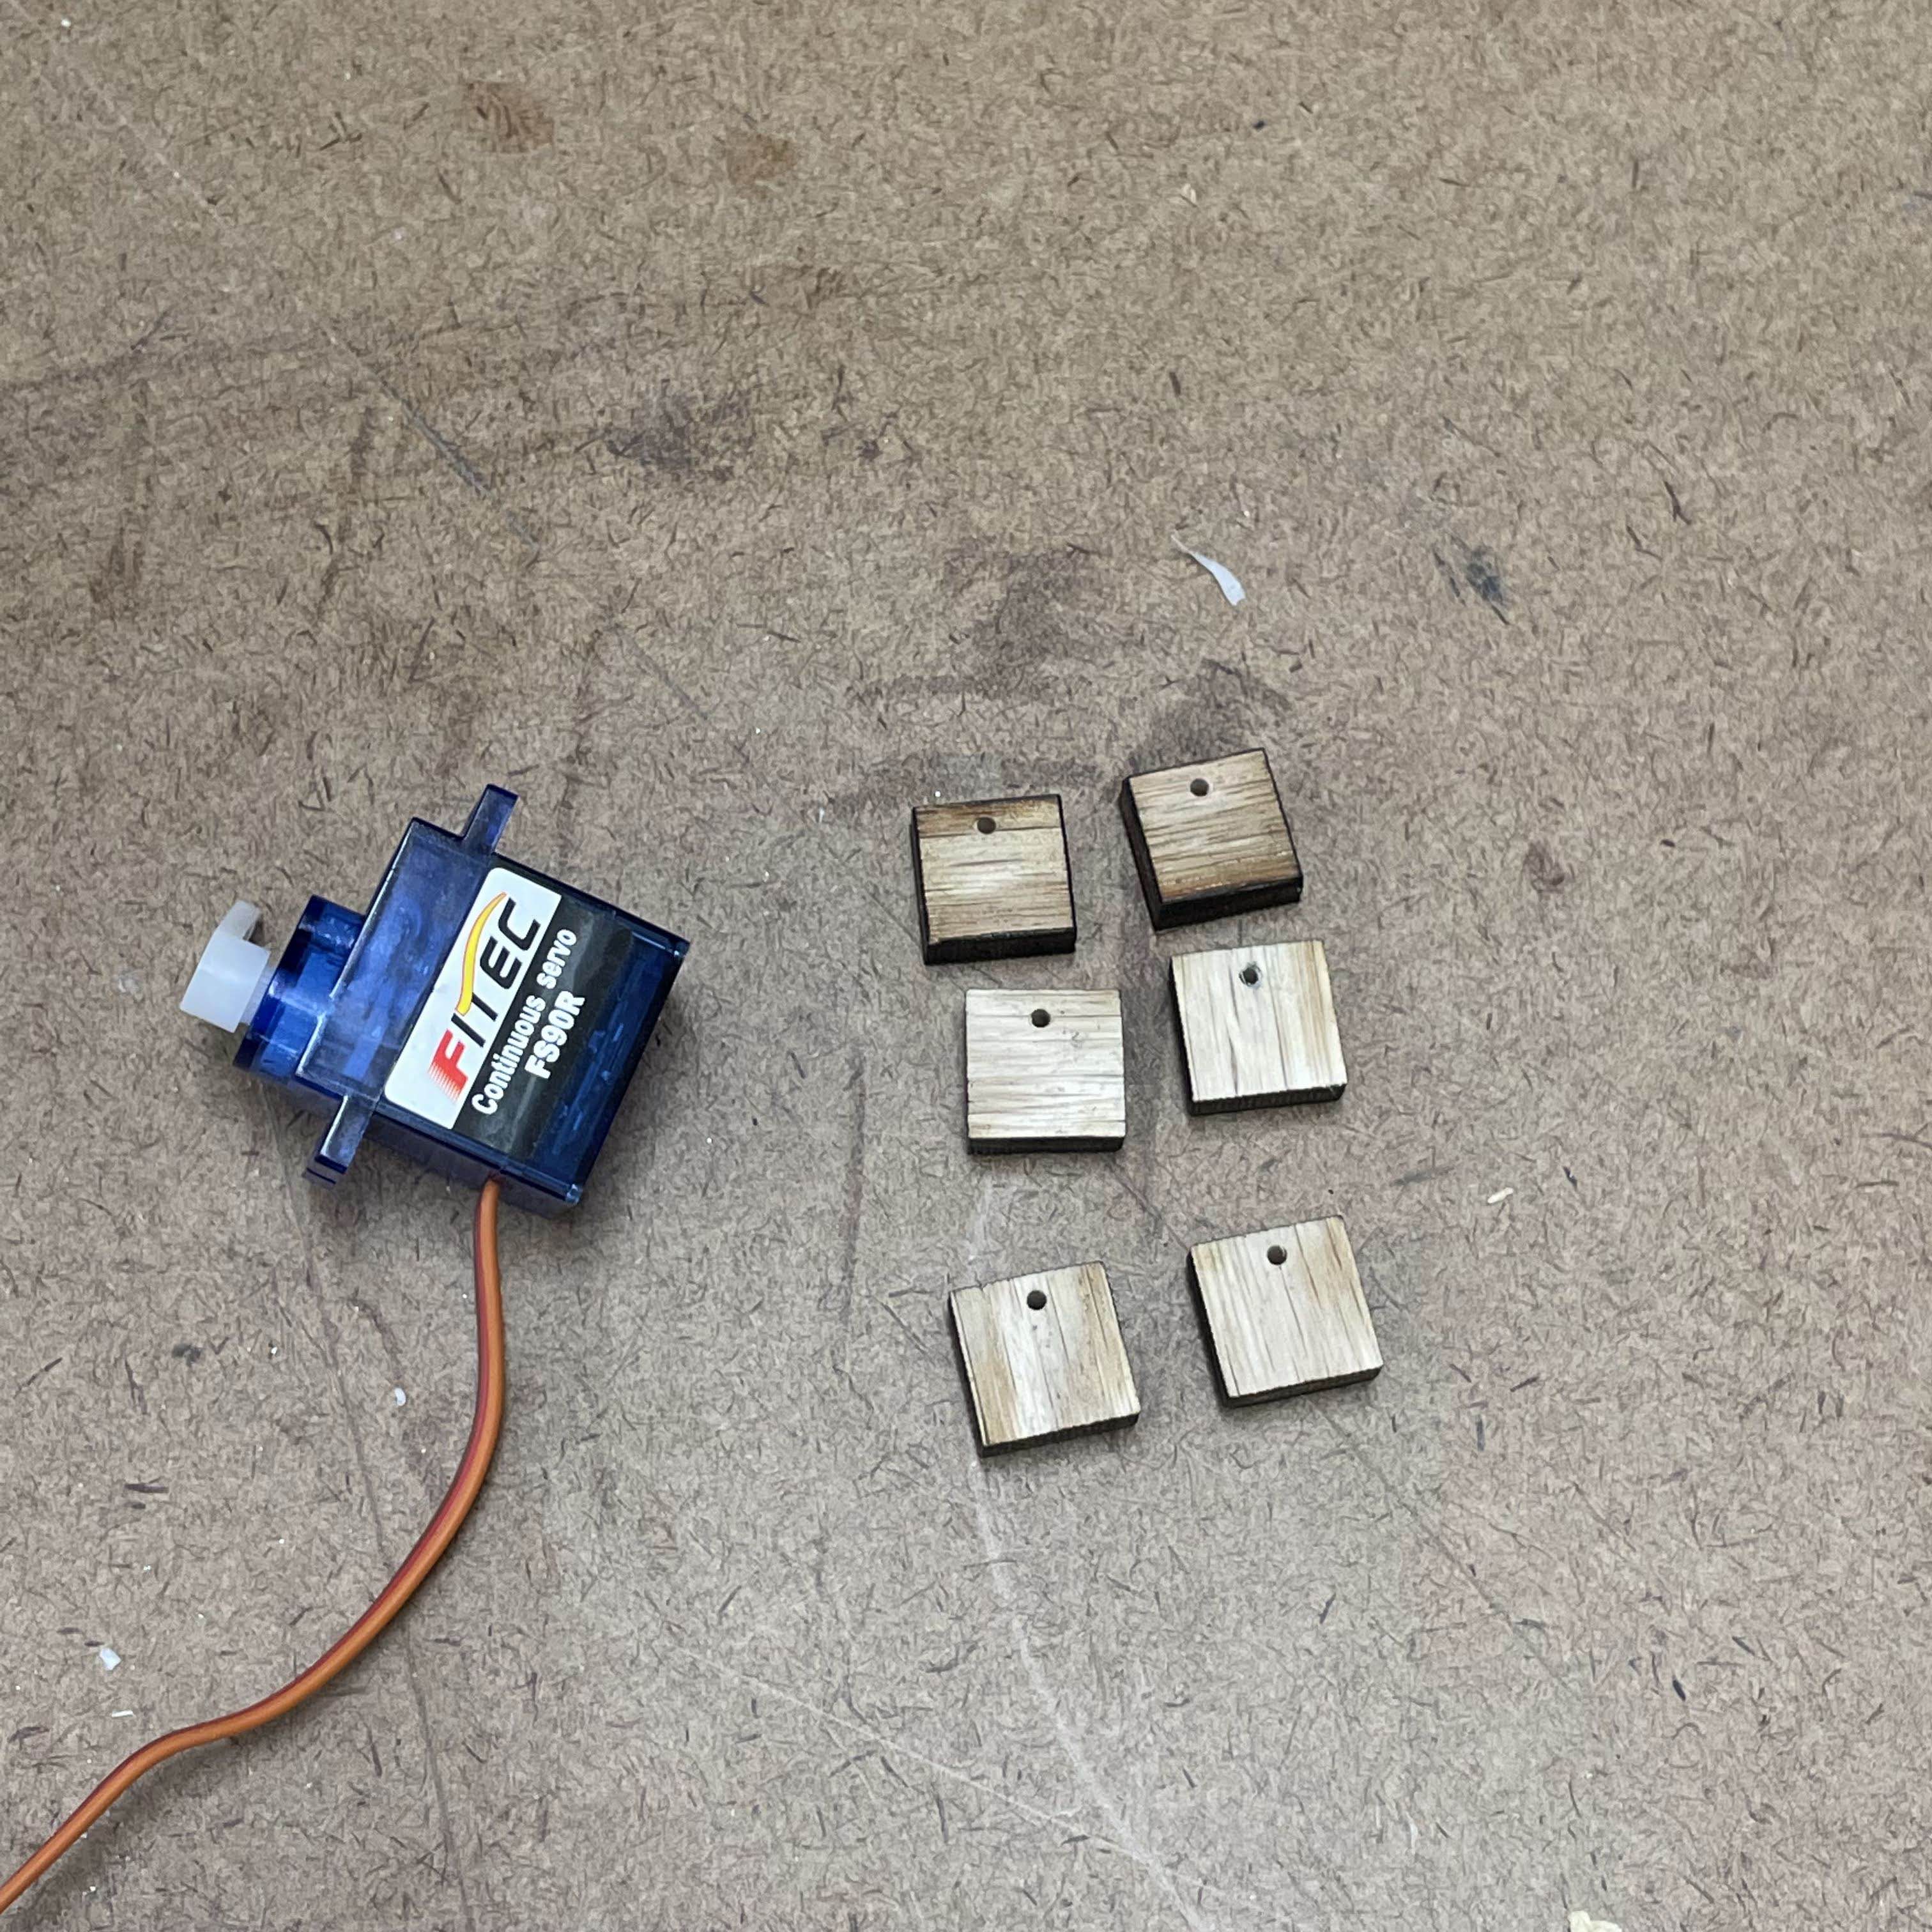
We wanted to figure out the quickest way to create a sturdy mount for it. We decided to cut up a piece of wood into smaller pieces so that we could piece together a mount like Legos. One of the dimensions of the motor is 0.5 inches, so we made the blocks 0.5-inch squares to keep things simple.
The building blocks we created.
We found that we could put them behind to the servo's screw hole, and then drill through the screw hole, to create holes in the wood that lined up:
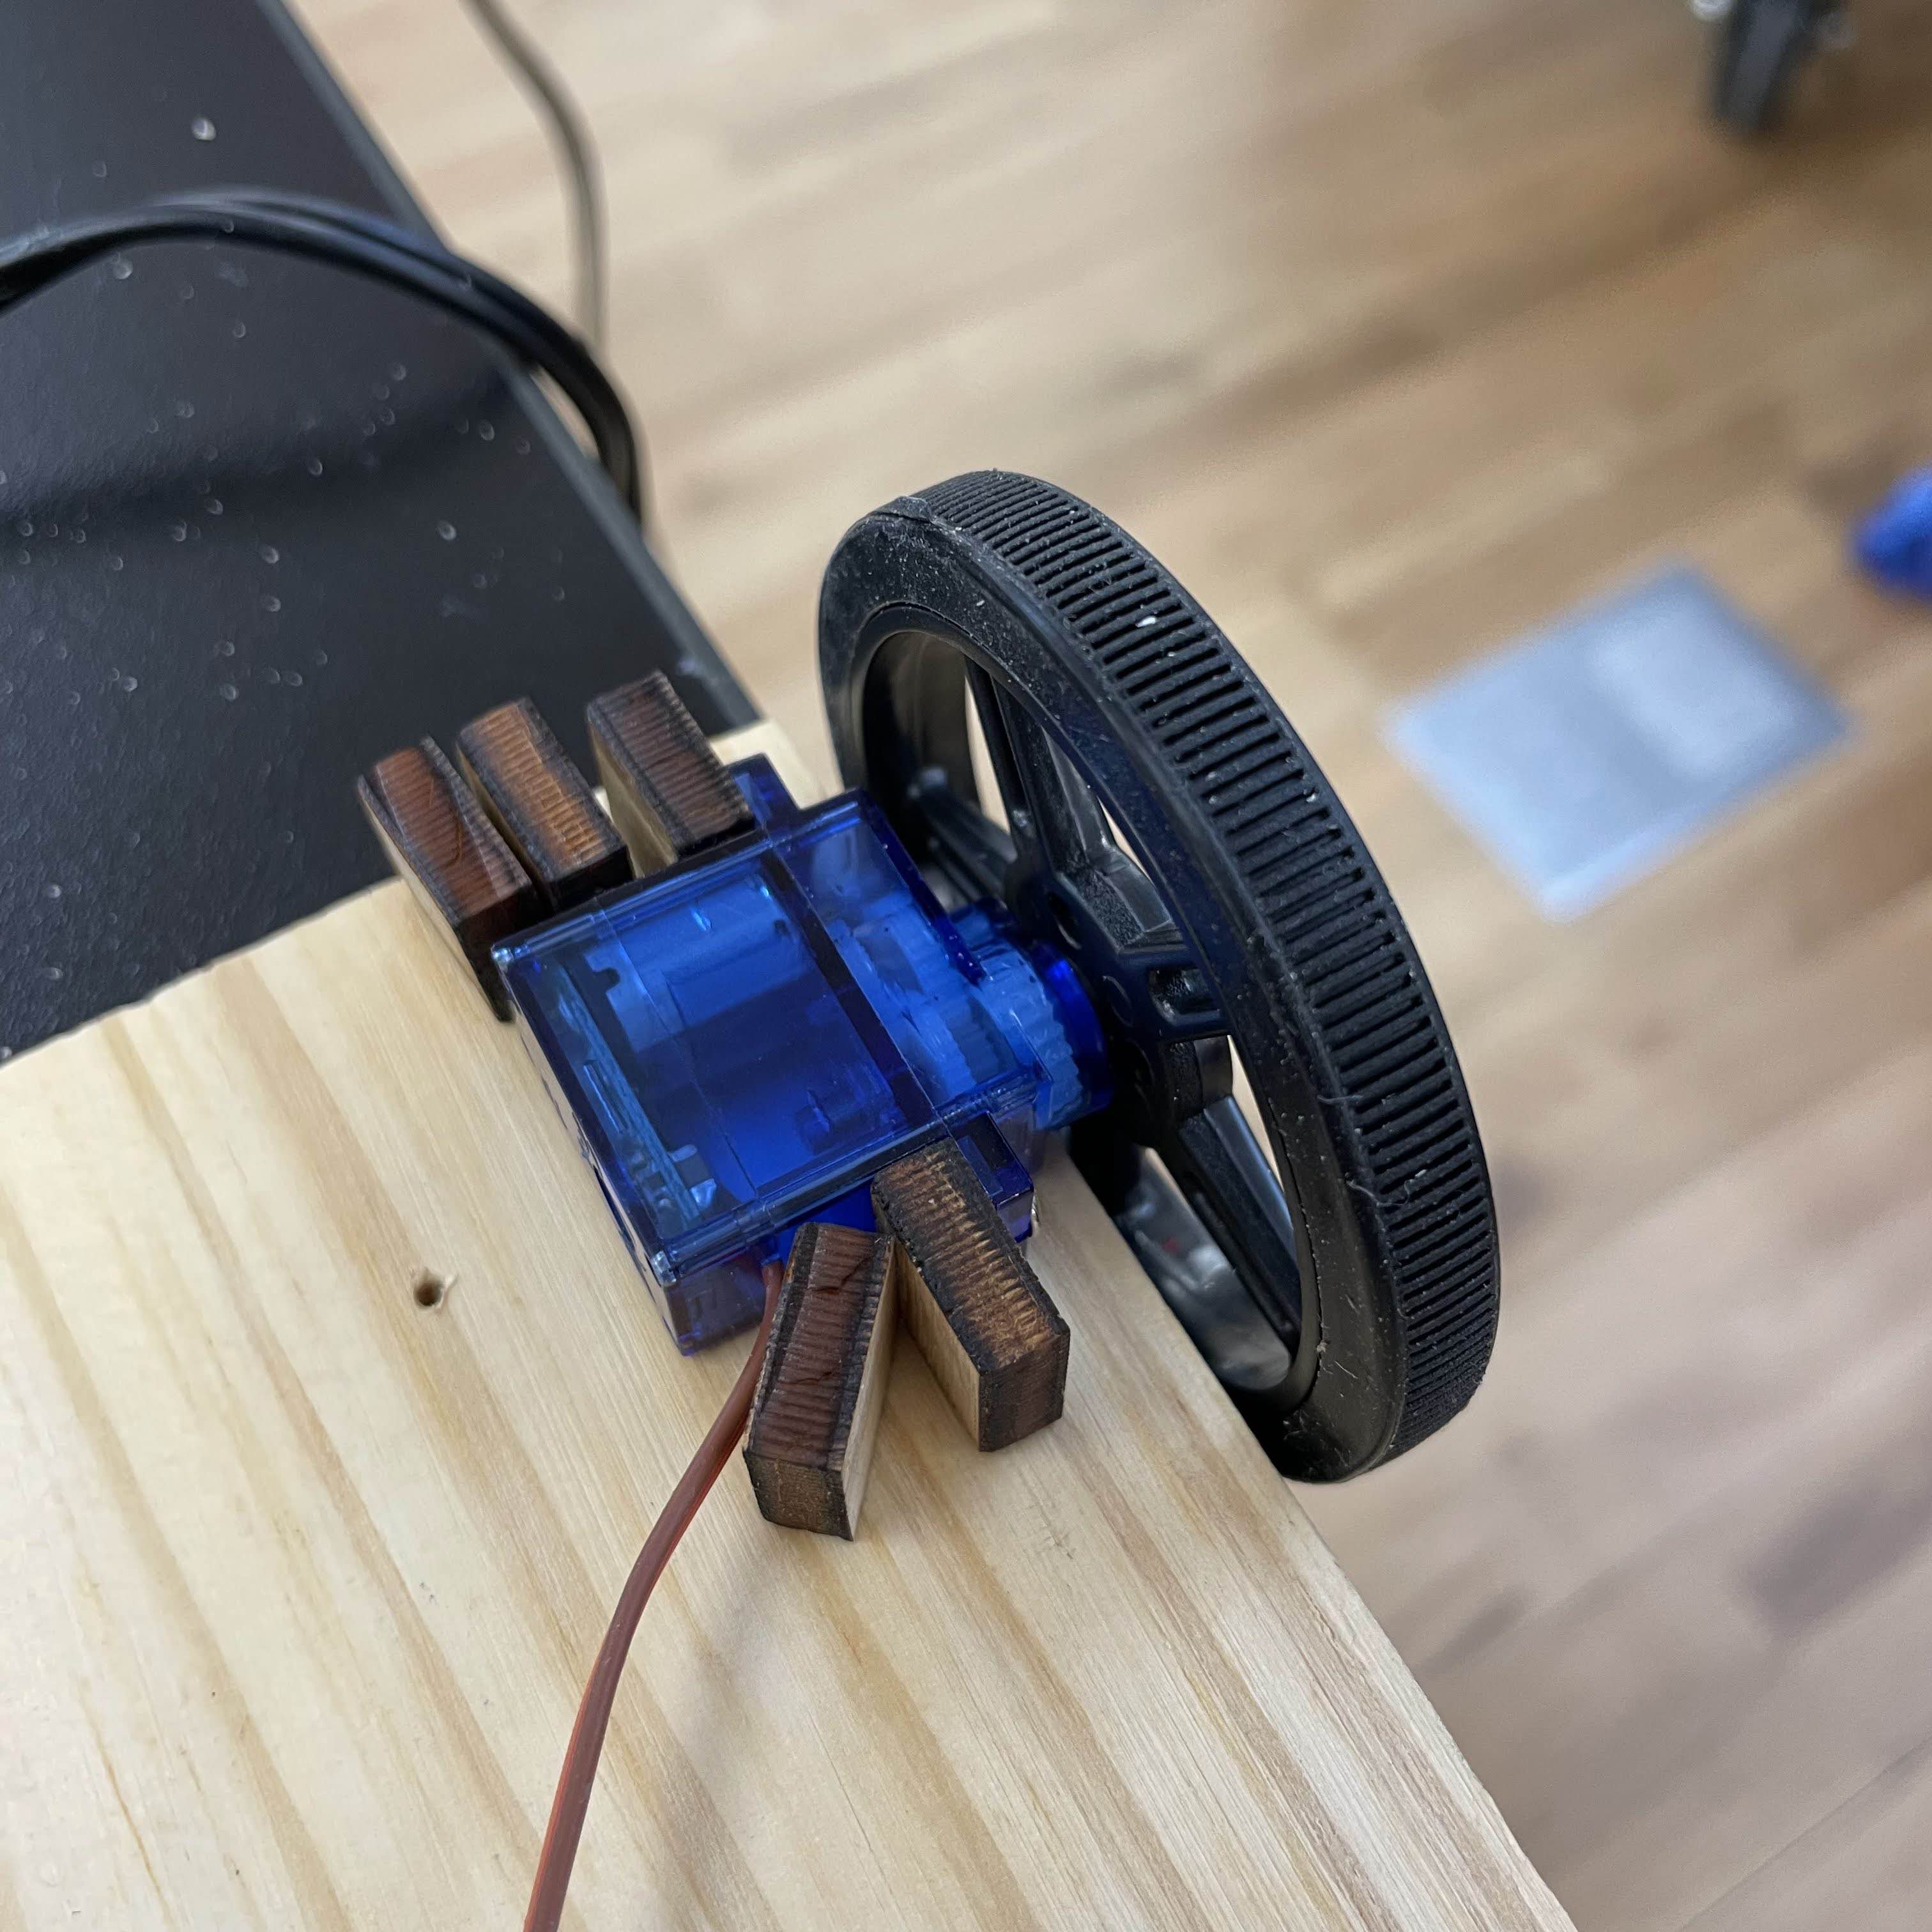
Then we glued a few of the blocks together to form a larger block, and screwed each servo into two of these larger blocks:
Now we returned to the code (which we hadn't modified from the example). We weren't sure how the servo would respond to specific commands. I created a simple program to test it out by issuing servo commands over Bluetooth Low Energy (BLE).
It turns out that servo.write(0) would make it turn full speed in one direction, servo.write(90) would make it stop, and servo.write(180) would make it turn full speed in the other direction. Why those numbers? It seems like the numbers were originally designed for regular servos, but were co-opted for the range of motion permitted by continuous servos.
Also, at this point I recalled some advice I received before ordering a continuous servo -- the advice was: don't! -- and I could see why now. Unlike regular servos, continuous servos could only control the approximate speed at which they move and could not control their angle, making it hard to be precise. Indeed, I later discovered that the servos weren't guaranteed to be exactly stationary at 90!
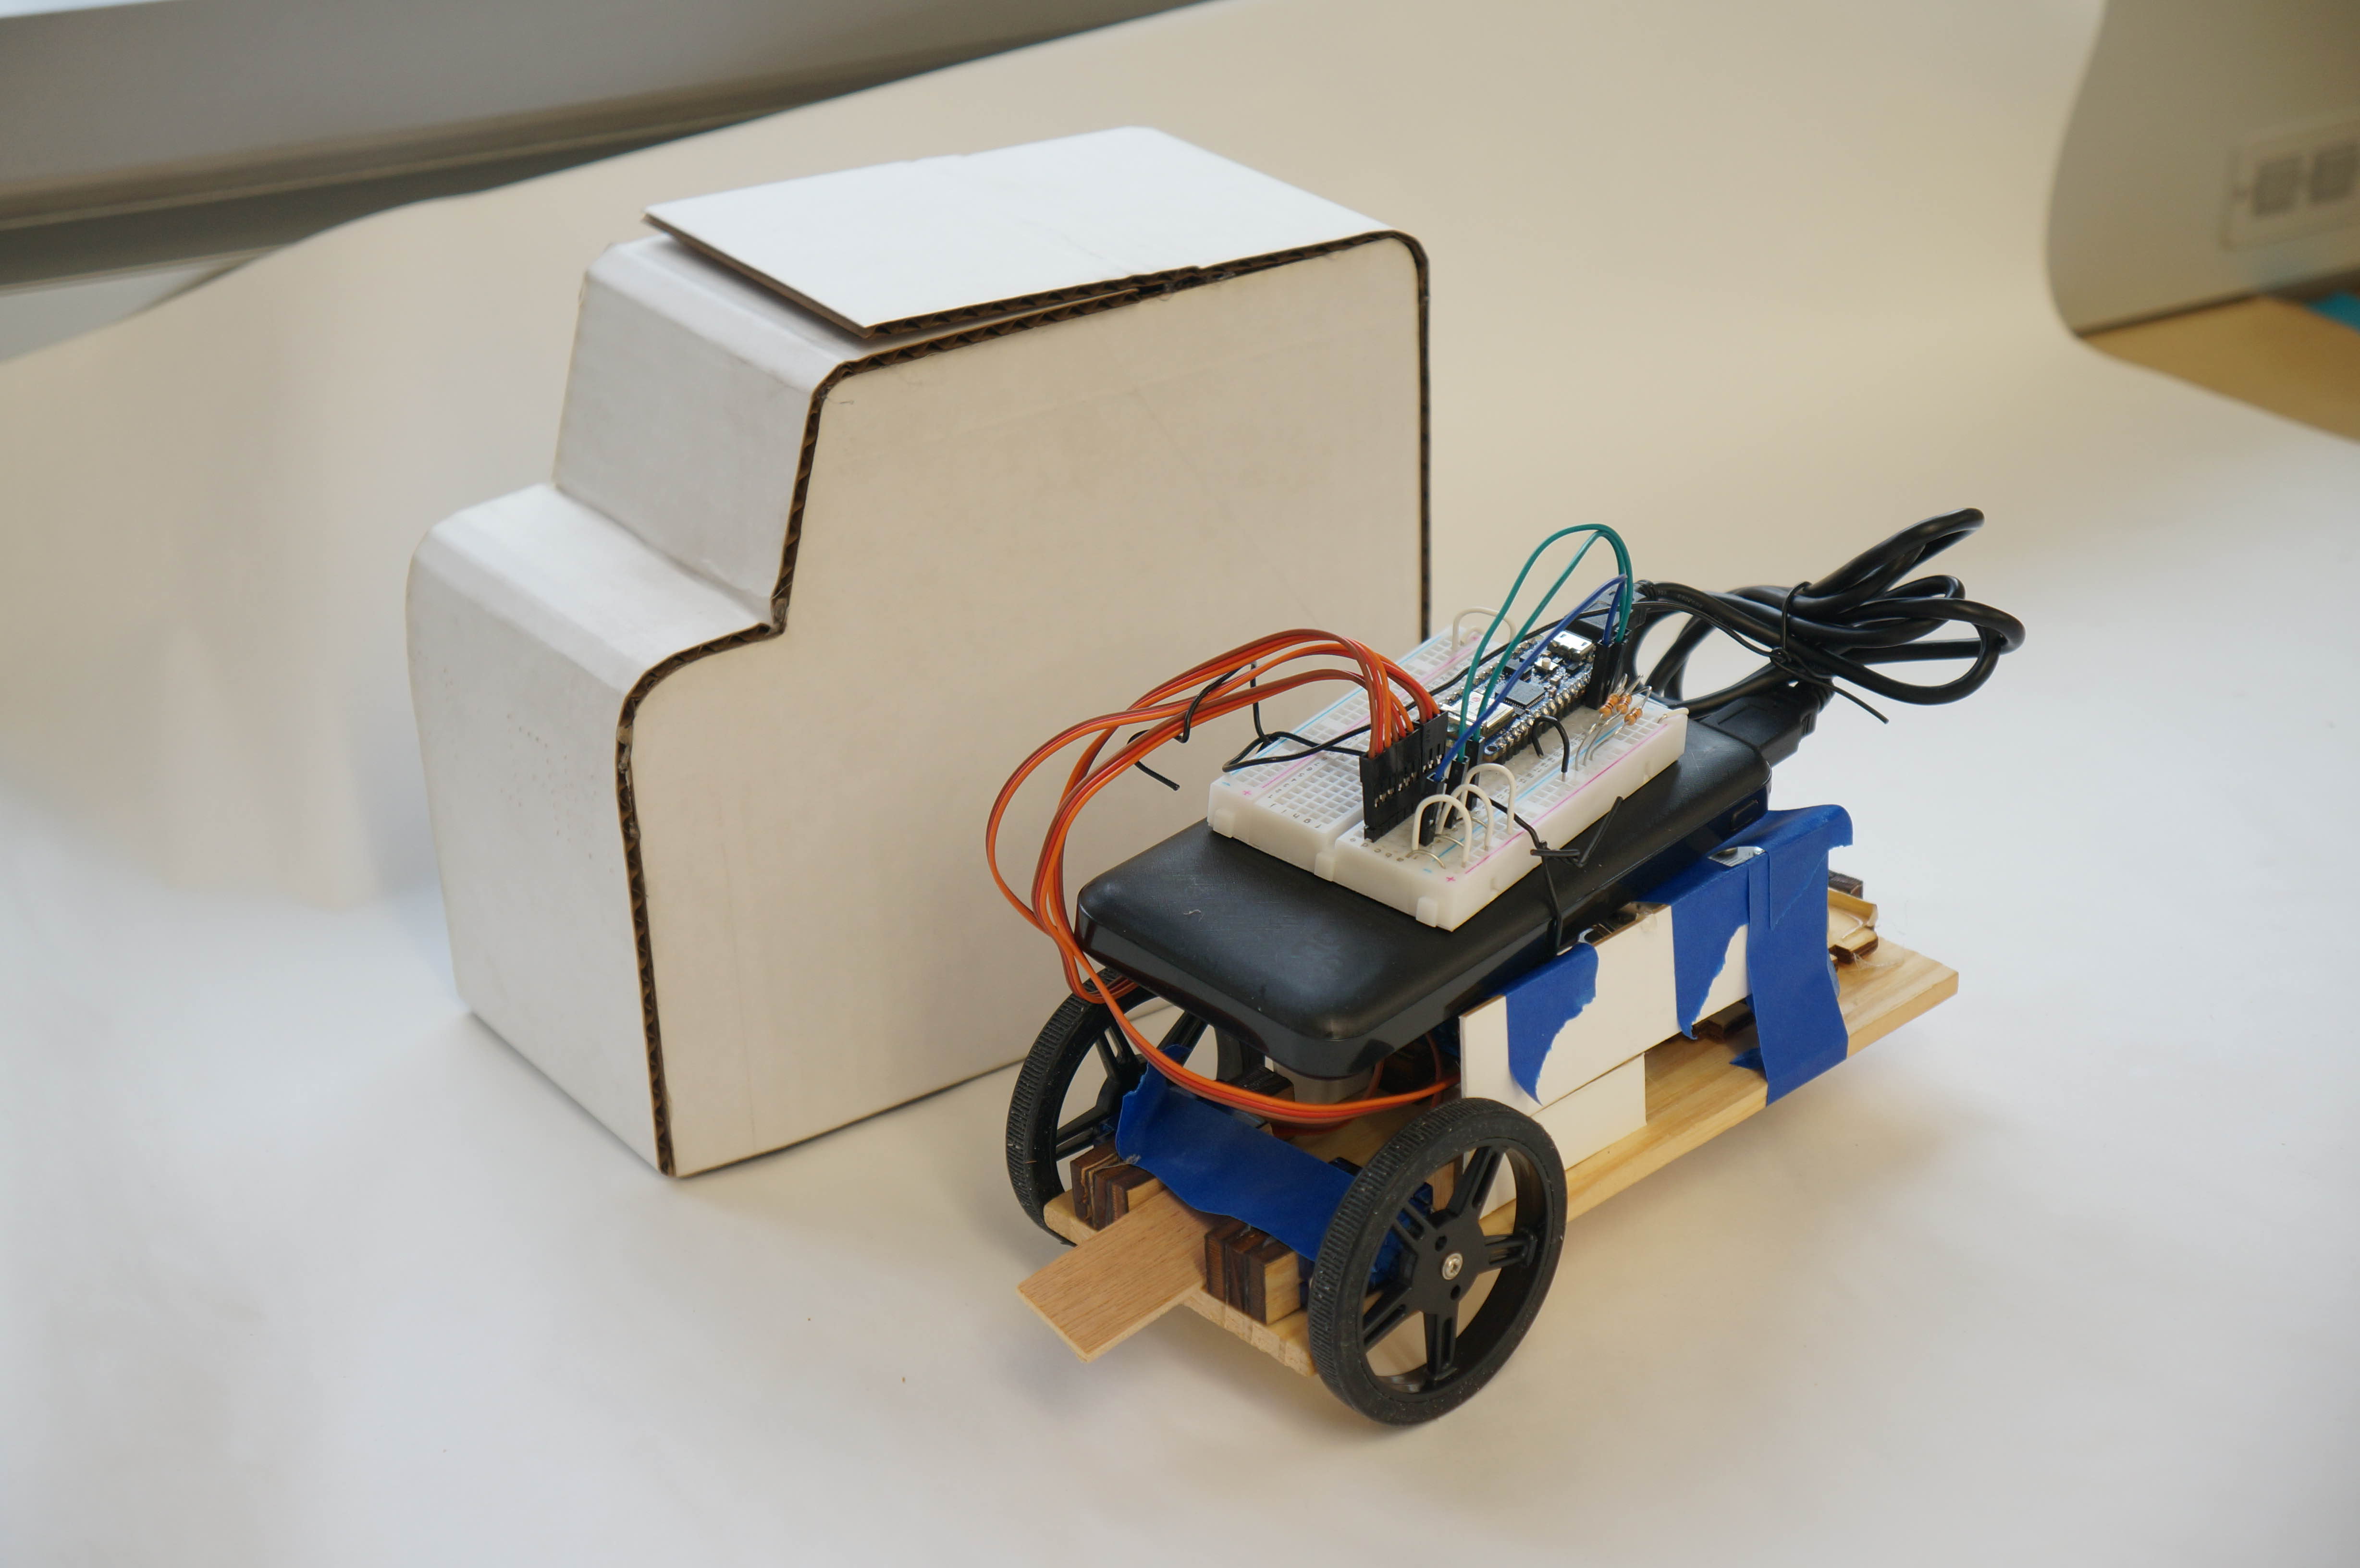
With the mounts now created, I glued them to a larger wood board:
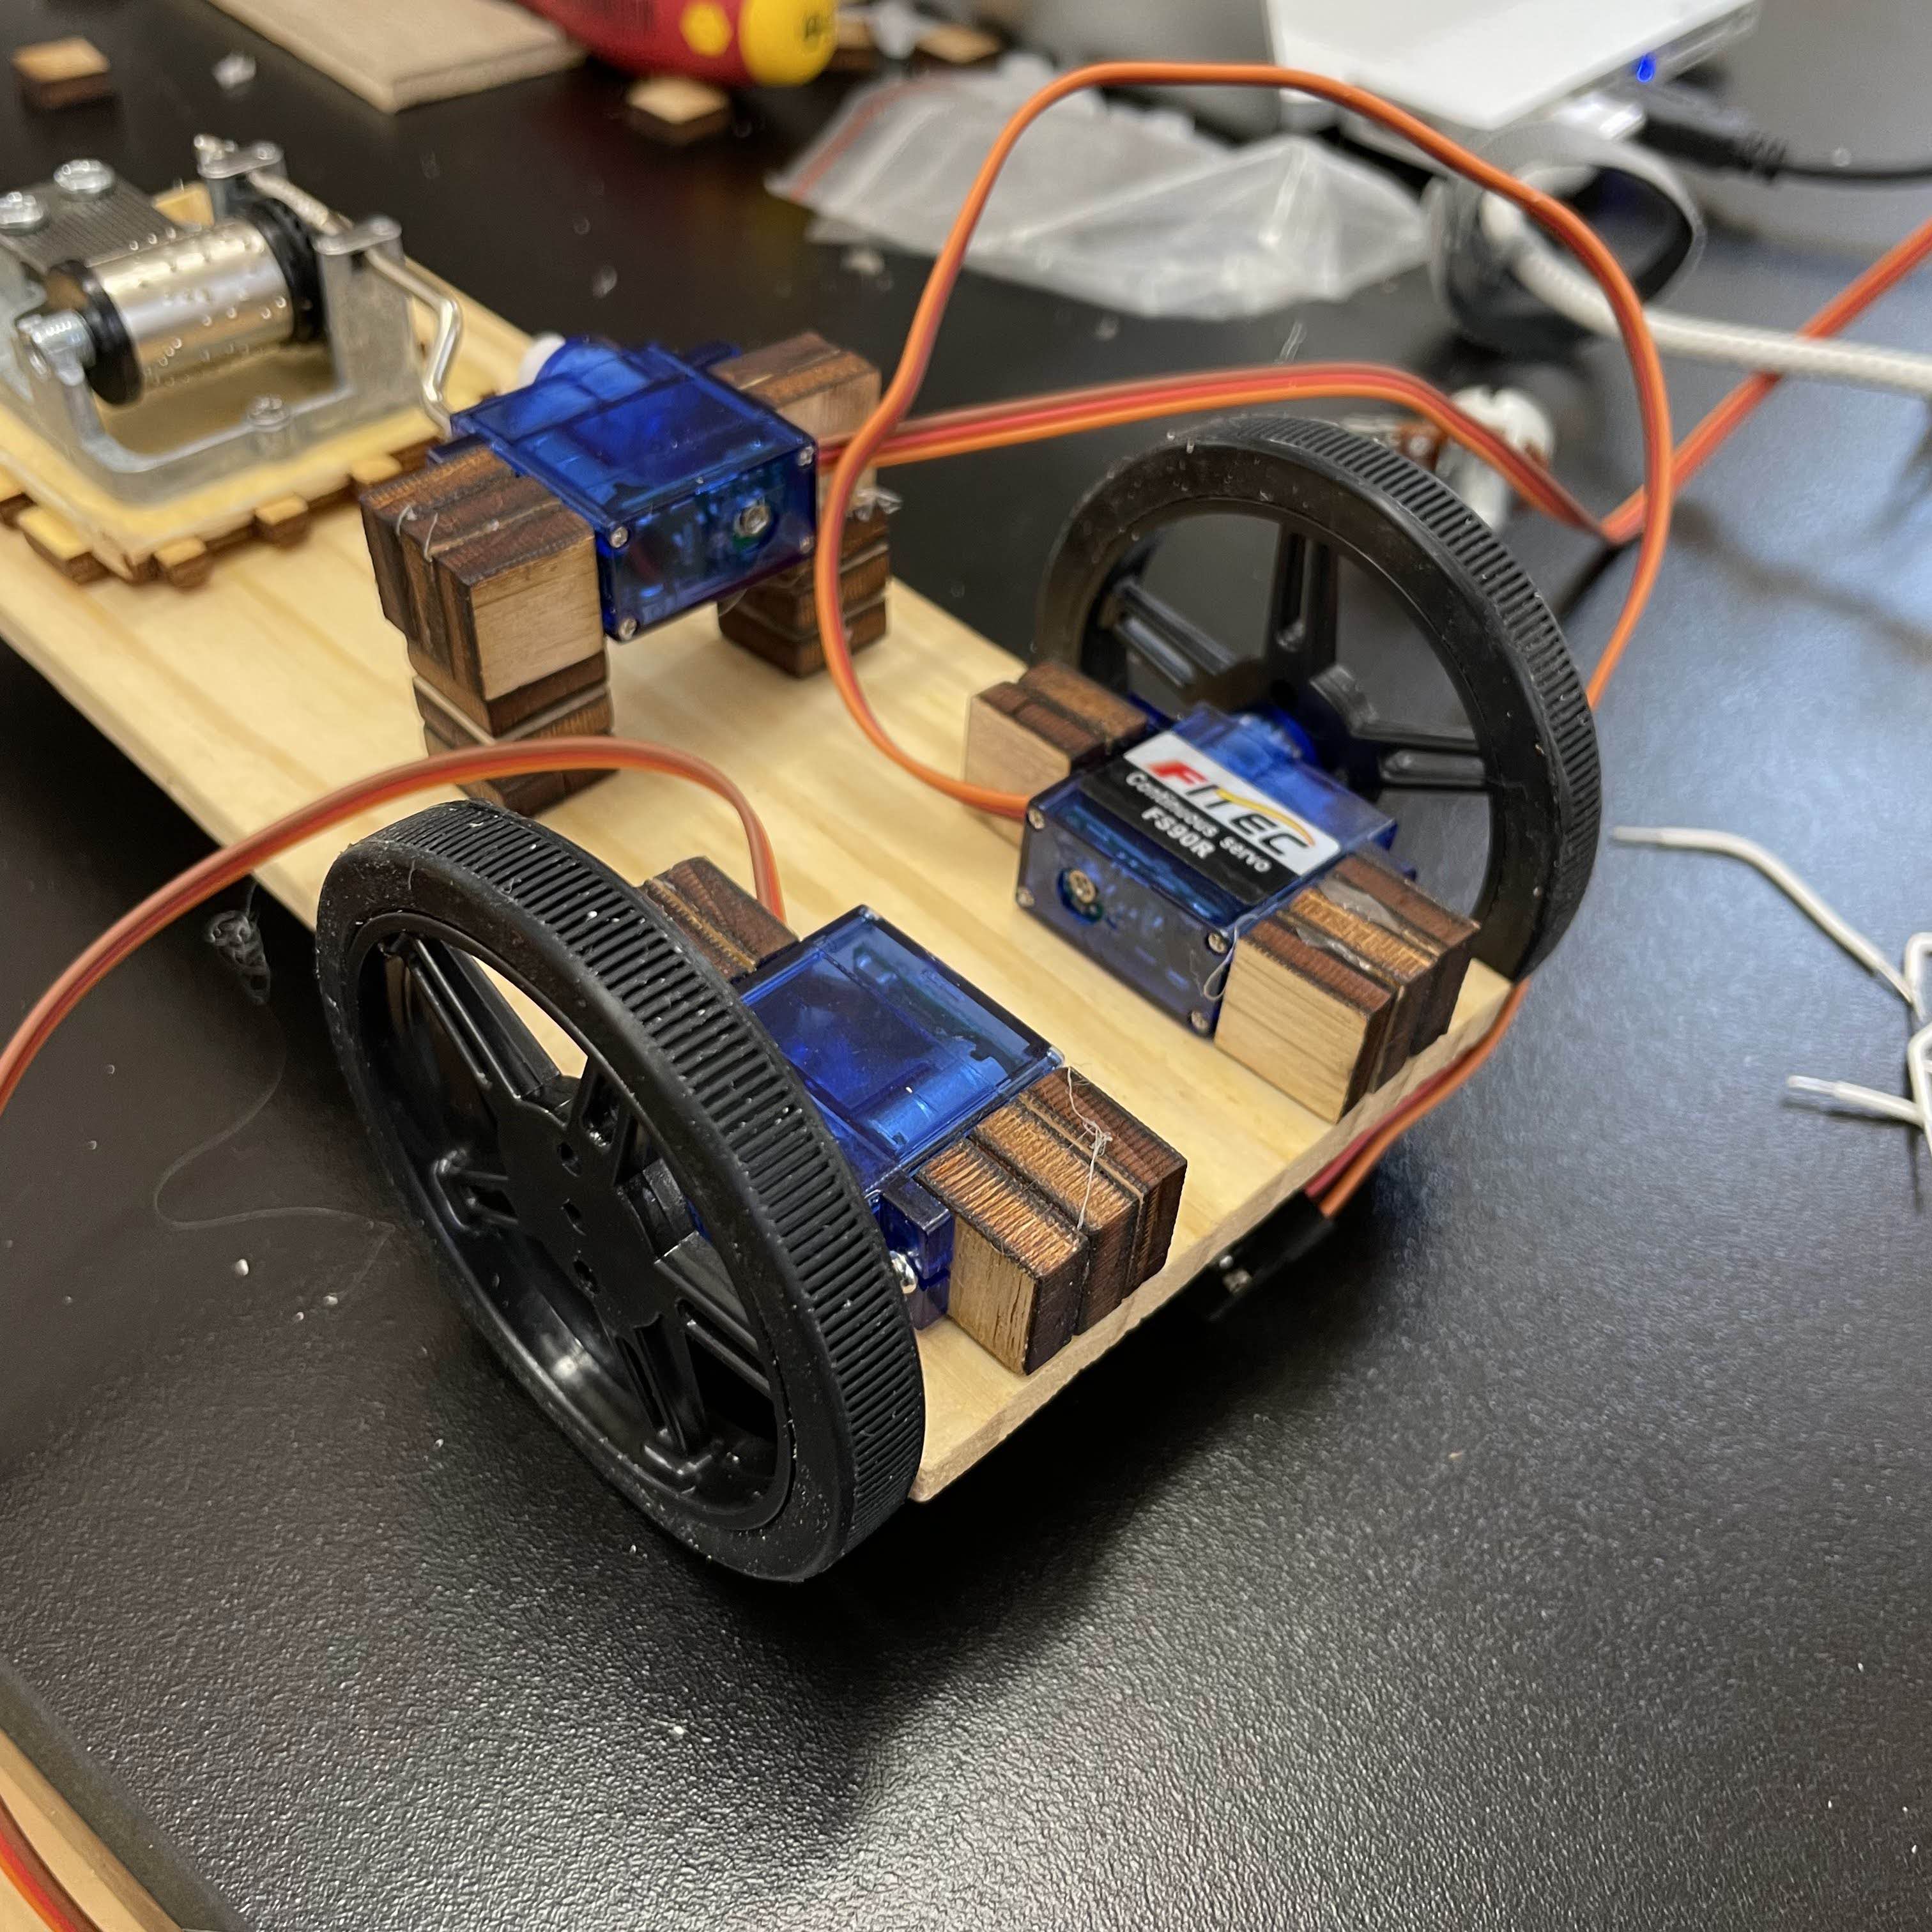
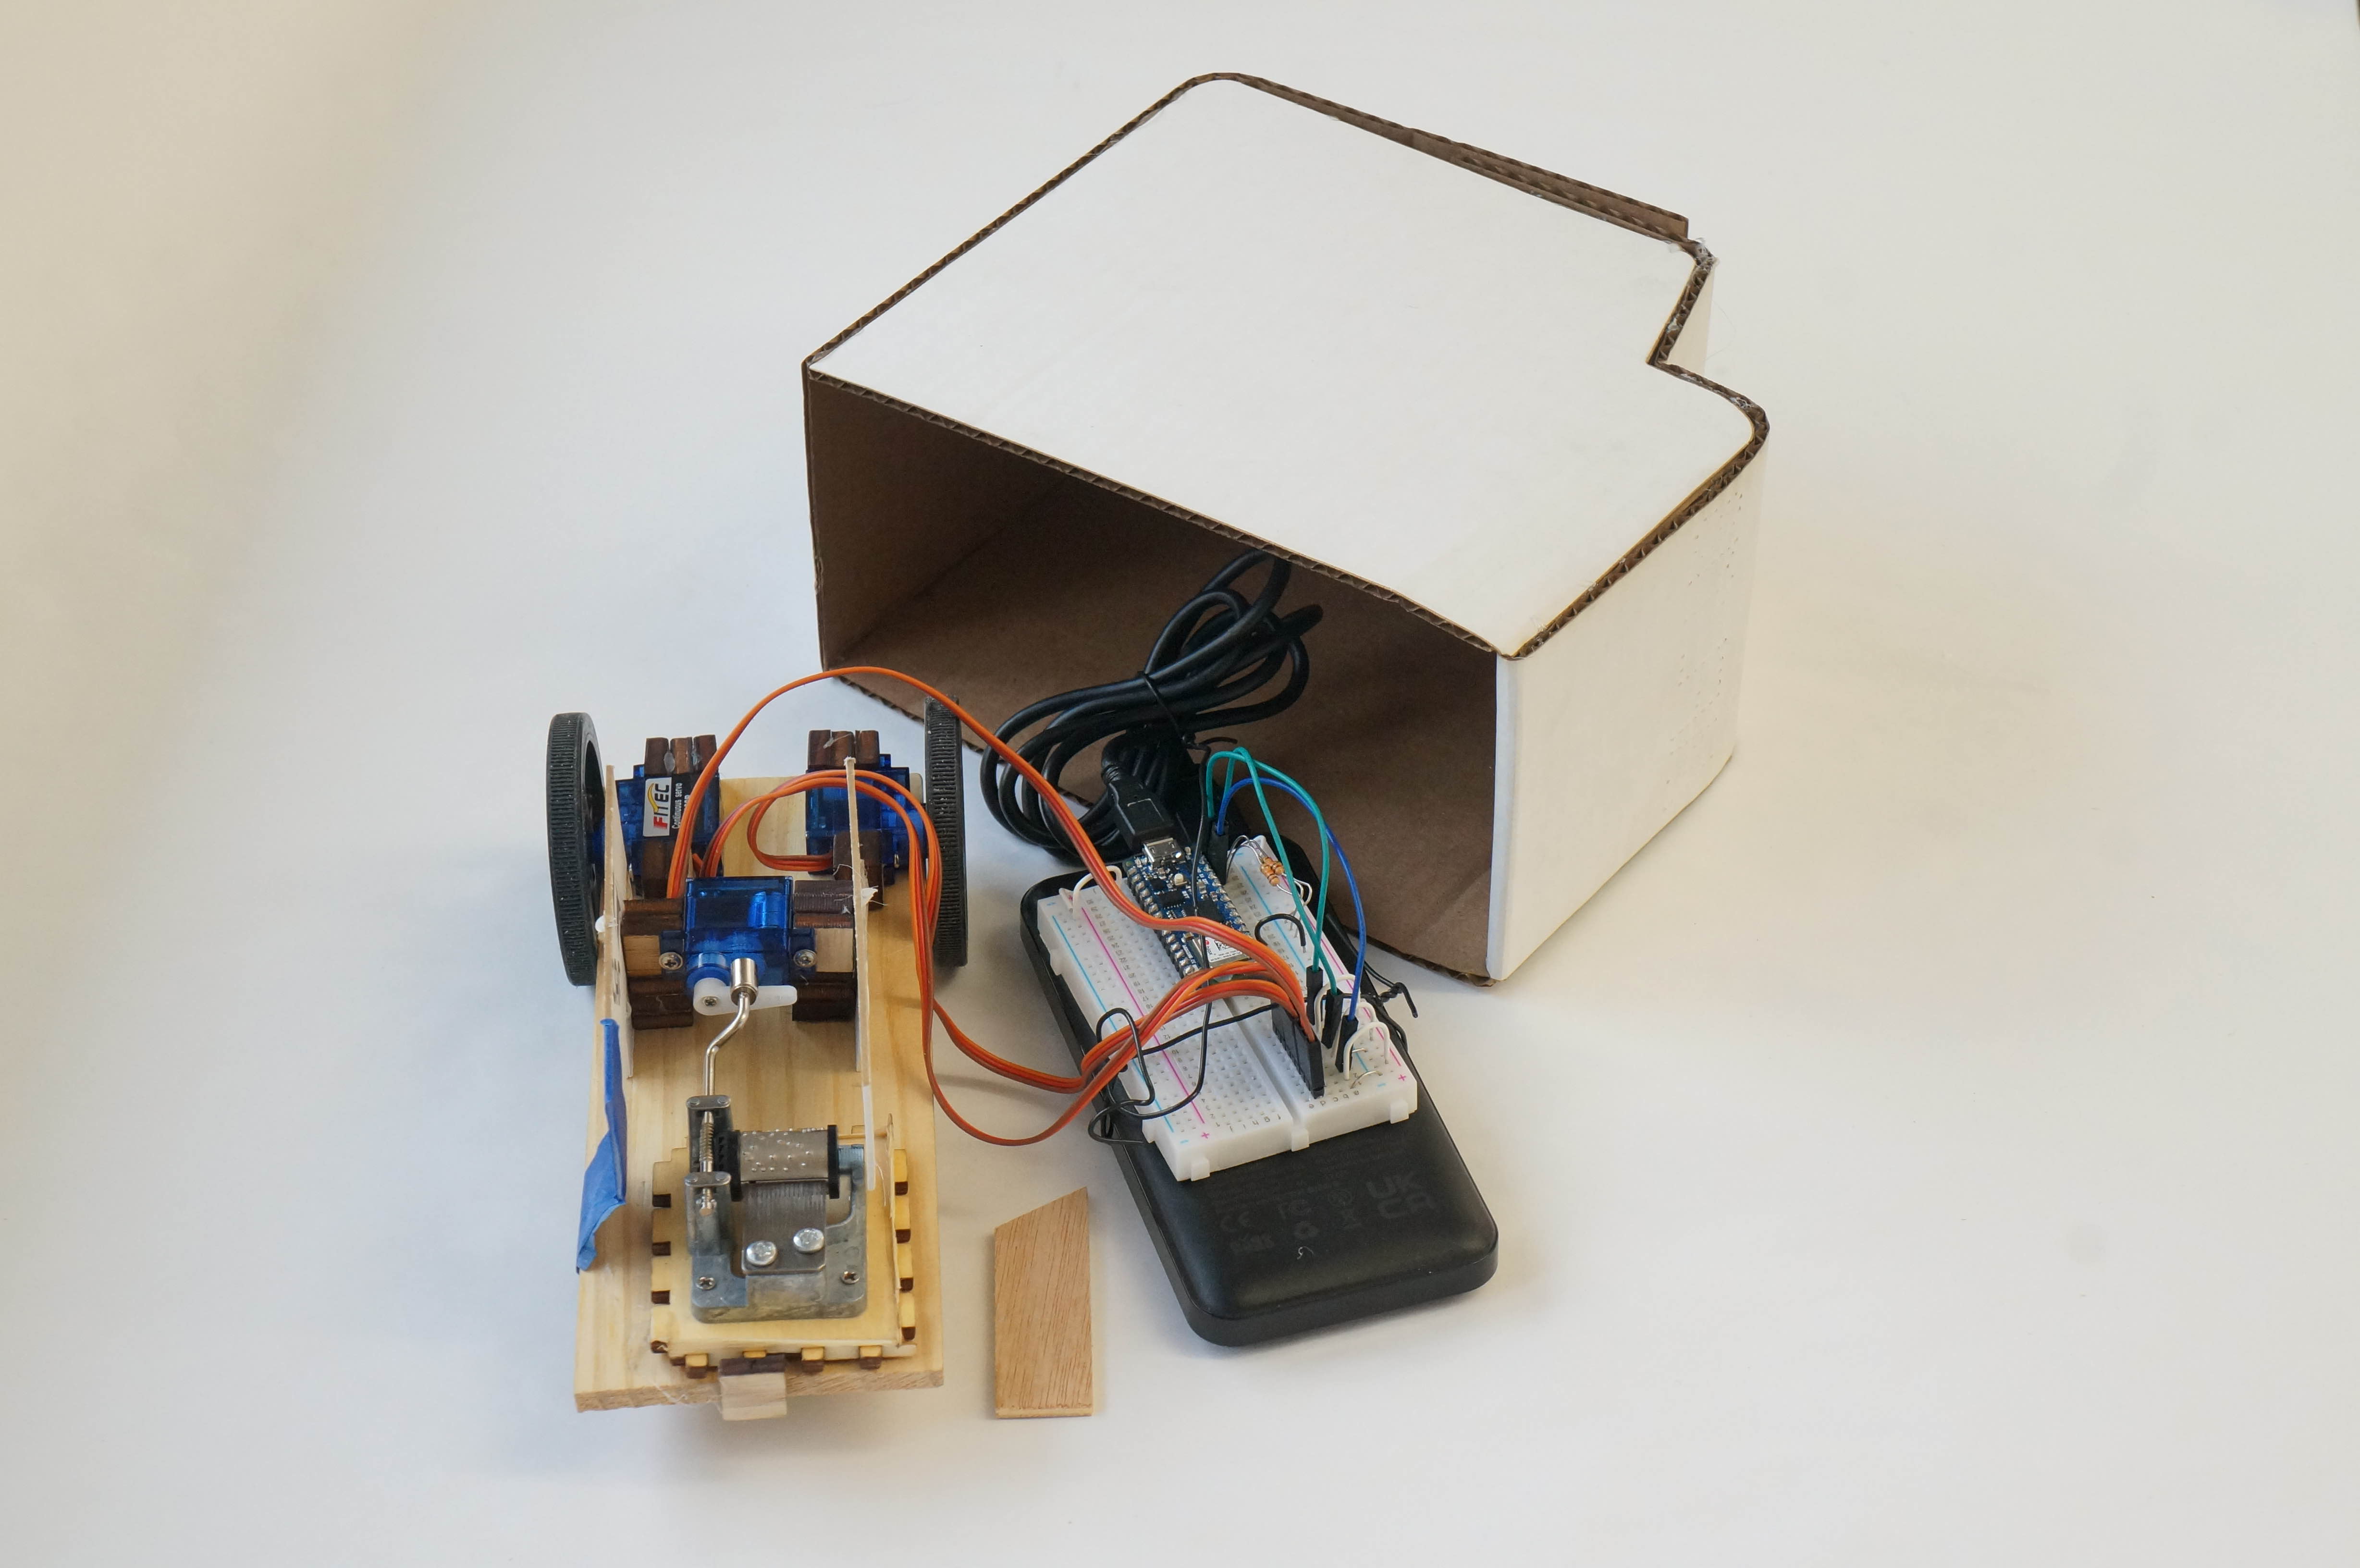
Pauline's project was to use a servo to control a music box. Both are visible in the photo as well. At this point we decided to mount everything onto the same board, to create a remote-controlled ice cream truck.
I wanted the car to be able to turn but didn't have time to create a conventional steering mechanism, since it would require quite a few more moving parts. I decided to put only two wheels on the car, and use differential steering.
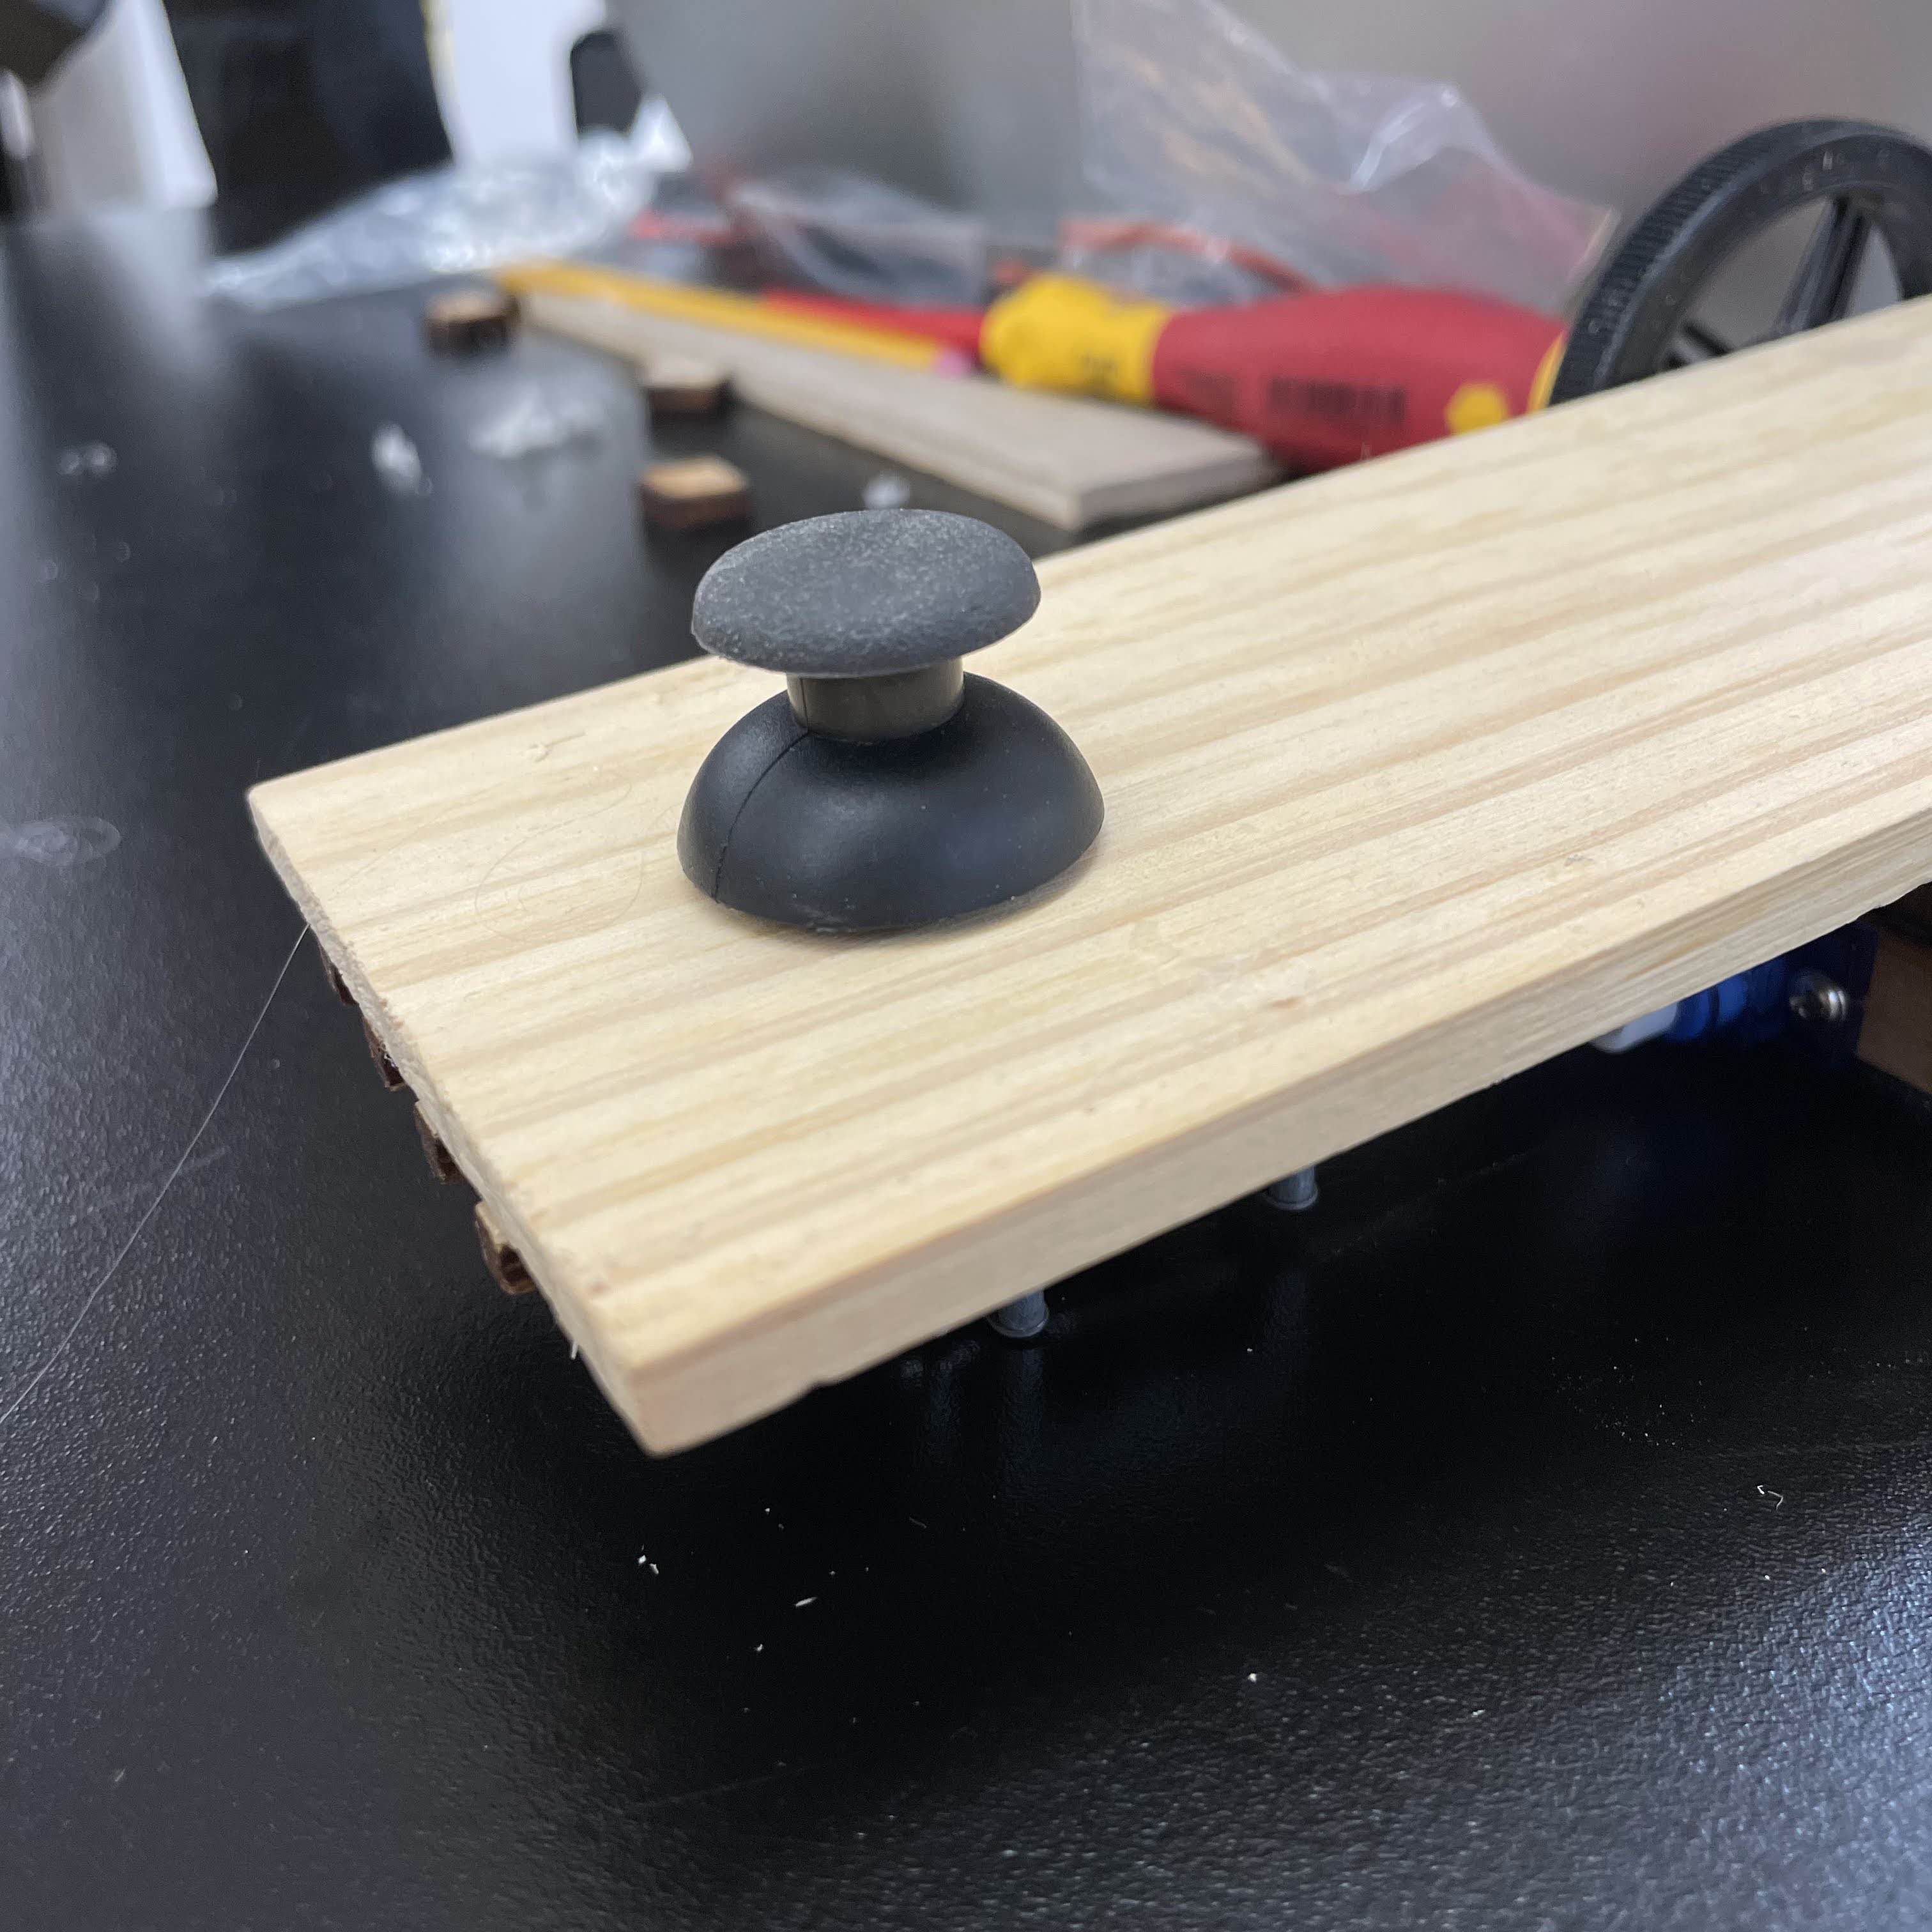
For stability, I found a came something from the junk shelf (a game controller thumb stick?) that worked perfectly as a "third leg".
I updated the code from easier to issue commands to all three servos instead of one.
build-car-arduino.ino
#include <ArduinoBLE.h>
#include <Servo.h>

void exit() {
  while (true);
}

#define printValue(val) \
  Serial.print(#val); \
  Serial.print(" = "); \
  Serial.print(val); \
  Serial.print("  ");

namespace BleConnection {
  char serviceName[] = "BLE Controlled Ice Cream Car -- Pauline / Sean";
  BLEService service("21e1aa31-b81f-4c3c-851c-72359b55f3db");
  BLEWordCharacteristic characteristic("114833ca-f1e2-4d0a-8fff-277881be1ddb", BLERead | BLEWrite);
  BLEDevice central;
  bool isConnected = false;
  bool hasCentral = false;

  void setup() {
    if (!BLE.begin()) {
      Serial.println("[BLE] Error: Starting BLE failed!");
      exit();
    }

    BLE.setLocalName(serviceName);
    BLE.setAdvertisedService(service);
    service.addCharacteristic(characteristic);
    BLE.addService(service);
    characteristic.writeValue(0);
    BLE.advertise();
  }

  void loop() {
    if (hasCentral) {
      isConnected = central.connected();
      if (!isConnected) {
        hasCentral = false;
        Serial.println("[BLE] Disconnected from central.");
      }
    } else {
      central = BLE.central();
      hasCentral = !!central;
      if (central && central.connected()) {
        isConnected = central.connected();
        if (isConnected) {
          Serial.print("[BLE] Connected to central: ");
          Serial.println(central.address());
        }
      }
    }
  }
}

namespace Servos {
  Servo music;
  Servo motor1;
  Servo motor2;

  void attach() {
    music.attached() || music.attach(10);
    motor1.attached() || motor1.attach(11);
    motor2.attached() || motor2.attach(12);
  }

  void detach() {
    music.detach();
    motor1.detach();
    motor2.detach();
  }

  void write(int stopValue, int musicValue, int motor1Value, int motor2Value) {
    attach();
    musicValue == stopValue ? music.detach() : music.write(musicValue);
    motor1Value == stopValue ? motor1.detach() : motor1.write(motor1Value);
    motor2Value == stopValue ? motor2.detach() : motor2.write(motor2Value);
  }
}

const int STOP = 90;
int numReceivedCommands = 0;

void receiveValue() {
  if (!BleConnection::isConnected) {
    Servos::detach();
    return;
  }

  if (!BleConnection::characteristic.written()) return;

  if (numReceivedCommands == 0) {
    numReceivedCommands++;
    return;
  }

  word value = BleConnection::characteristic.value();
  bool isMusicOn = value & 1;

  value >>= 1;
  int motor1Value = value / 180;
  int motor2Value = value % 180;

  Serial.print("[receiveValue] ");
  printValue(isMusicOn);
  printValue(motor1Value);
  printValue(motor2Value);
  Serial.println();

  Servos::write(
    STOP,
    isMusicOn ? 180 : STOP,
    motor1Value + (STOP - 90),
    motor2Value + (STOP - 90)
  );
}

void setup() {
  BleConnection::setup();
  if (!BleConnection::isConnected) {
    numReceivedCommands = 0;
  }
}

void loop() {
  BleConnection::loop();
  receiveValue();
}
On the controller end, I added an algorithm to translate mouse coordinates into servo commands that would drive the car toward the mouse direction. The algorithm (highlighted on the left) turned out to be a lot simpler than I imagined:
.
After Pauline's part was completed as well, we added a battery and strapped it all together:
.
Peer-approved!
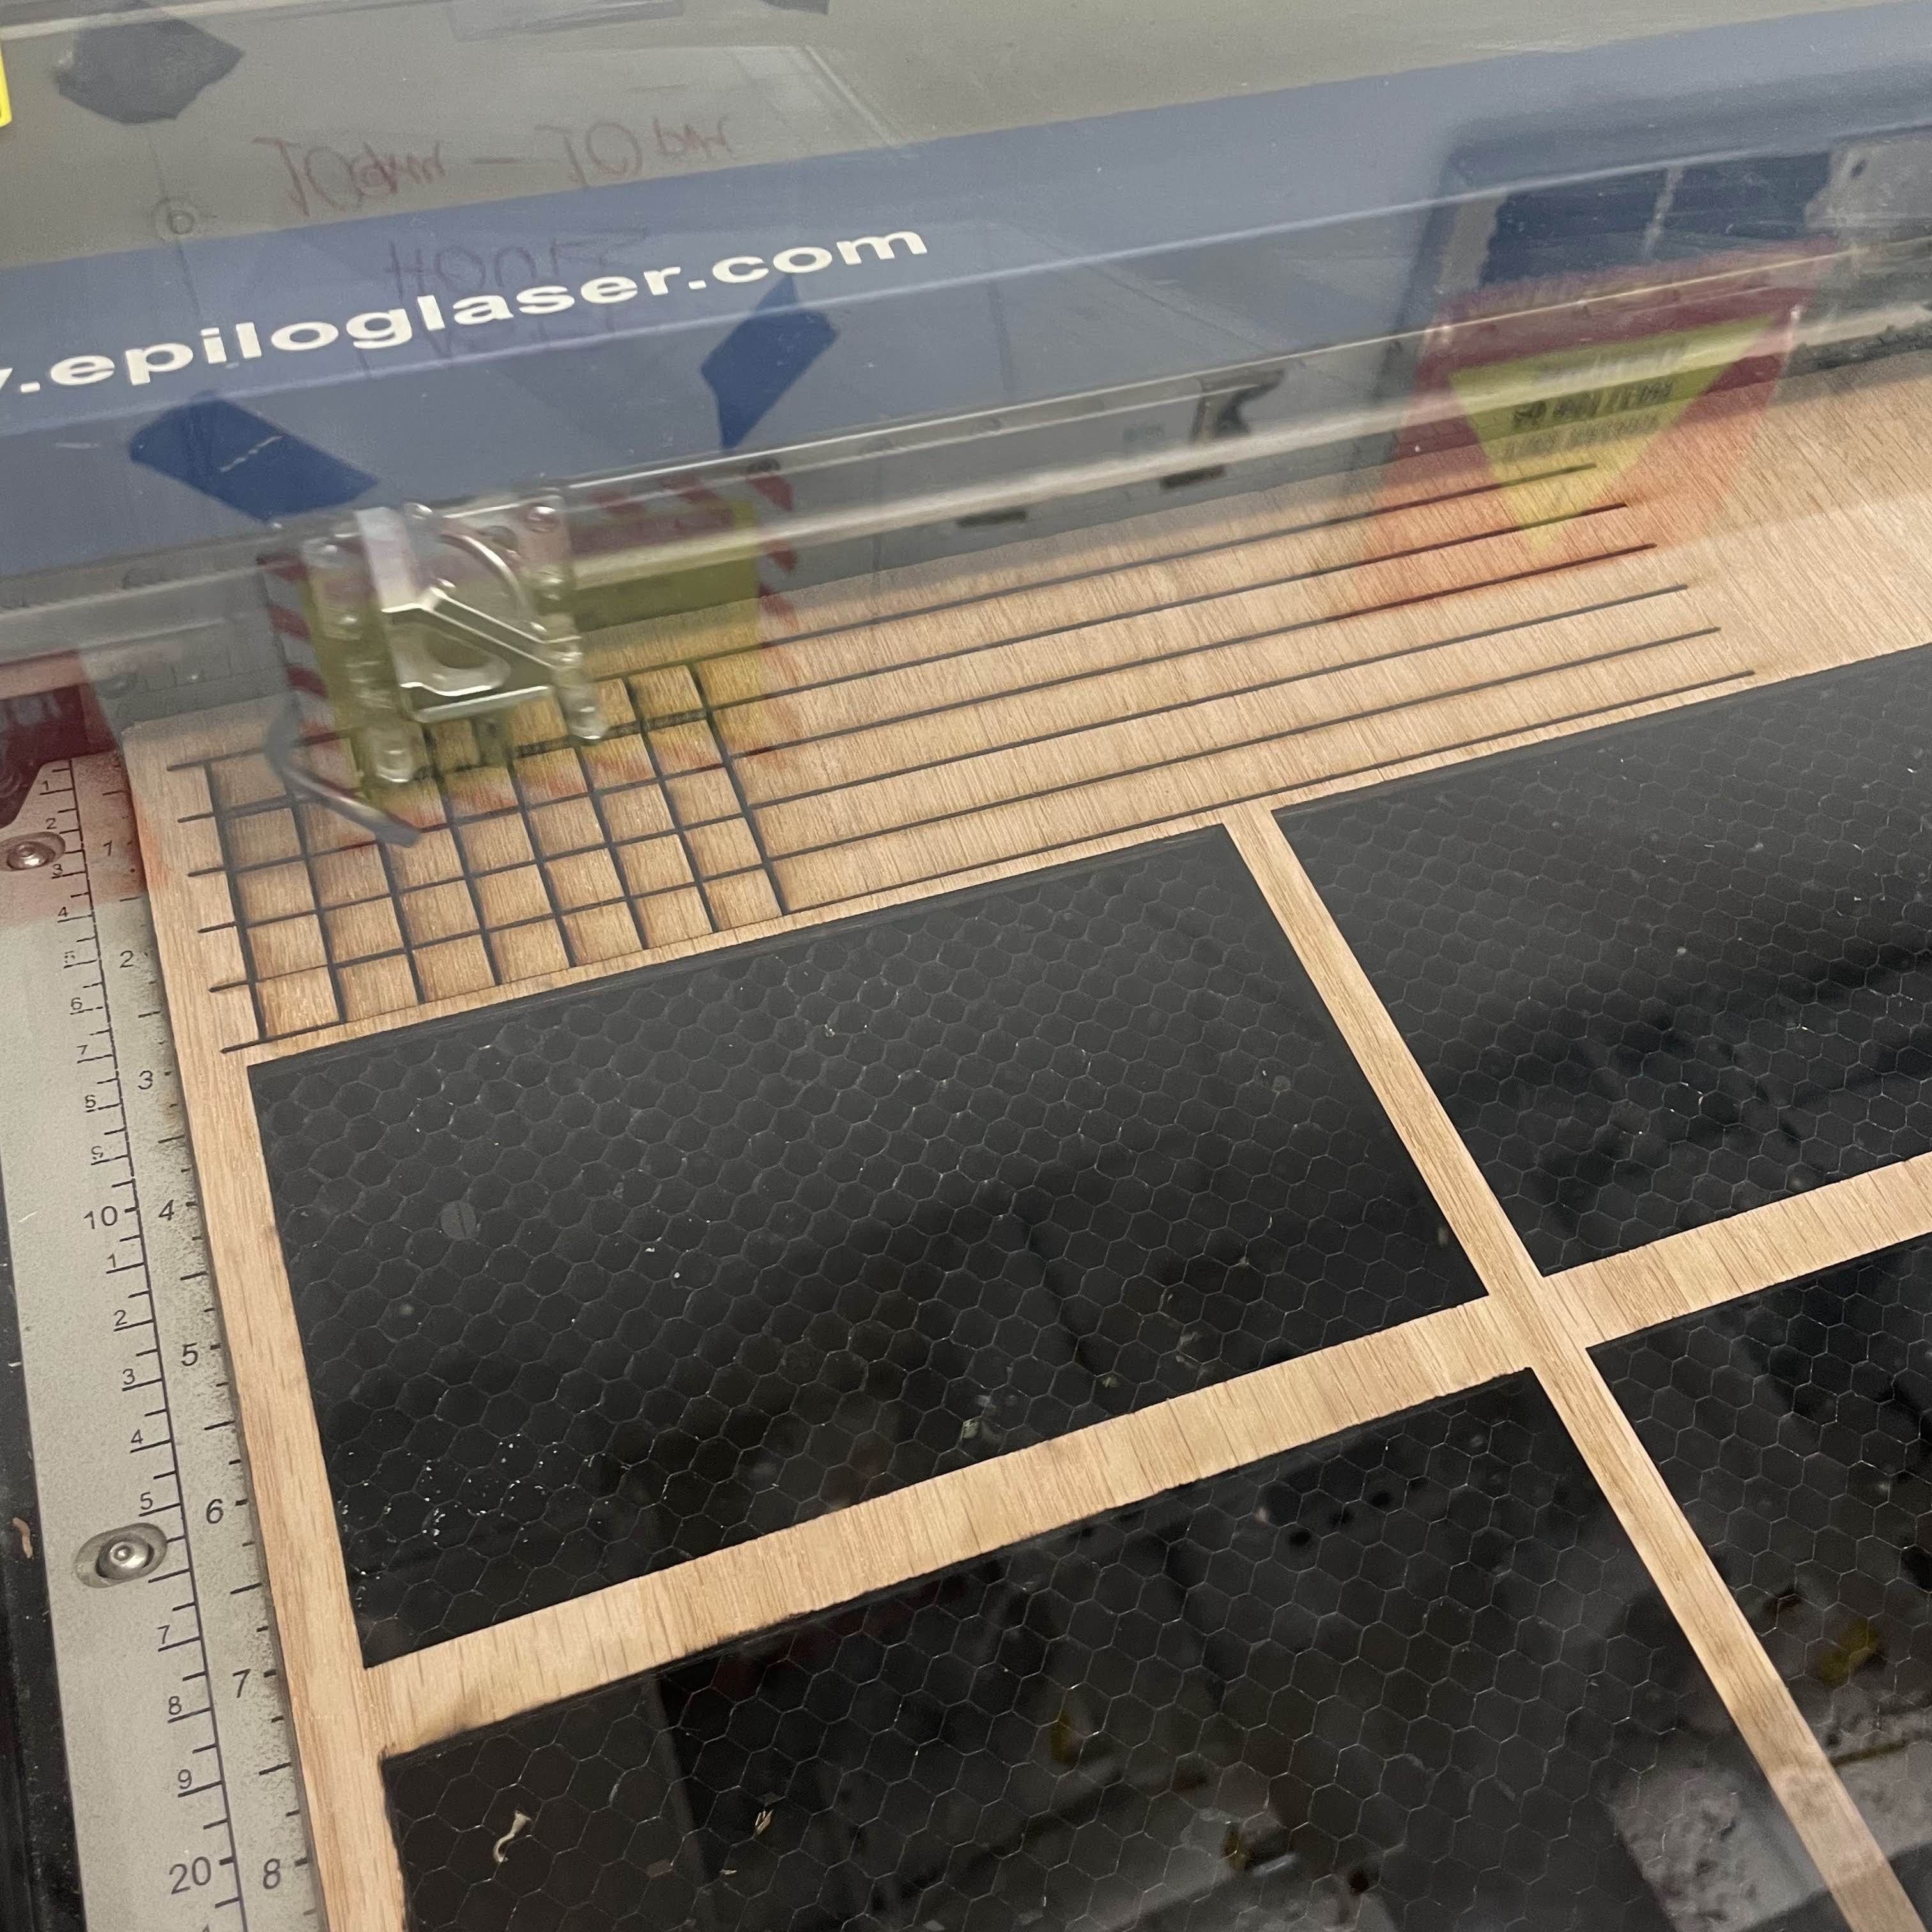
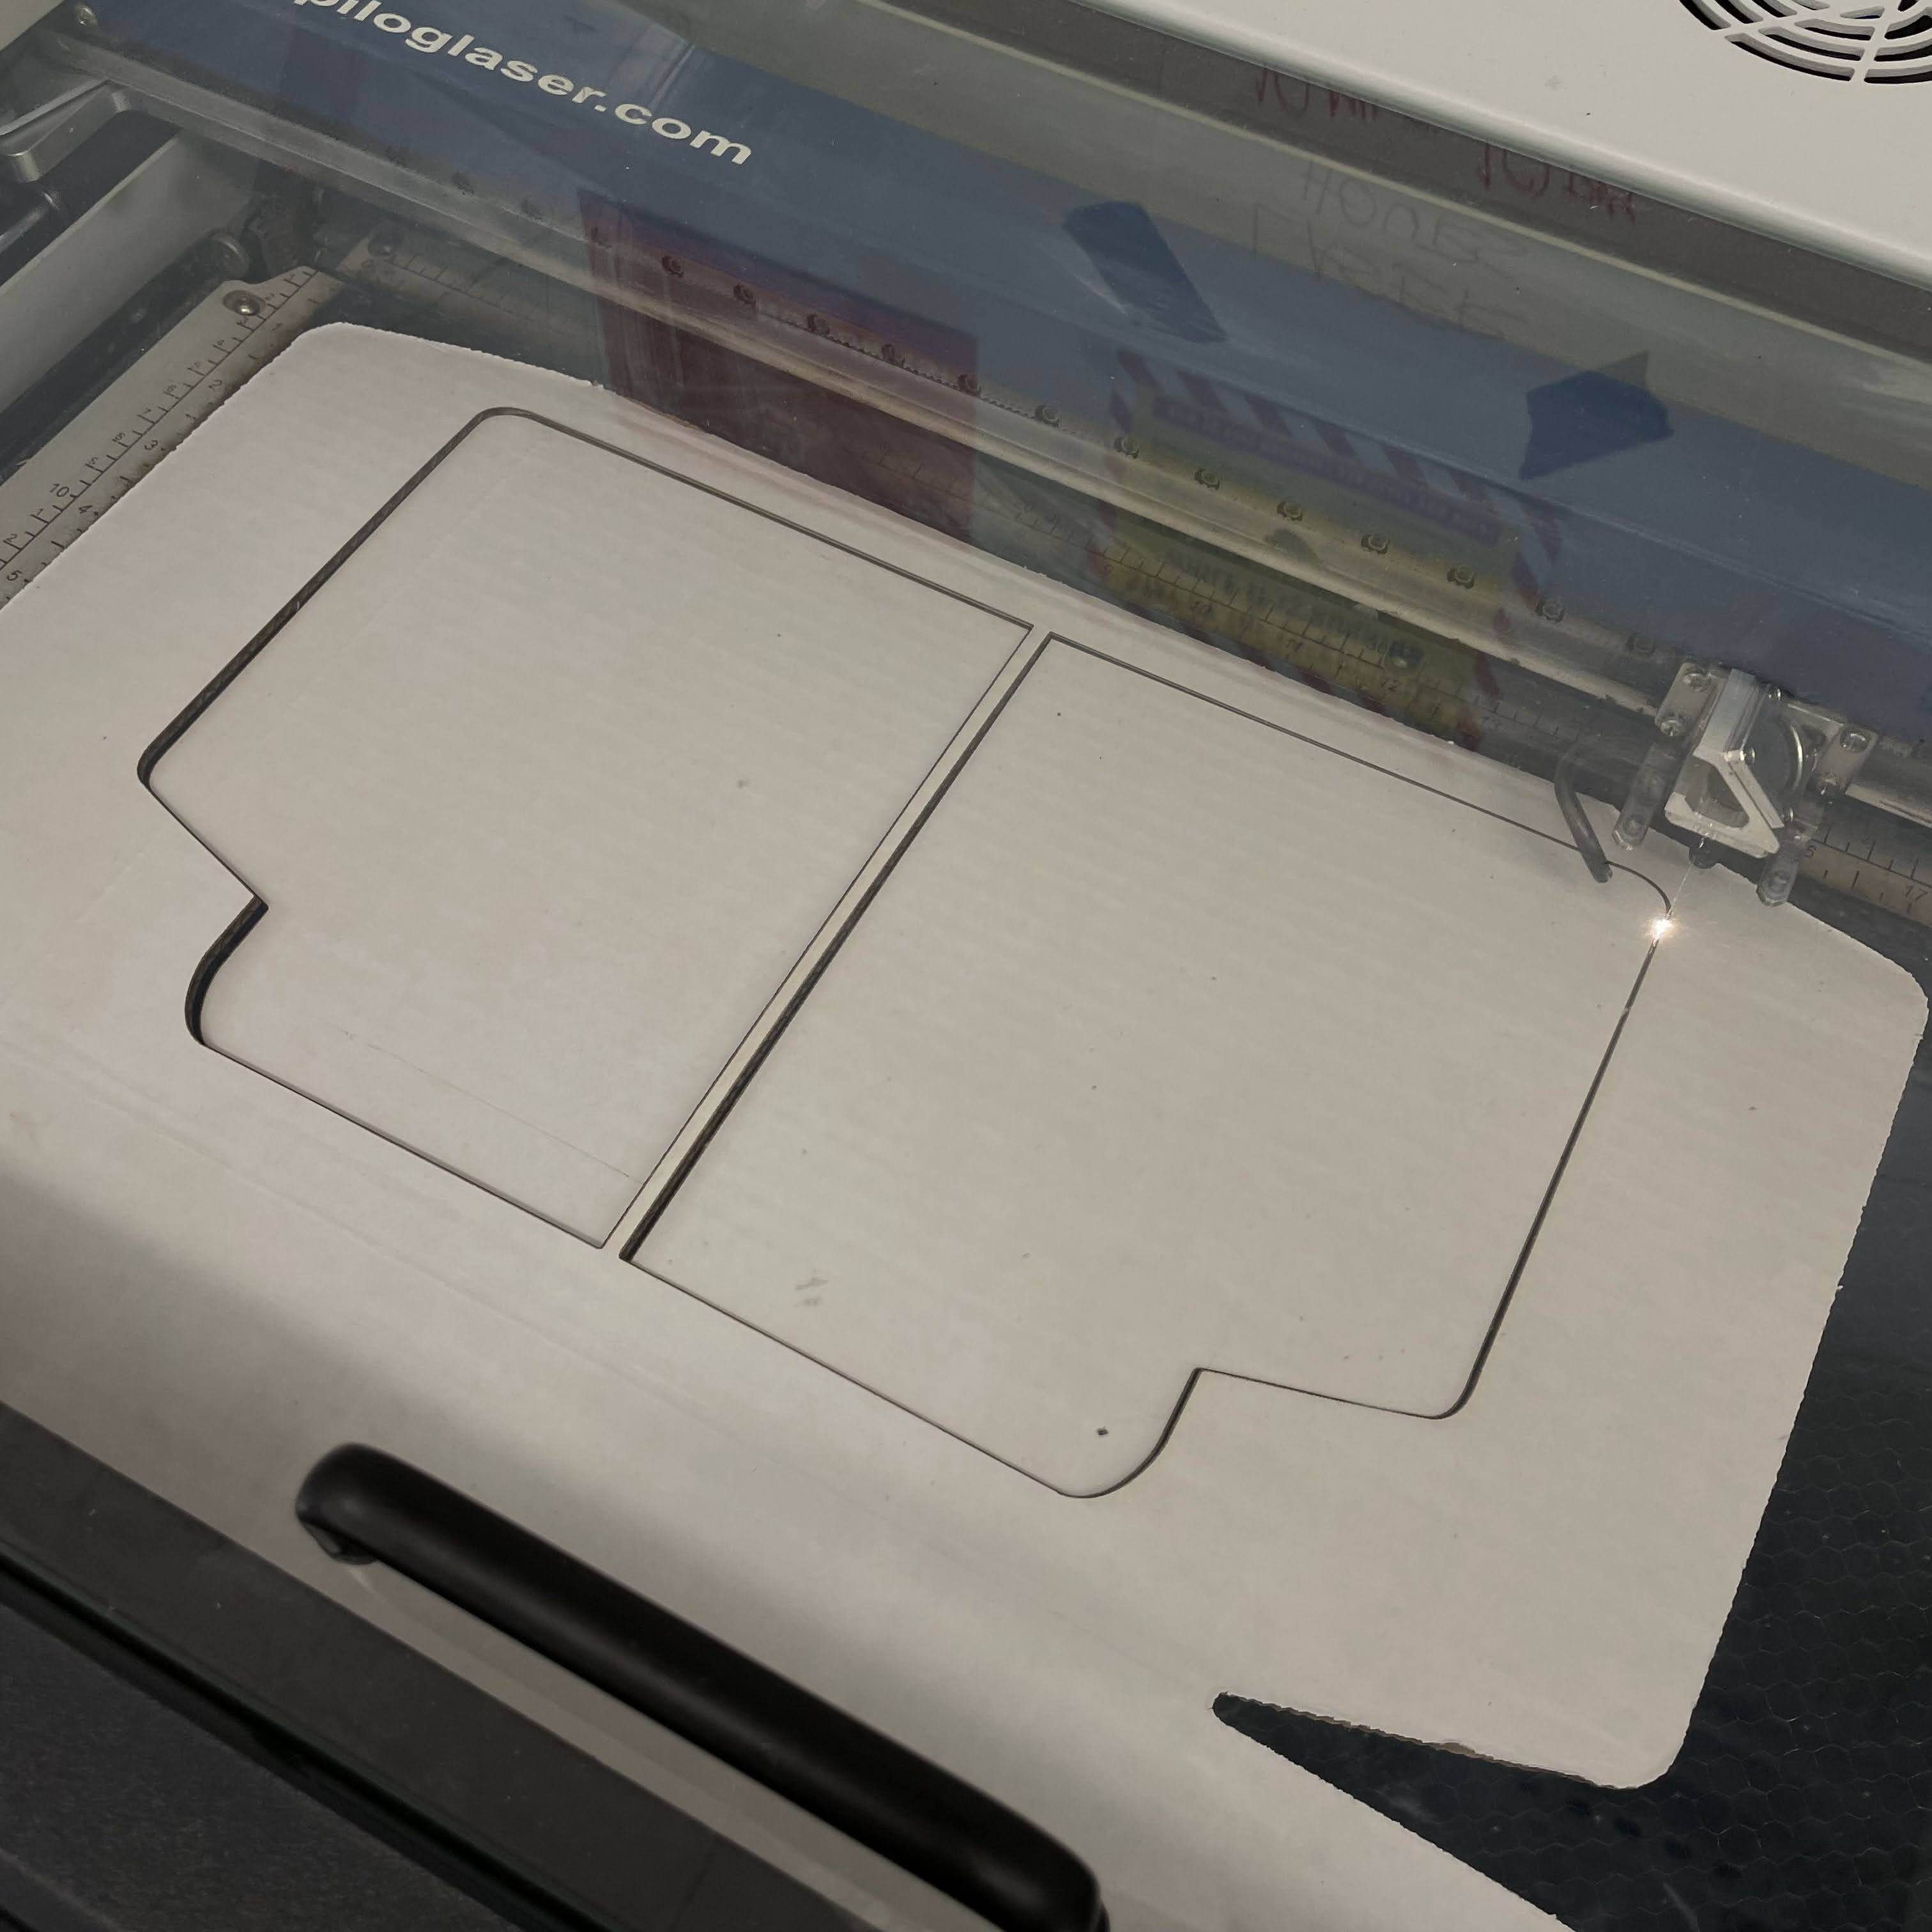
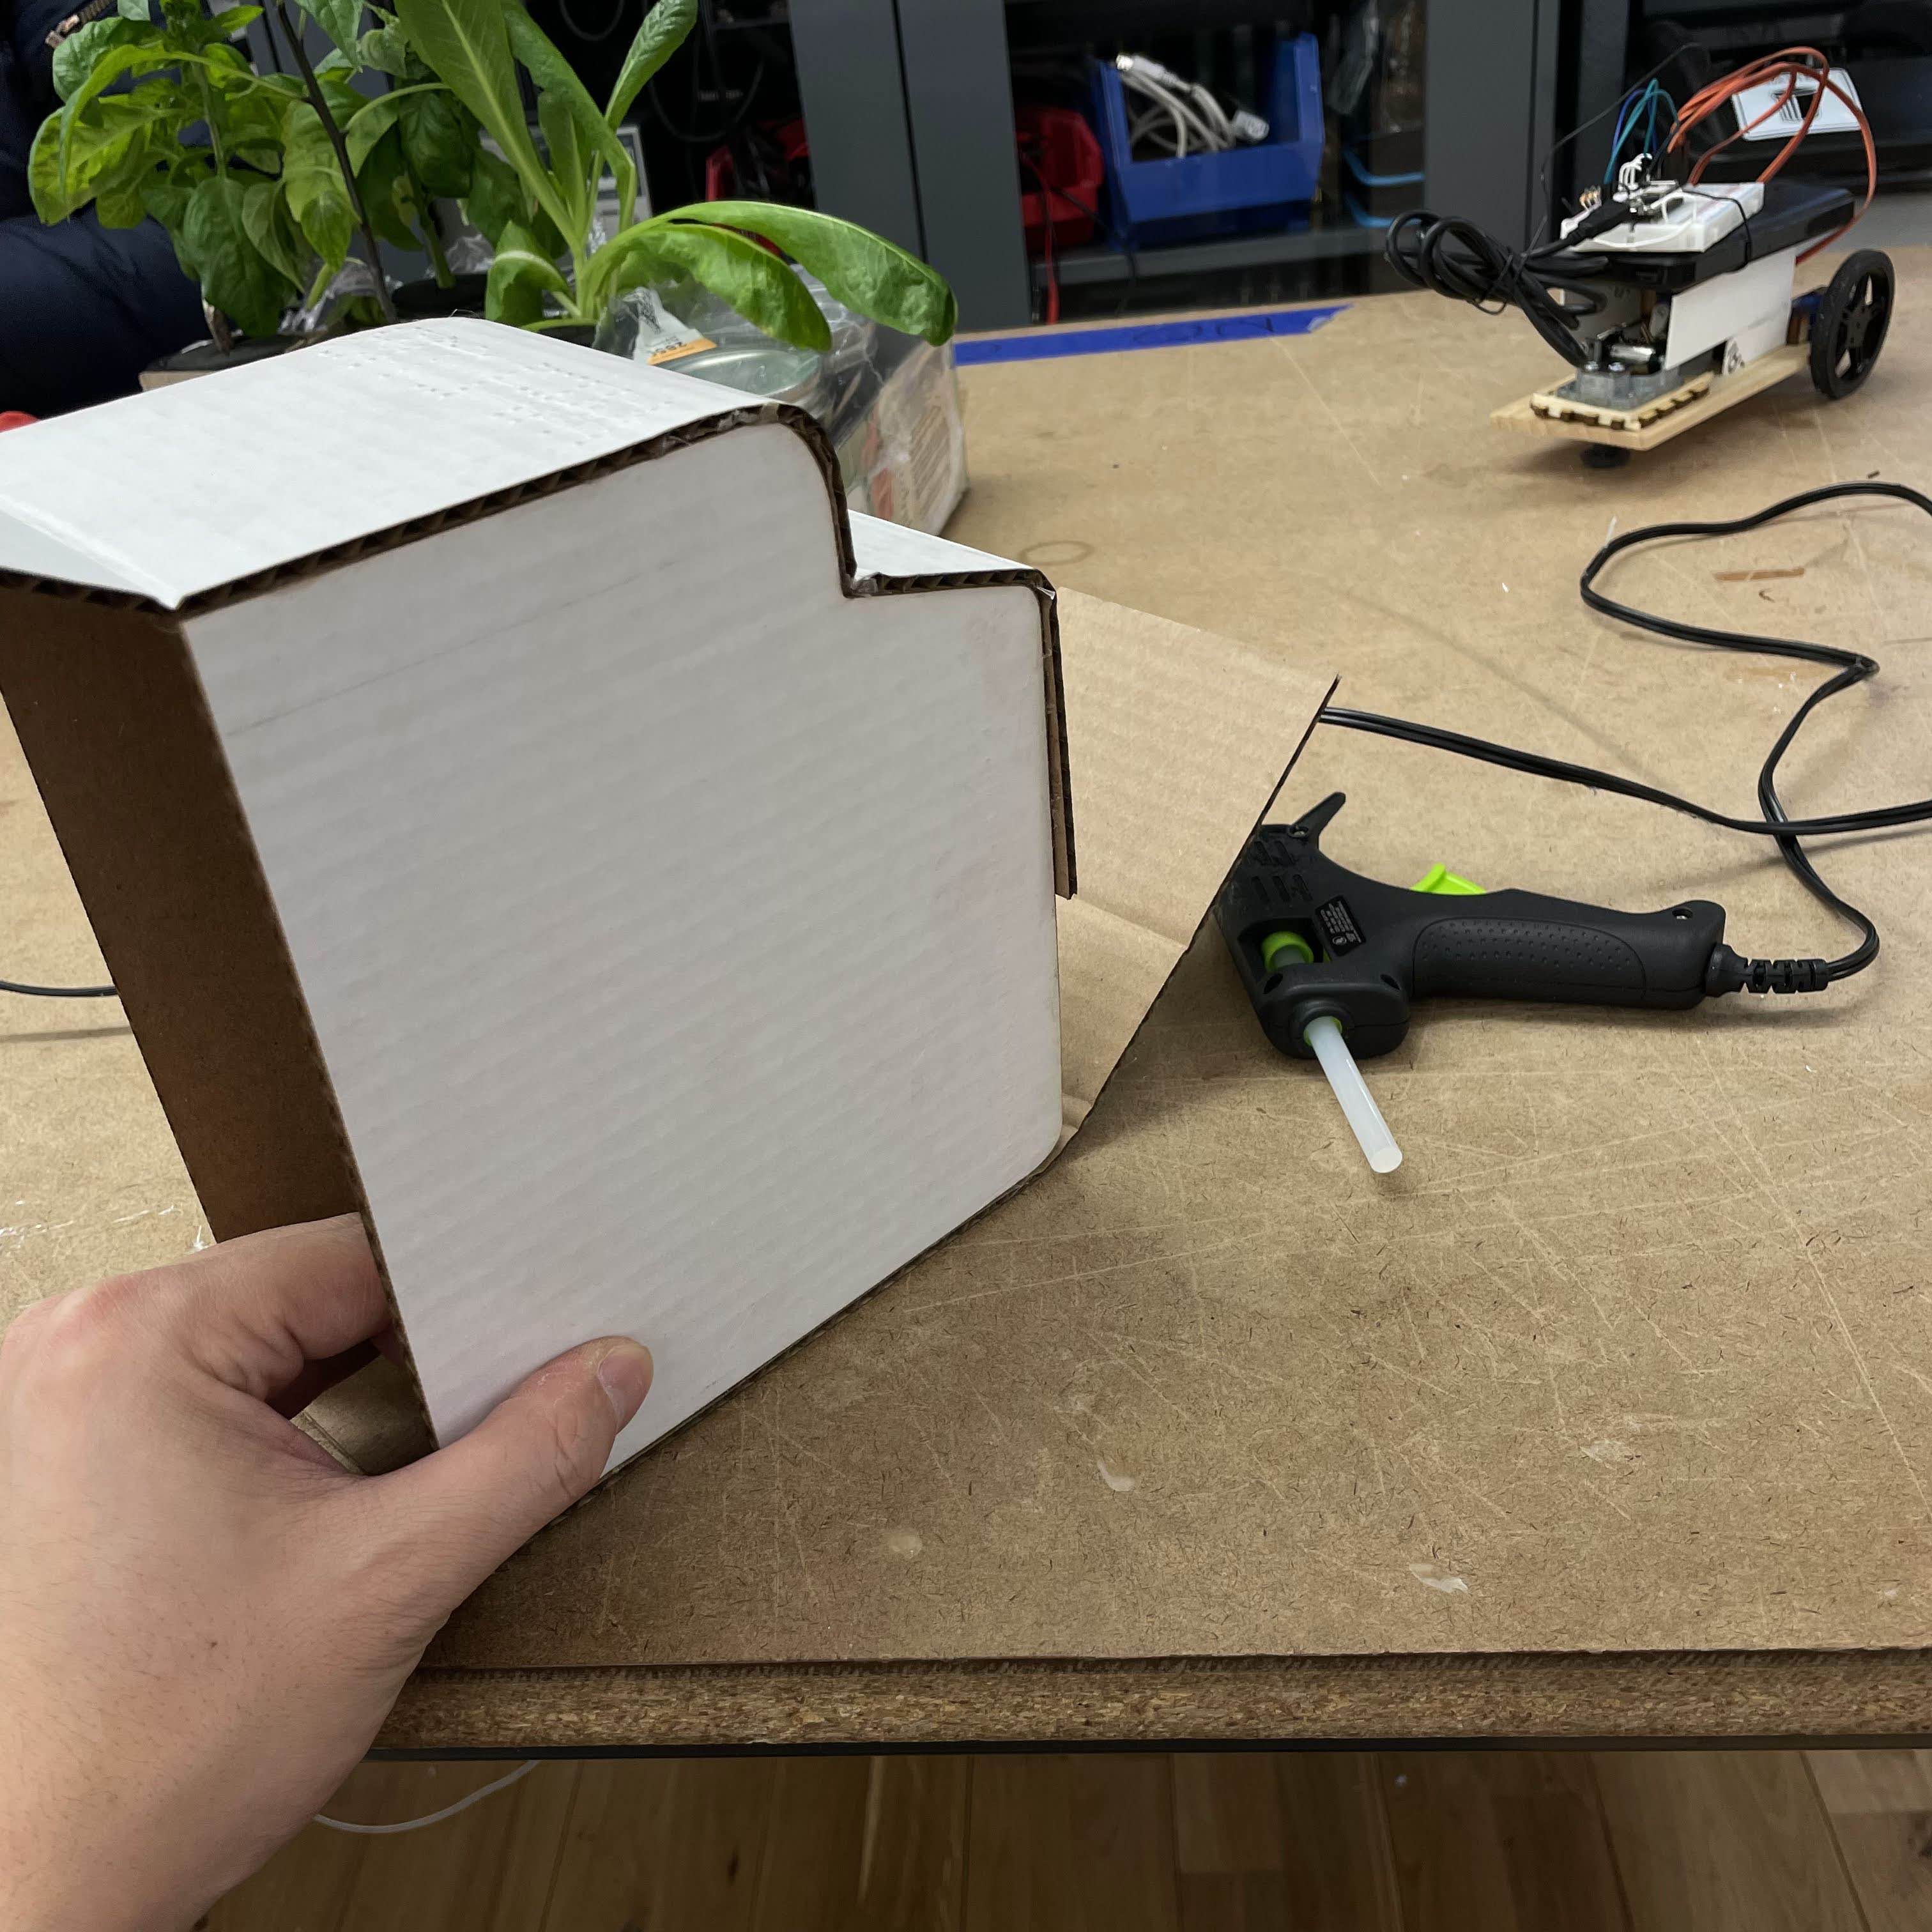
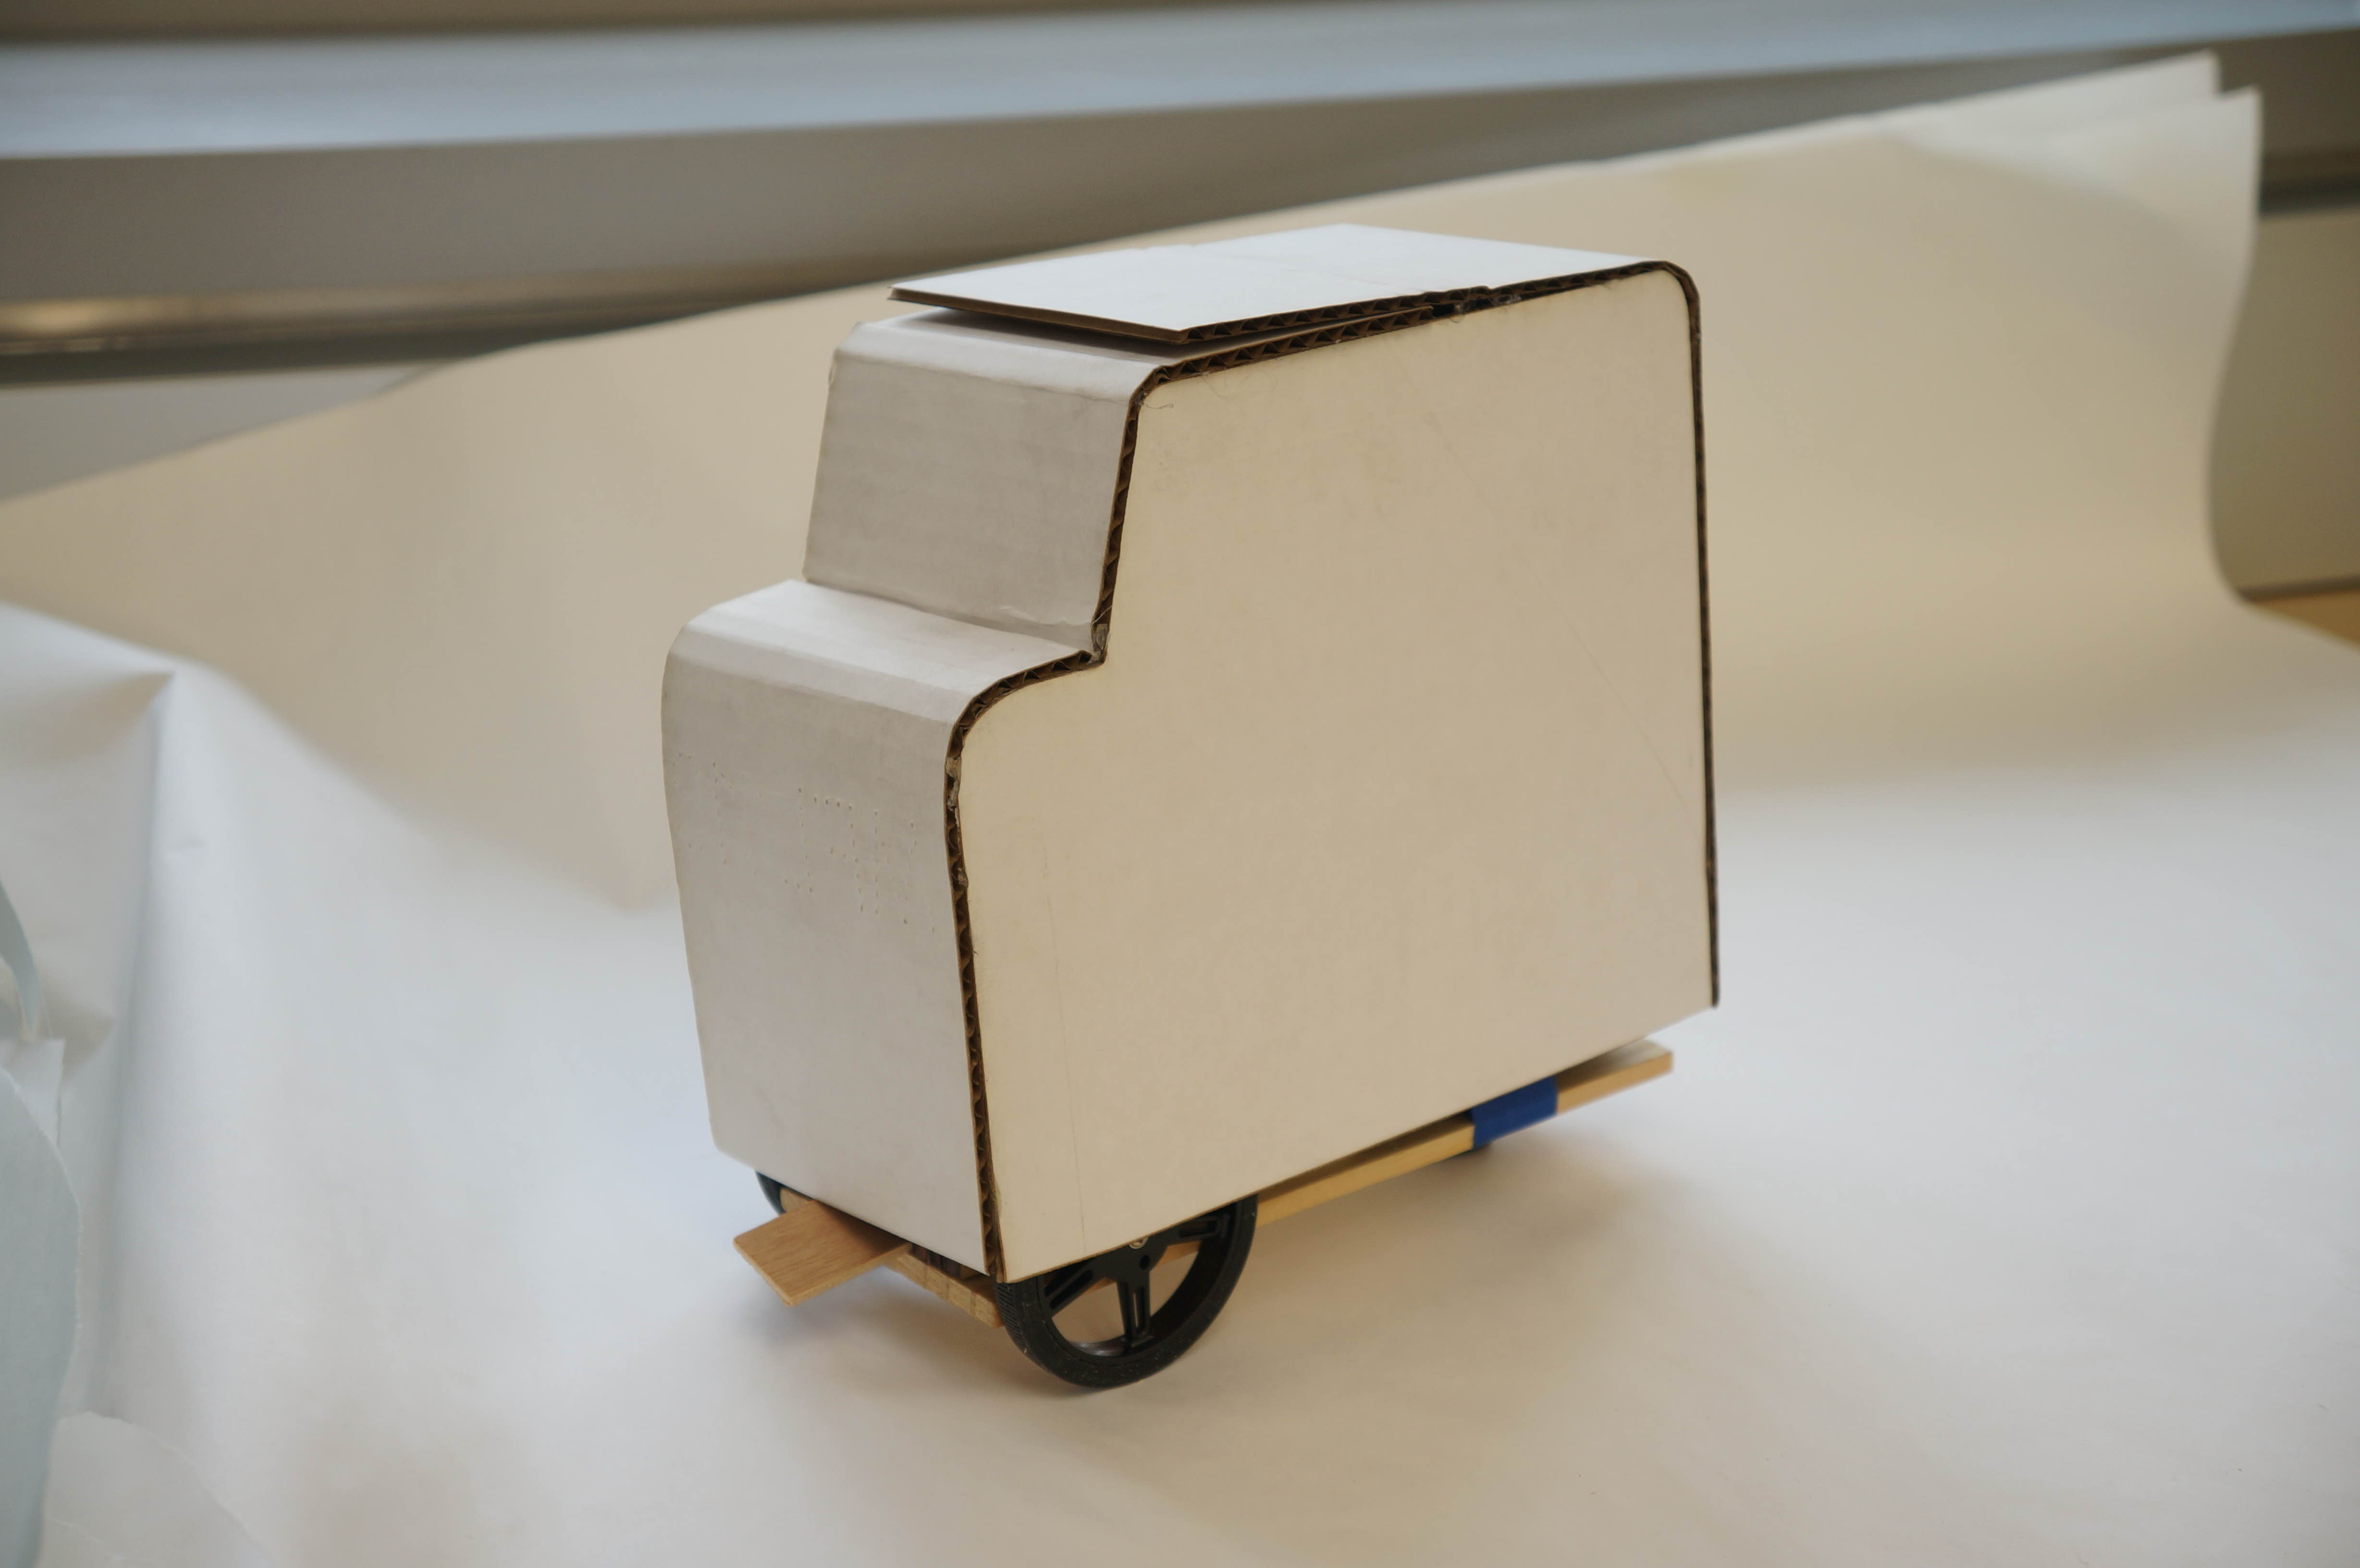
The last thing to fix was that it didn't look very much like a ice cream truck! We added a simple, laser-cut shell to fix that.

.
.