We started exploring the vibration motors by uploading the Blink example code.
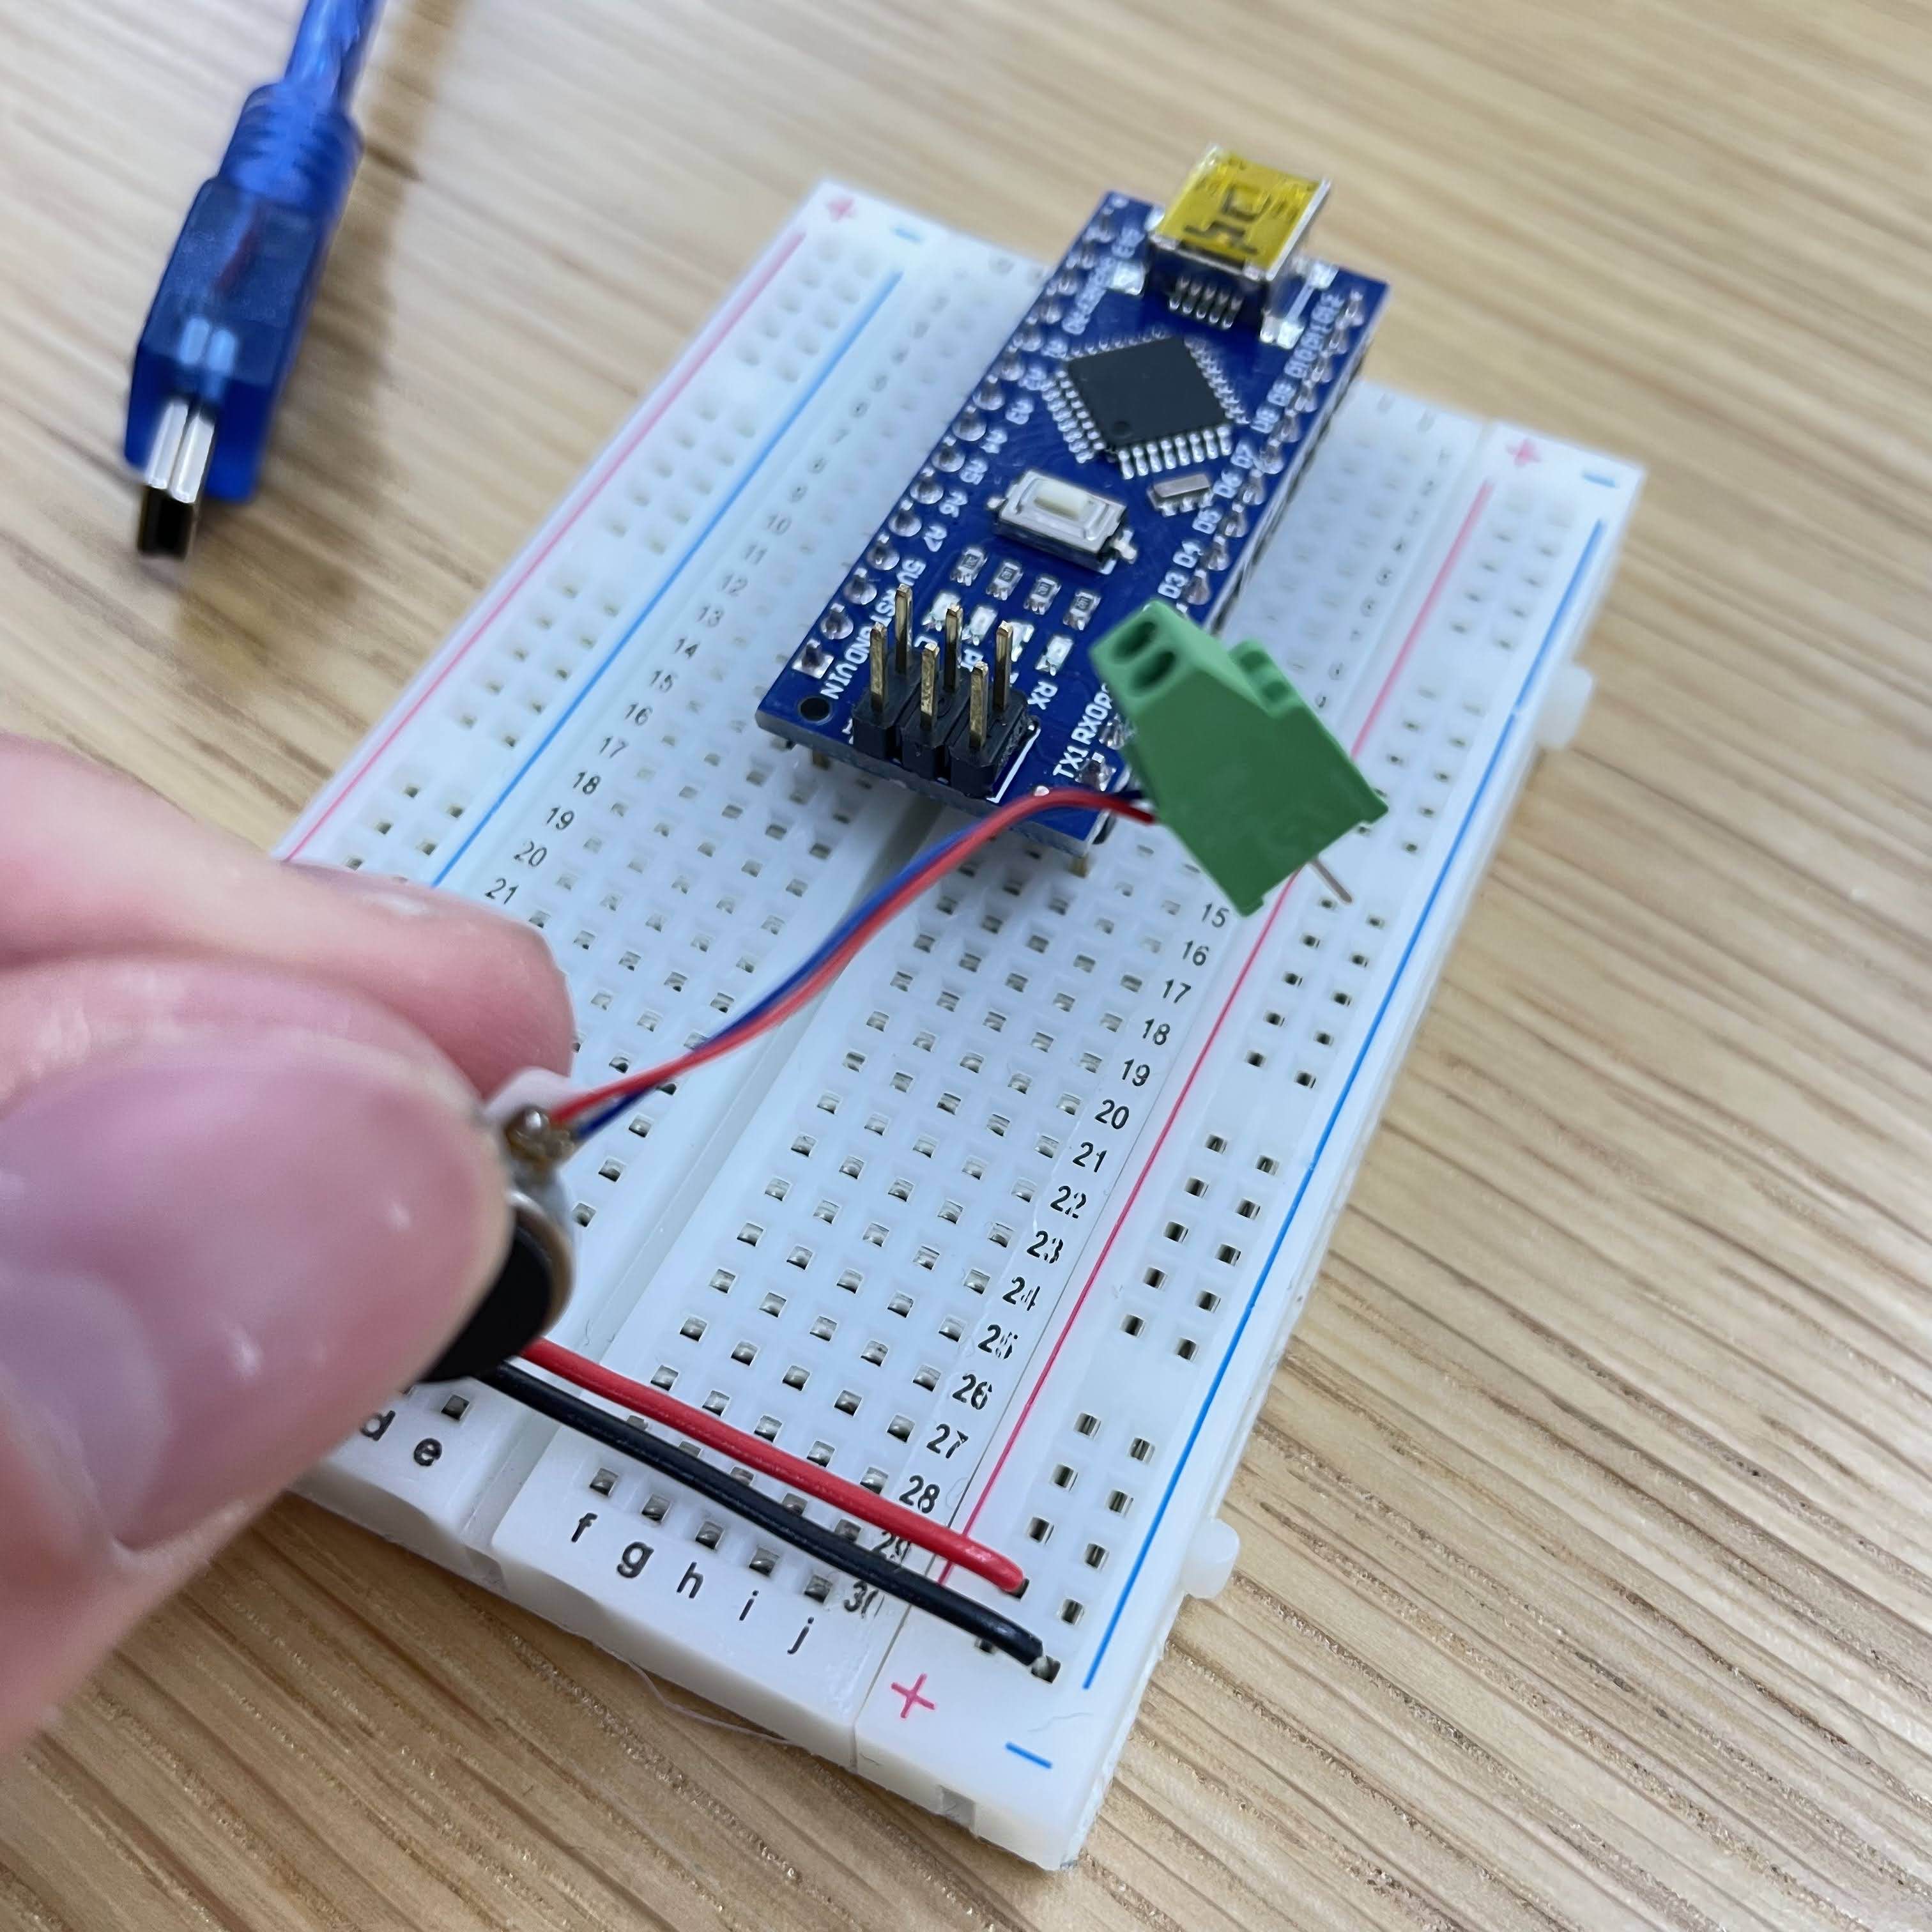
It was hard to connect the small motor wires to the board, but using these clips made it easier:
Vibrating motor in action:
I tried to feel the motor using my fingers, and it felt strong.
I tried changing the changing the timing of the "blink". In particular, I tried to test the shortest period of vibration that I could sense. It ended up being around 100ms:
Next, I tried using the "Fade" code. The main difference between Fade and Blink is that Fade varies the intensity of the vibration.
My main takeaway from playing with the Fade code is that that at least for these motors, the difference in intensity is pretty hard to sense. To illustrate this, here is a video of the motor (running Fade), vibrating around on its own. It is hard to convey haptic feedback in a video, but I found that when I let the motor bounce around the table, it produces a sound that is a pretty good approximation to how it felt in my hand.
I actually doubted whether the intensity was even changing, so I printed out the output values:
Okay, they were changing, but it definitely seemed like only the higher values of output produced similarly strong vibrations.
I lowered the intensity curve until I found one that produced a milder, rising and falling pulse of vibration:
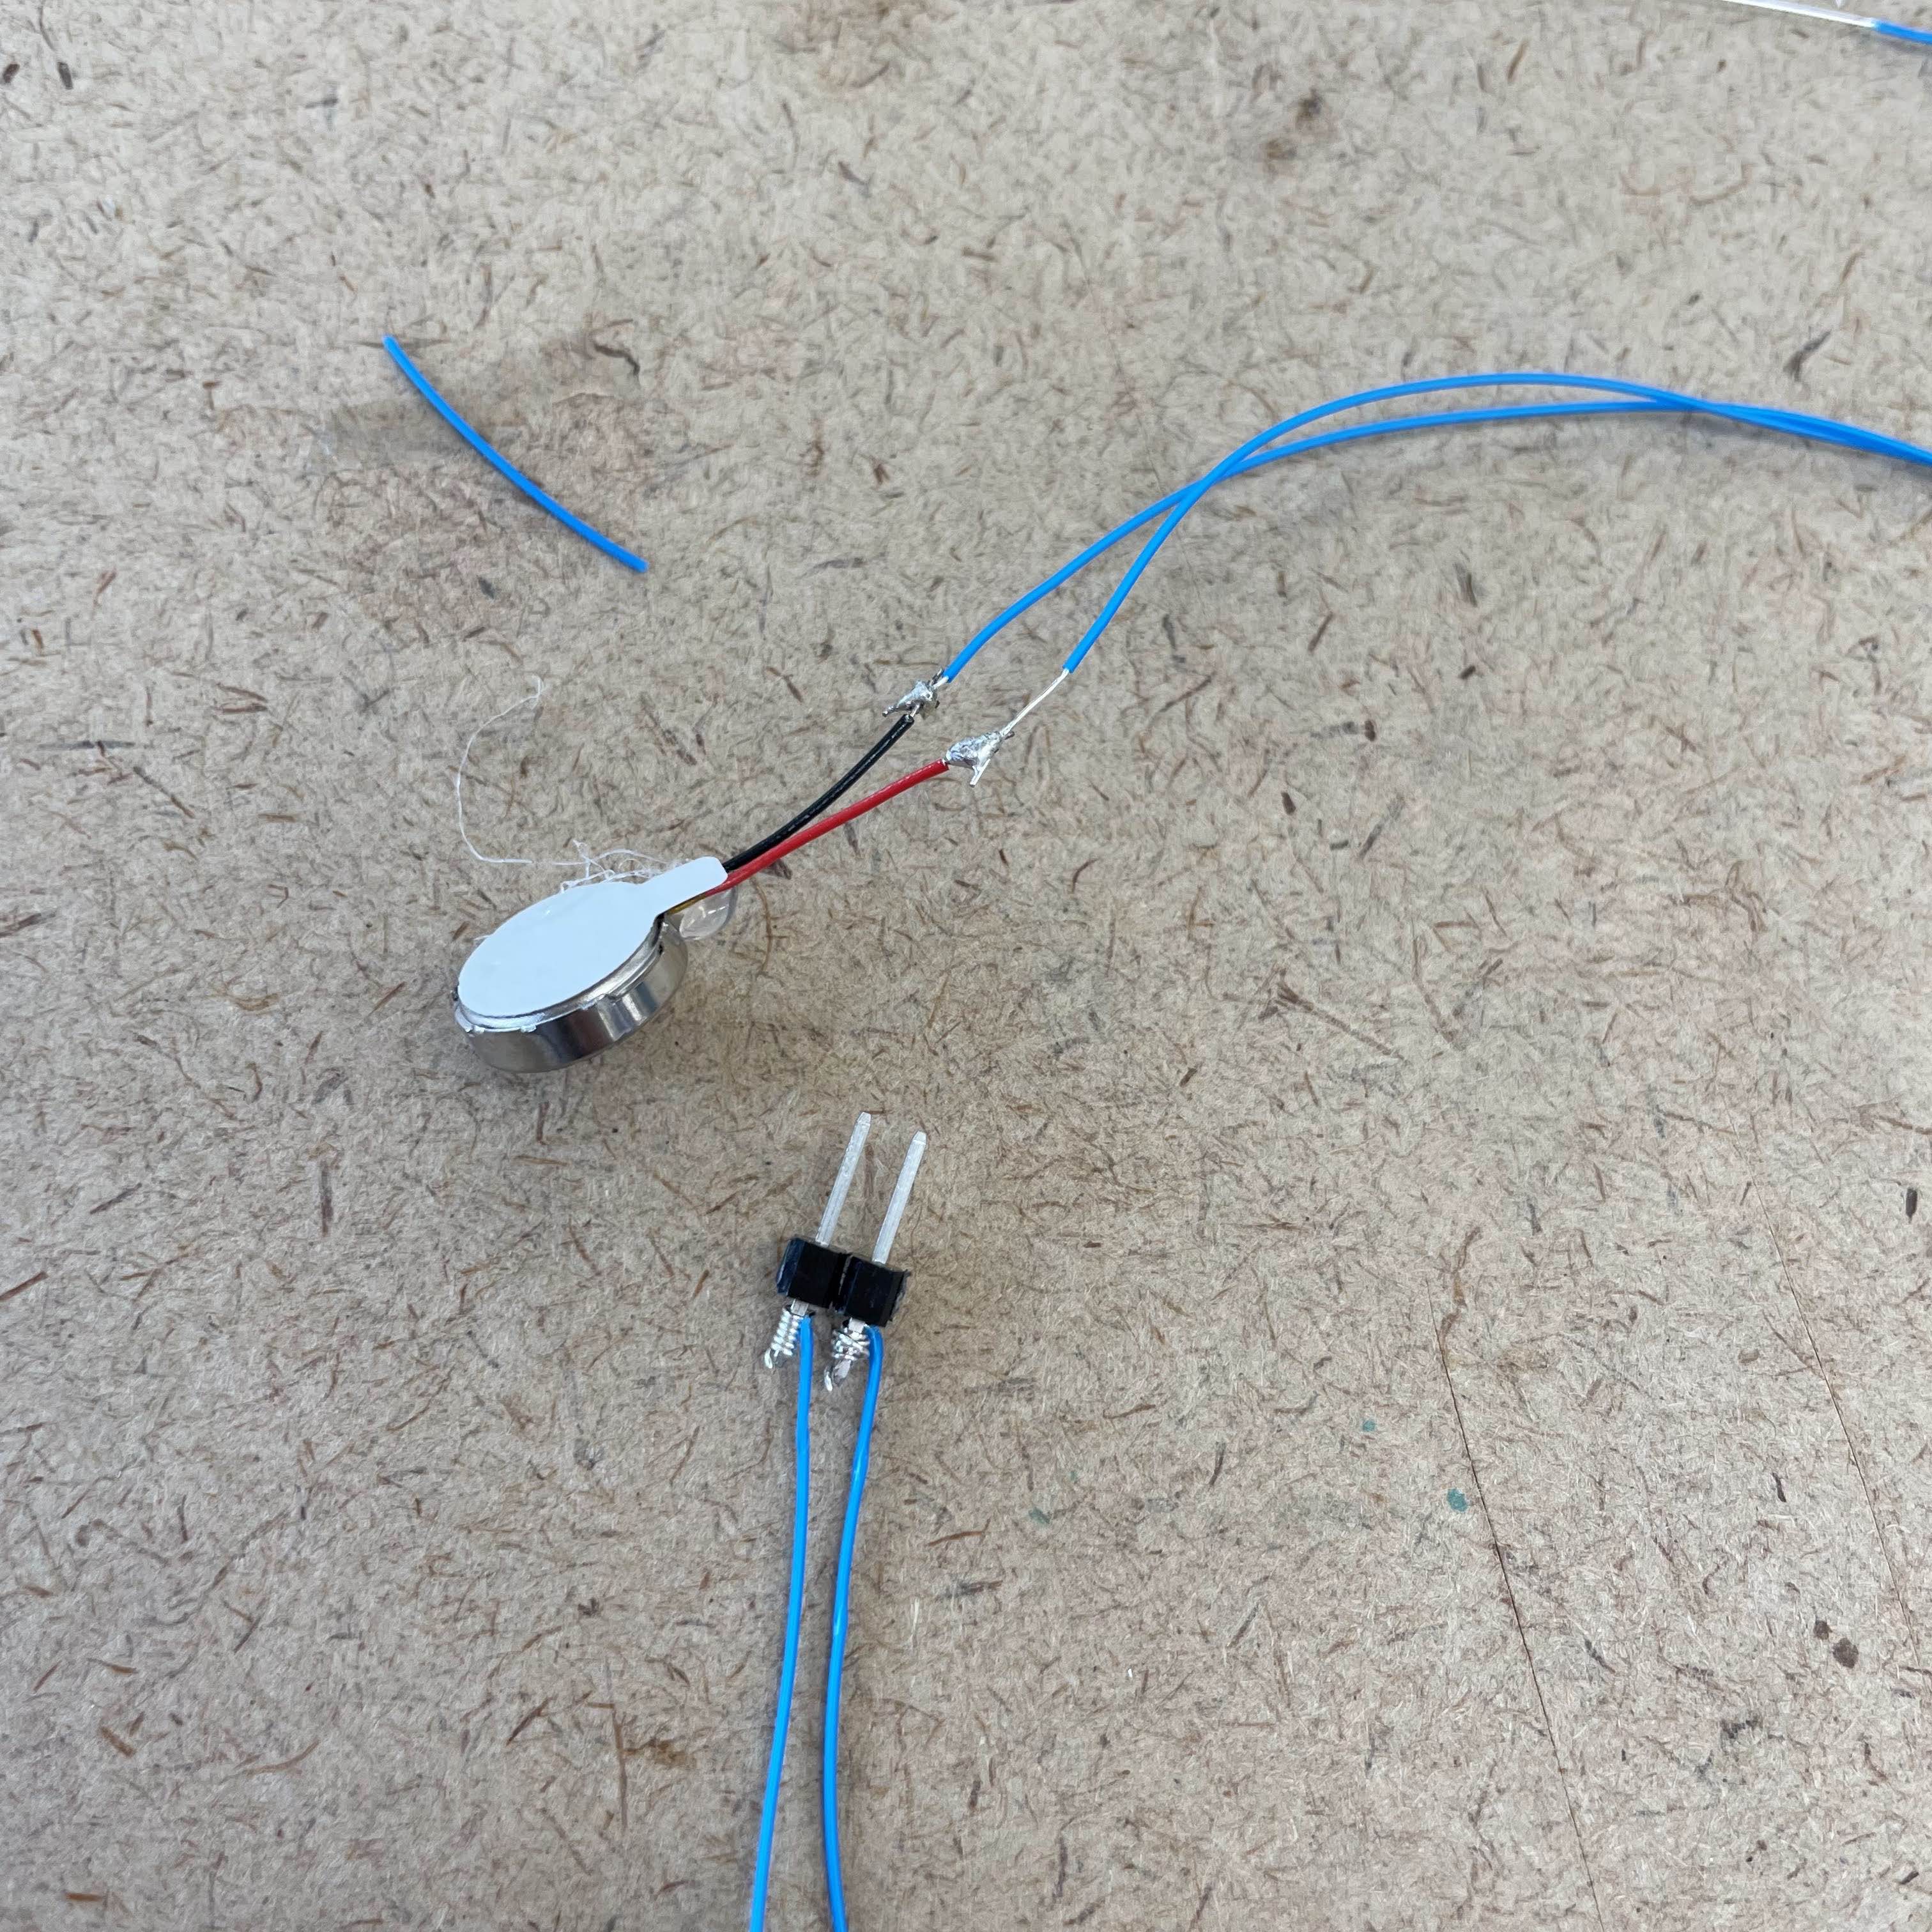
The clips we used to connect the motors was not super strong, and we had to come up with a more robust solution if we were to fasten multiple motors to the circuit. We came up with a process of soldering much longer wires to the motor wires, and wrapping header pins around the other end of those wires for easy insertion into the breadboard:
.
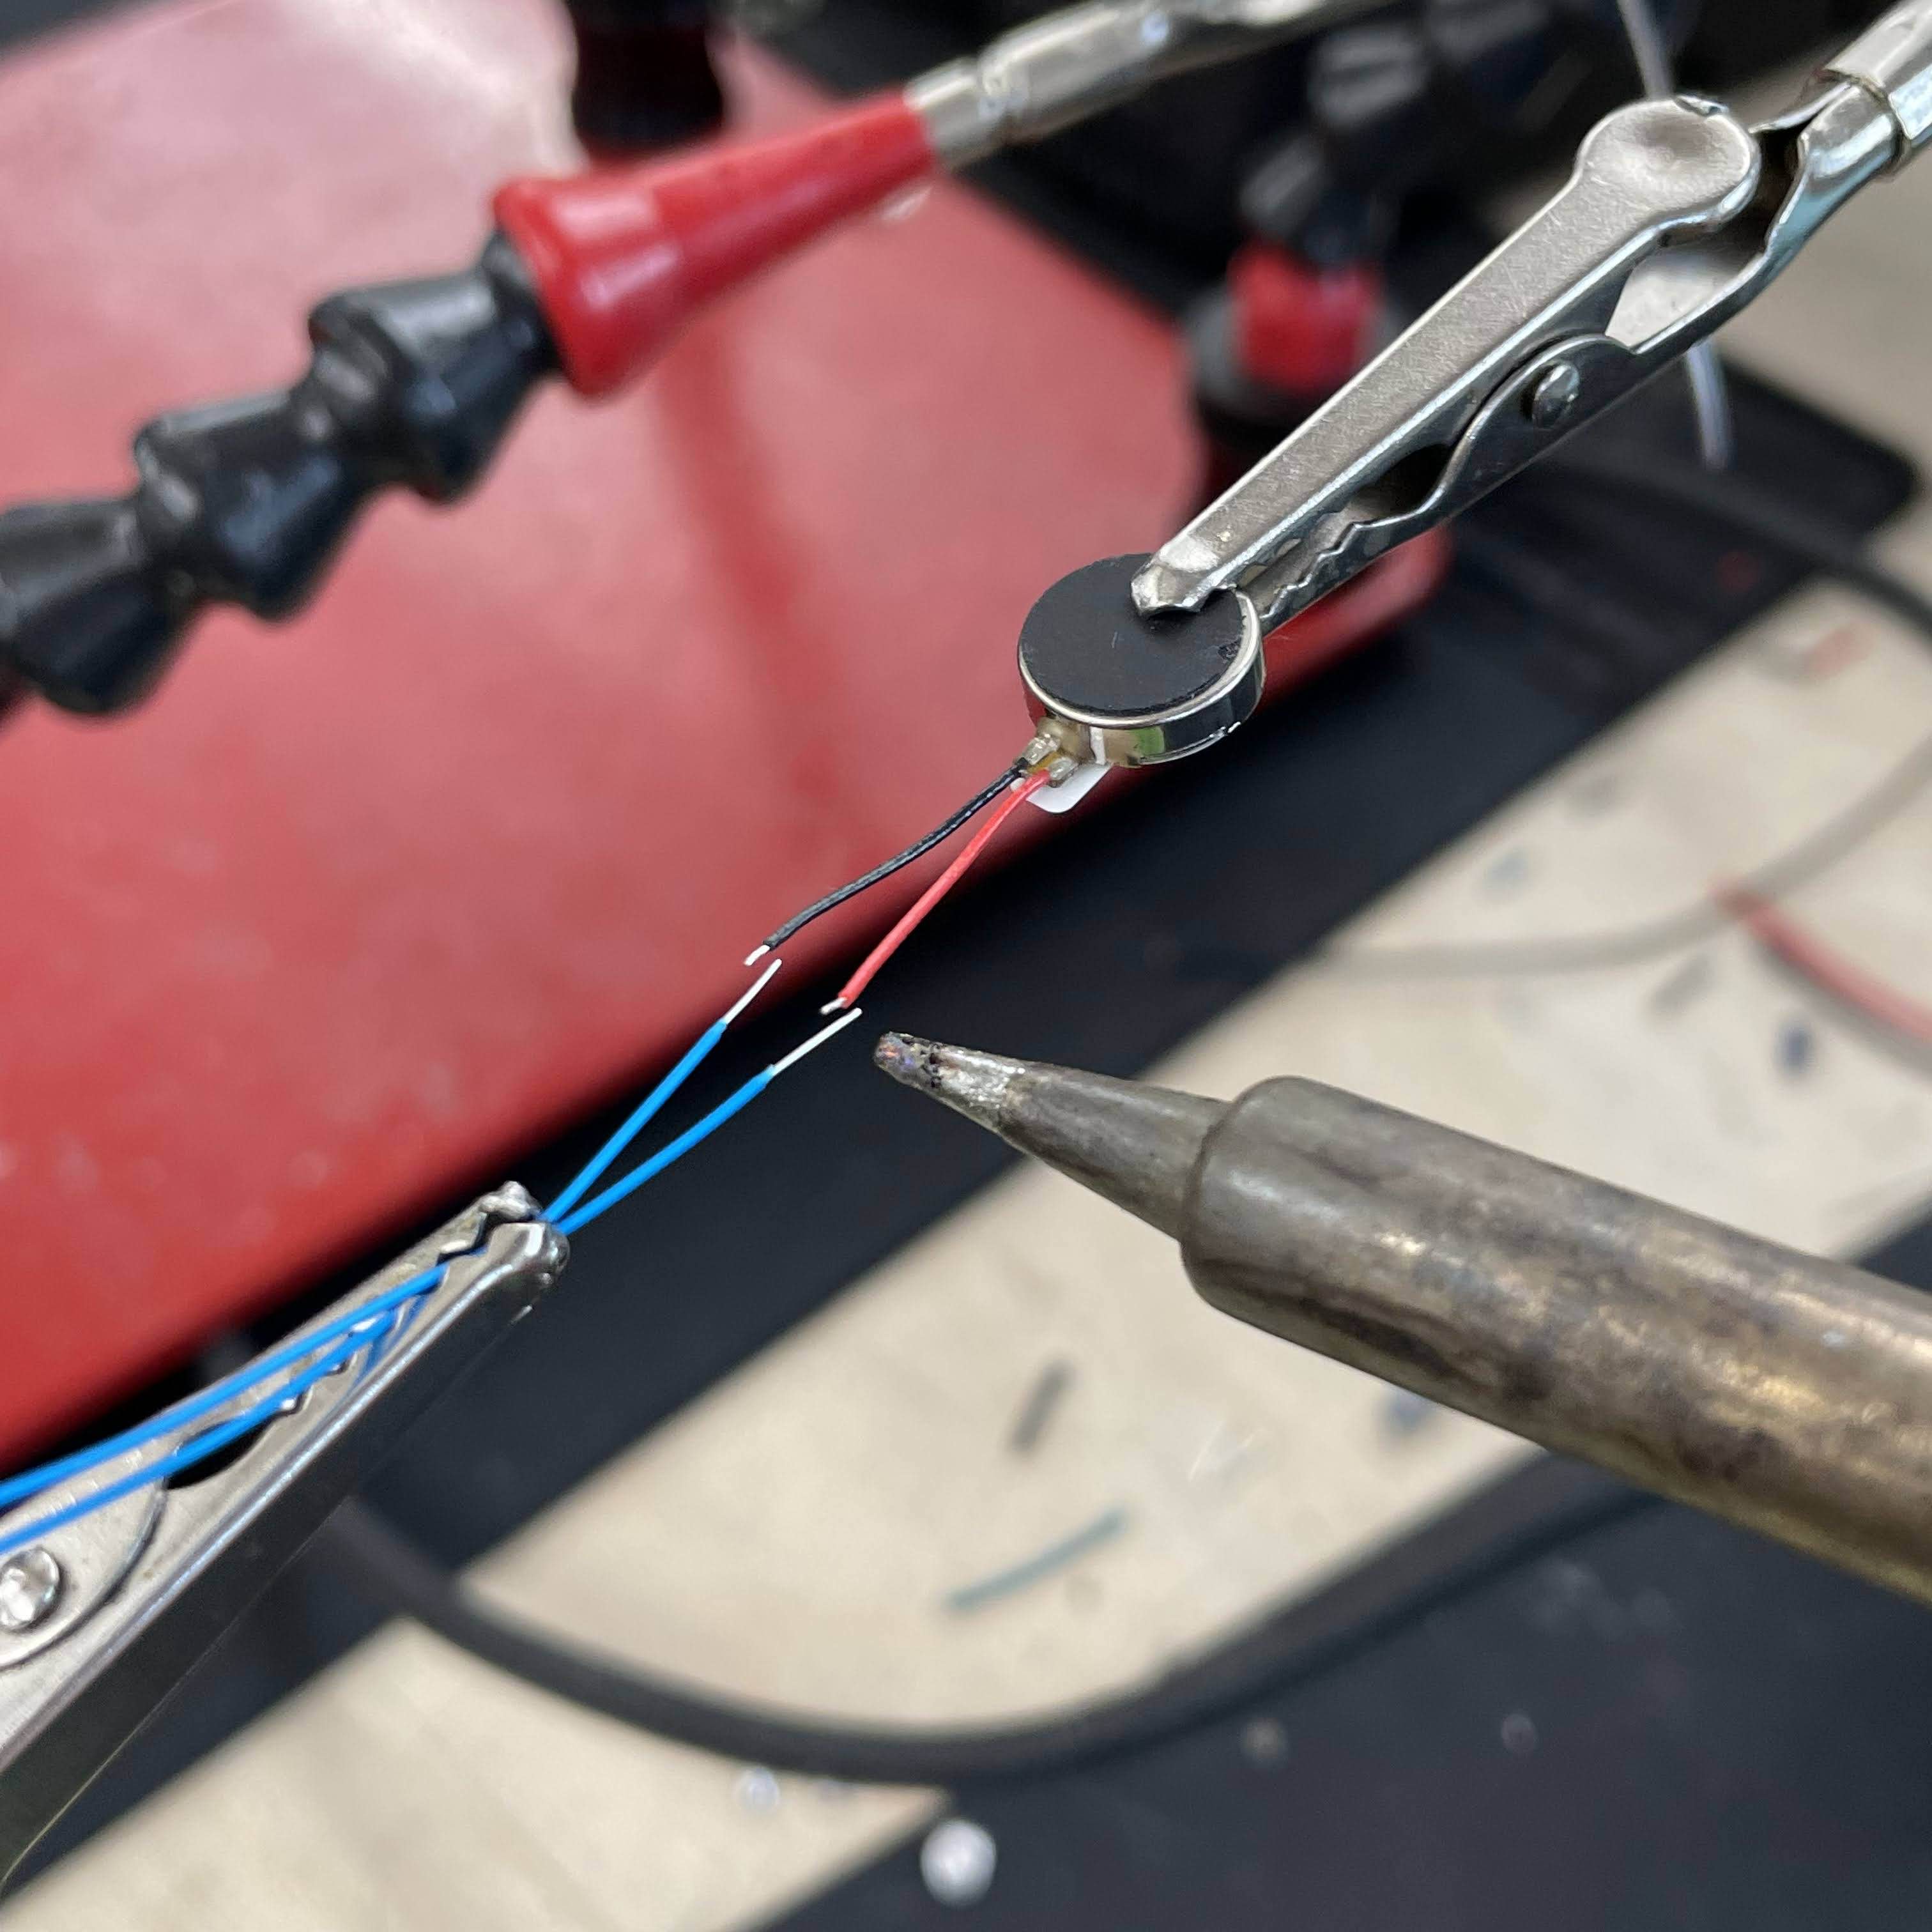
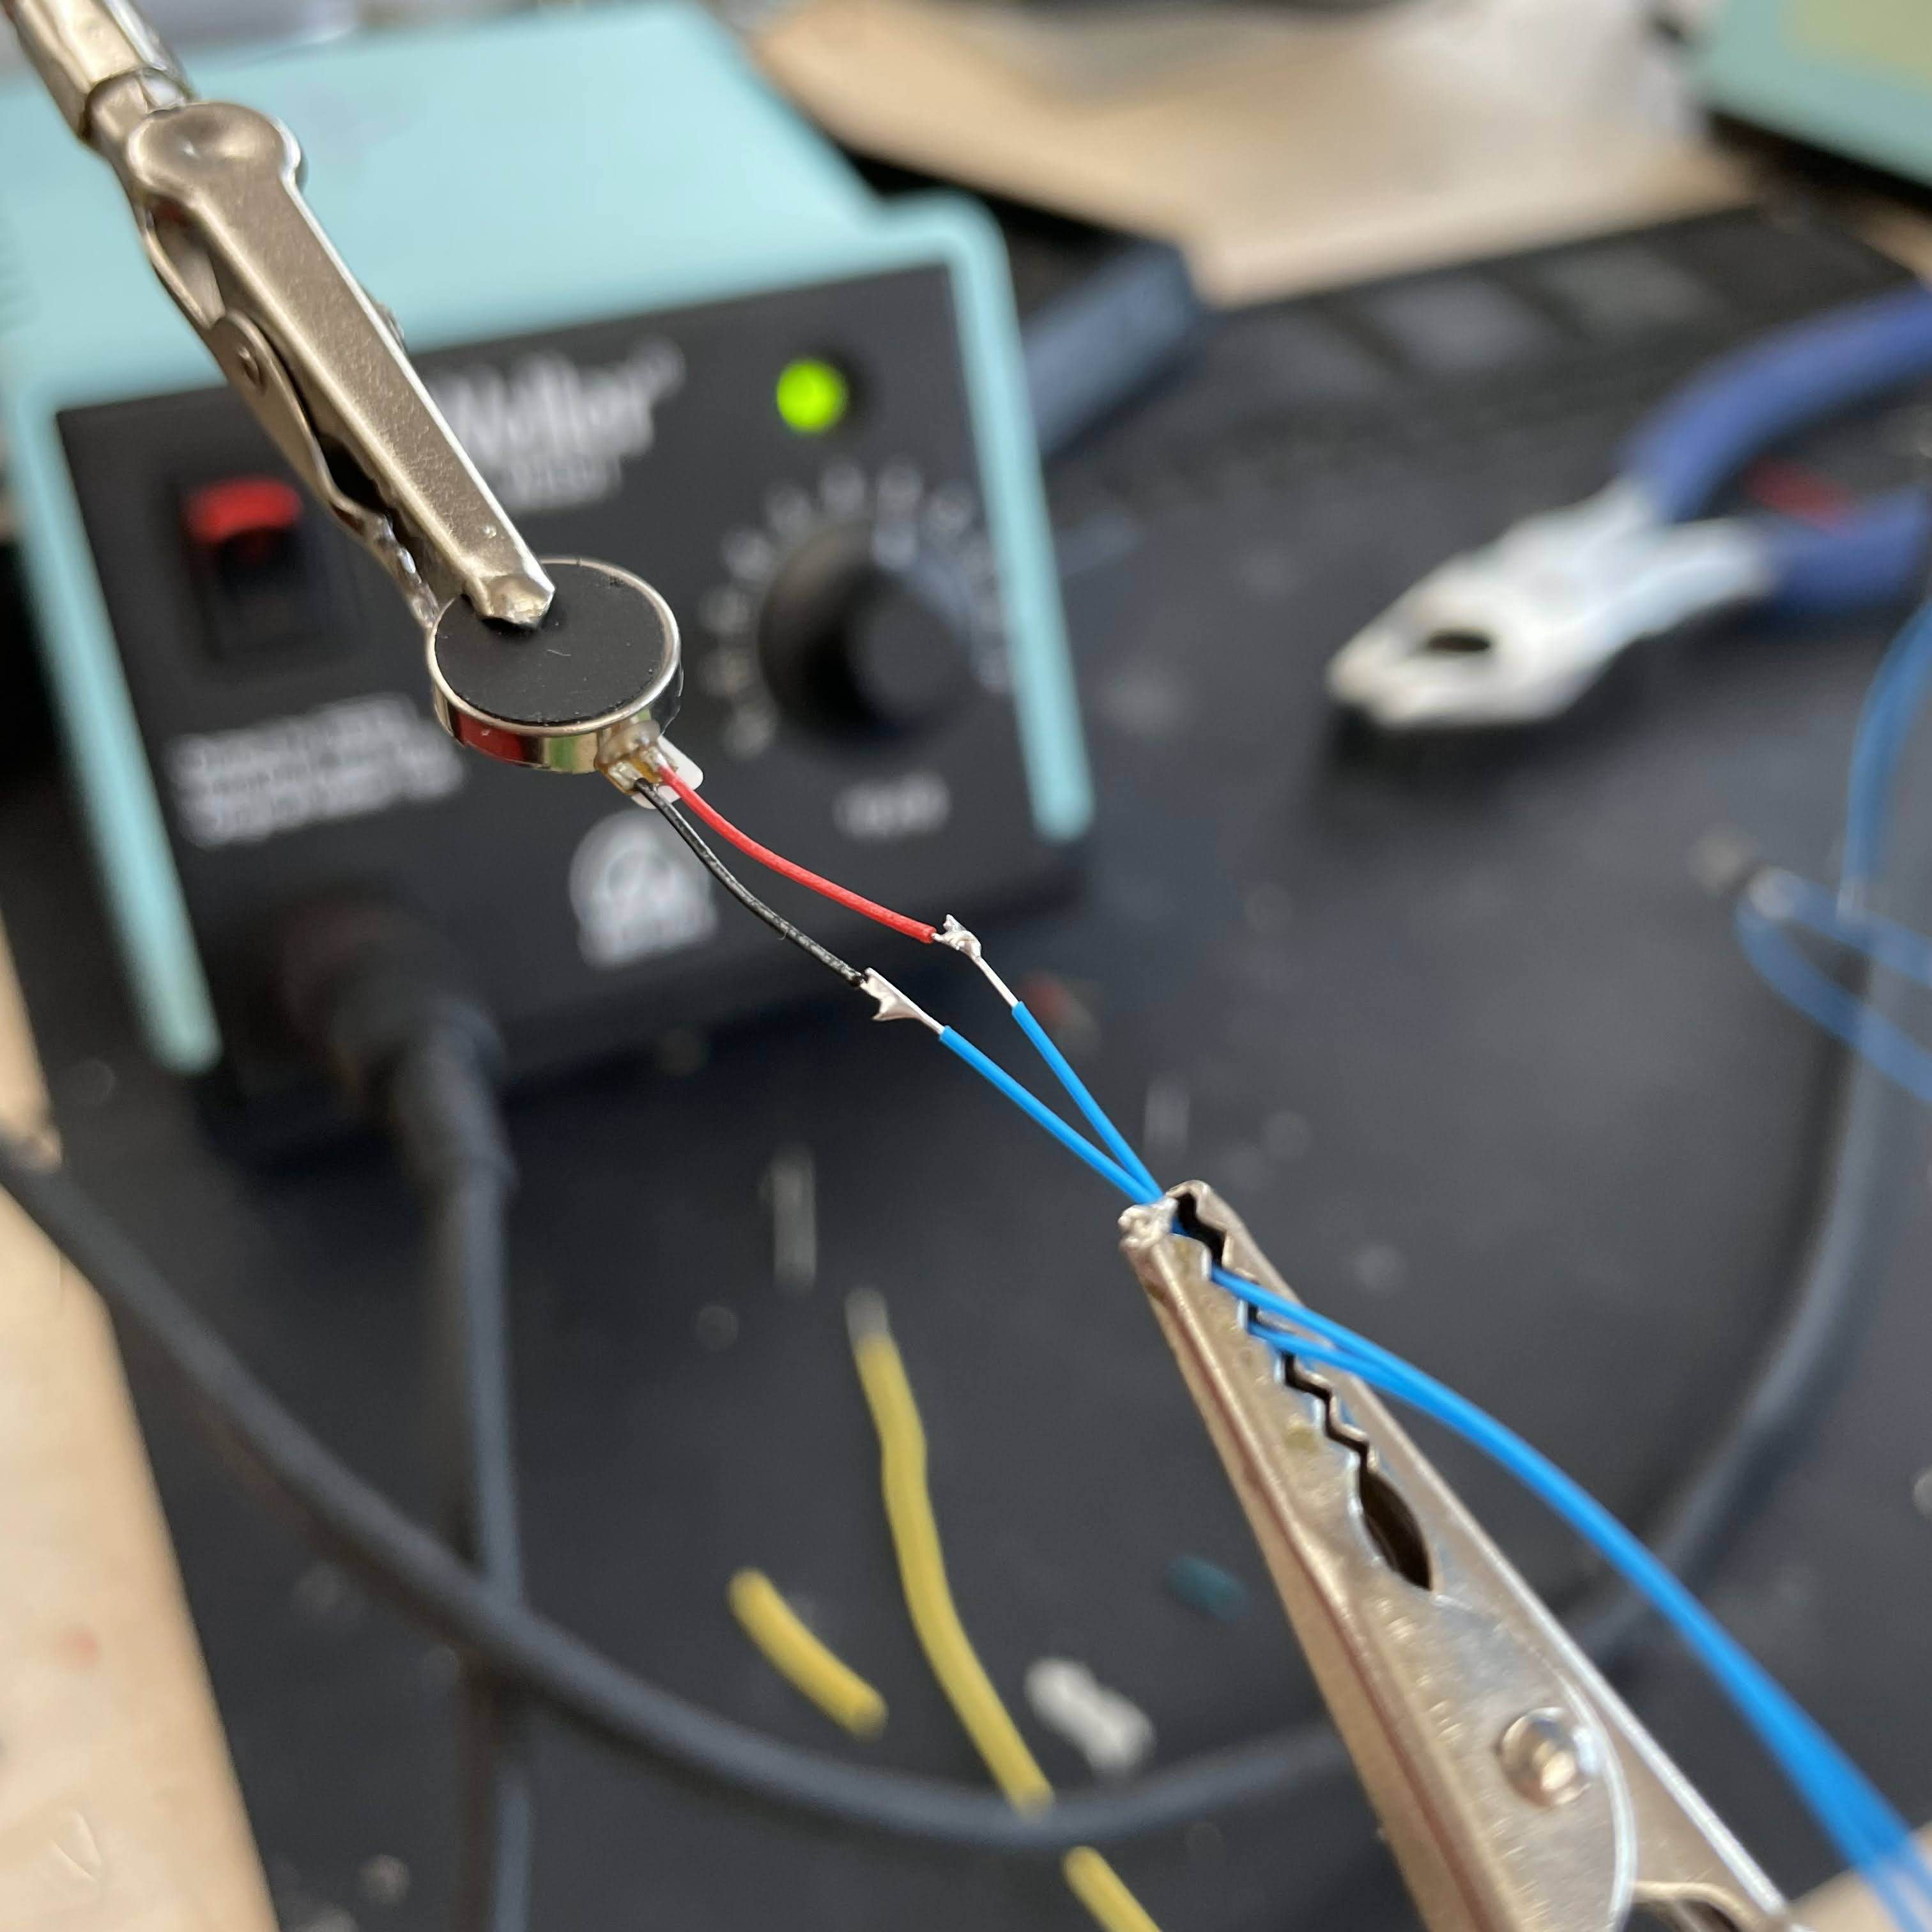
Wrapping
This process was easy to repeat, and we modified 3 motors this way. These modified motors were easy to attach together:
I was not able to get the motor driver to work.
Instead, I focused on making an easy way to create vibration patterns without using a library . I created a function, setPins, whose invocation visually looks similar to the vibration pattern that would be created:
void loop() {
  setPins(M, H, _, _, _);
  setPins(S, F, _, _, _);
  setPins(M, H, H, _, _);
  setPins(S, _, F, _, _);
  setPins(M, _, H, H, _);
  setPins(S, _, _, F, _);
  setPins(M, _, _, H, H);
  setPins(S, _, _, _, F);
  setPins(M, _, _, _, H);
}
Above, S and M represent short and medium delays. F, H, and _ represent full, half, and zero vibration intensities.
Full code:
Crawl.ino
// Pins
int P1 = 3;
int P2 = 5;
int P3 = 6;
int P4 = 9;

void setup() {
  Serial.begin(9600);
  pinMode(P1, OUTPUT);
  pinMode(P2, OUTPUT);
  pinMode(P3, OUTPUT);
  pinMode(P4, OUTPUT);
}

void debugAnalogWrite(int pin, int value) {
  Serial.print("AnalogWrite(");
  Serial.print(pin);
  Serial.print(", ");
  Serial.print(value);
  Serial.println(");");
  analogWrite(pin, value);
}

void setPins(int delayMs, int p1, int p2, int p3, int p4) {
  debugAnalogWrite(P1, p1);
  debugAnalogWrite(P2, p2);
  debugAnalogWrite(P3, p3);
  debugAnalogWrite(P4, p4);
  delay(delayMs);
}

// Strengths
int _ = 0;    // None
int H = 160;  // Half
int F = 255;  // Full

// Delays
int S = 30;    // Short
int M = 70;    // Medium
int L = 2000;  // Long

void loop() {
  setPins(M, H, _, _, _);
  setPins(S, F, _, _, _);
  setPins(M, H, H, _, _);
  setPins(S, _, F, _, _);
  setPins(M, _, H, H, _);
  setPins(S, _, _, F, _);
  setPins(M, _, _, H, H);
  setPins(S, _, _, _, F);
  setPins(M, _, _, _, H);

  setPins(M, _, _, _, H);
  setPins(S, _, _, _, F);
  setPins(M, _, _, H, H);
  setPins(S, _, _, F, _);
  setPins(M, _, H, H, _);
  setPins(S, _, F, _, _);
  setPins(M, H, H, _, _);
  setPins(S, F, _, _, _);
  setPins(M, H, _, _, _);

  // setPins(L, _, _, _, _);
}
For the Haptics Buffet, I brought standard pushbuttons and also mechanical keyboard key caps and switches.
This class focuses on haptic output that is driven by Arduinos, but I wanted to draw attention to haptic feedback that isn't electronically generated as well. Often, naturally-created haptic feedback feels more realistic, and it's often what we try to emulate when we generate electronic haptic feedback.
I wanted to bring both the pushbuttons and mechanical keys to highlight the difference in feeling between them. The pushbuttons were quite hard to press and provided no feedback and when they had been pressed "enough". On the other hand, the mechanical keys were much easier and more satisfying to press, and they emit a soft "click" sensation and sound when they have been fully pressed.