I finished up my final project!
Here's a short demo of it in action:
As a recap, this project is a single capacitative sensor that is special in these ways:
- The sensor is large -- so large that you can hit it without looking! It's a piece of copper tape that runs down the length of one of the walls of my room. I also attached a piece of aluminum foil to a section of it, to make it even easier to press. Hypothetically, the sensor can be a significant portion of the wall, if not all of it!
- Pressing the sensor controls my computer, which is across the room. Currently, a single press pauses the music, and a press-and-hold turns on and off the lighting of my room. Hypothetically, this can be extended to more home automation/IoT-like applications. The advantage of this of common IoT applications is that no wireless connectivity or internet connection is required.
Arduino
Code
void setup() {}

#define N_LAST_SEEN 10

class RollingWindow {
public:
  int lastValues[N_LAST_SEEN] = {
      //
      -1, -1, -1, -1, -1,
      //
      -1, -1, -1, -1, -1,
      //
  };
  int j = 0;

  void add(int value) {
    lastValues[j] = value;
    j++;
    j %= N_LAST_SEEN;
  }

  int last2() {
    return (lastValues[(j - 1 + N_LAST_SEEN) % N_LAST_SEEN] +
            lastValues[(j - 2 + N_LAST_SEEN) % N_LAST_SEEN]) /
           2;
  }
};

RollingWindow a0RollingWindow = RollingWindow();
RollingWindow a2RollingWindow = RollingWindow();

class RunningAvg {
public:
  int total = 0;
  int n = 0;

  int add(int value) {
    total += value;
    n++;
  }

  int getAvg() { return total / n; }
};

int sinceLastA0Press = 0;
int sinceLastA2Press = 0;

void loop() {
  analogWrite(A1, 0);

  RunningAvg a0Avg = RunningAvg();
  RunningAvg a2Avg = RunningAvg();
  for (int i = 0; i < 20; i++) {
    a0Avg.add(analogRead(A0));
    a2Avg.add(analogRead(A2));
  }

  int a0Reading = a0Avg.getAvg();
  a0RollingWindow.add(a0Reading);

  int a0Base = 150;
  int a0Diff = a0RollingWindow.last2() - a0Base;
  if (a0Diff > 45) {
    Serial.println(a0Diff);
  }
  int a0Pressed = a0Diff > 60;
  if (a0Pressed && sinceLastA0Press > N_LAST_SEEN) {
    Serial.print(a0Diff);
    Serial.print(" (");
    Serial.print(a0Base);
    Serial.print(" -> ");
    Serial.print(a0RollingWindow.last2());
    Serial.print(") ");
    Serial.print("sinceLastA0Press = ");
    Serial.print(sinceLastA0Press);
    if (sinceLastA0Press < N_LAST_SEEN + 5) {
      Serial.print(" Held and");
    }
    Serial.println(" Pressed A0!!");
    sinceLastA0Press = 0;
  }
  sinceLastA0Press++;

  analogWrite(A1, 1000);
  delay(2);
}
Computer (TypeScript/Deno)
Code
import { readLines } from "https://deno.land/std@0.77.0/io/bufio.ts";

let textEncoder = new TextEncoder();
let textDecoder = new TextDecoder();

function fixedLine(line: string) {
  return "\r\u001b[K" + line;
}

async function osascript(script: string) {
  let process = Deno.run({
    cmd: ["osascript", "-e", script],
    stdout: "null",
  });
  await process.status();
}

function serialProcess() {
  return Deno.run({
    cmd: ["bash", "-c", "cat /dev/cu.usbmodem*"],
    stdout: "piped",
  });
}

let ignore = false;

async function run() {
  let process = serialProcess();
  for await (let line of readLines(process.stdout)) {
    if (ignore) continue;
    console.log(line);
    if (line.match(/Held and Pressed/)) {
      await osascript(`
        tell app "Spotify" to pause
        do shell script "brightness 0"
        quit app "Backdrop"
        -- activate app "ScreenSaverEngine"
      `);
      ignore = true;
      setTimeout(() => ignore = false, 2000);
    } else if (line.match(/Pressed/)) {
      osascript(`
        beep
        do shell script "brightness 0.7"
        activate app "Backdrop"
        tell app "Spotify" to playpause
      `);
    }
  }
}

run();
Here are the main changes made to the build since the last blog post:
Previously, I had three copper lines running down the length of the wall. The idea was that the user could either adjacent pair join together, given them two "buttons" that could be pressed.
After a lot of testing over the past few weeks, I noticed that it was incredibly hard to hit a particular particular wire, or even to hit any of the three wires. Because of this, I removed all but one "button", and made the tap target even larger by extending it with aluminum foil. The result was a lot easier to use!
I changed the sensor from a resistive switch to a capacitative switch. As Prof. Daniel Rozin advised, the conductivity of hands is unreliable -- our skin isn't very conductive unless we've been sweating a little. Where as capacitative sensing is fairly reliable. Also, it doesn't require two wires, and pressing anywhere is fine!
I tried using the Arduino CapacitativeSensor library. It didn't work, and I looked into why.
My main problem was more or less self-inflicted. The capacitative circuit required a 10MΩ resistor, and I didn't have one. So I first tried to fix this by chaining together all the 10kΩ resistors that I had:
Finally used pliers for the first time!
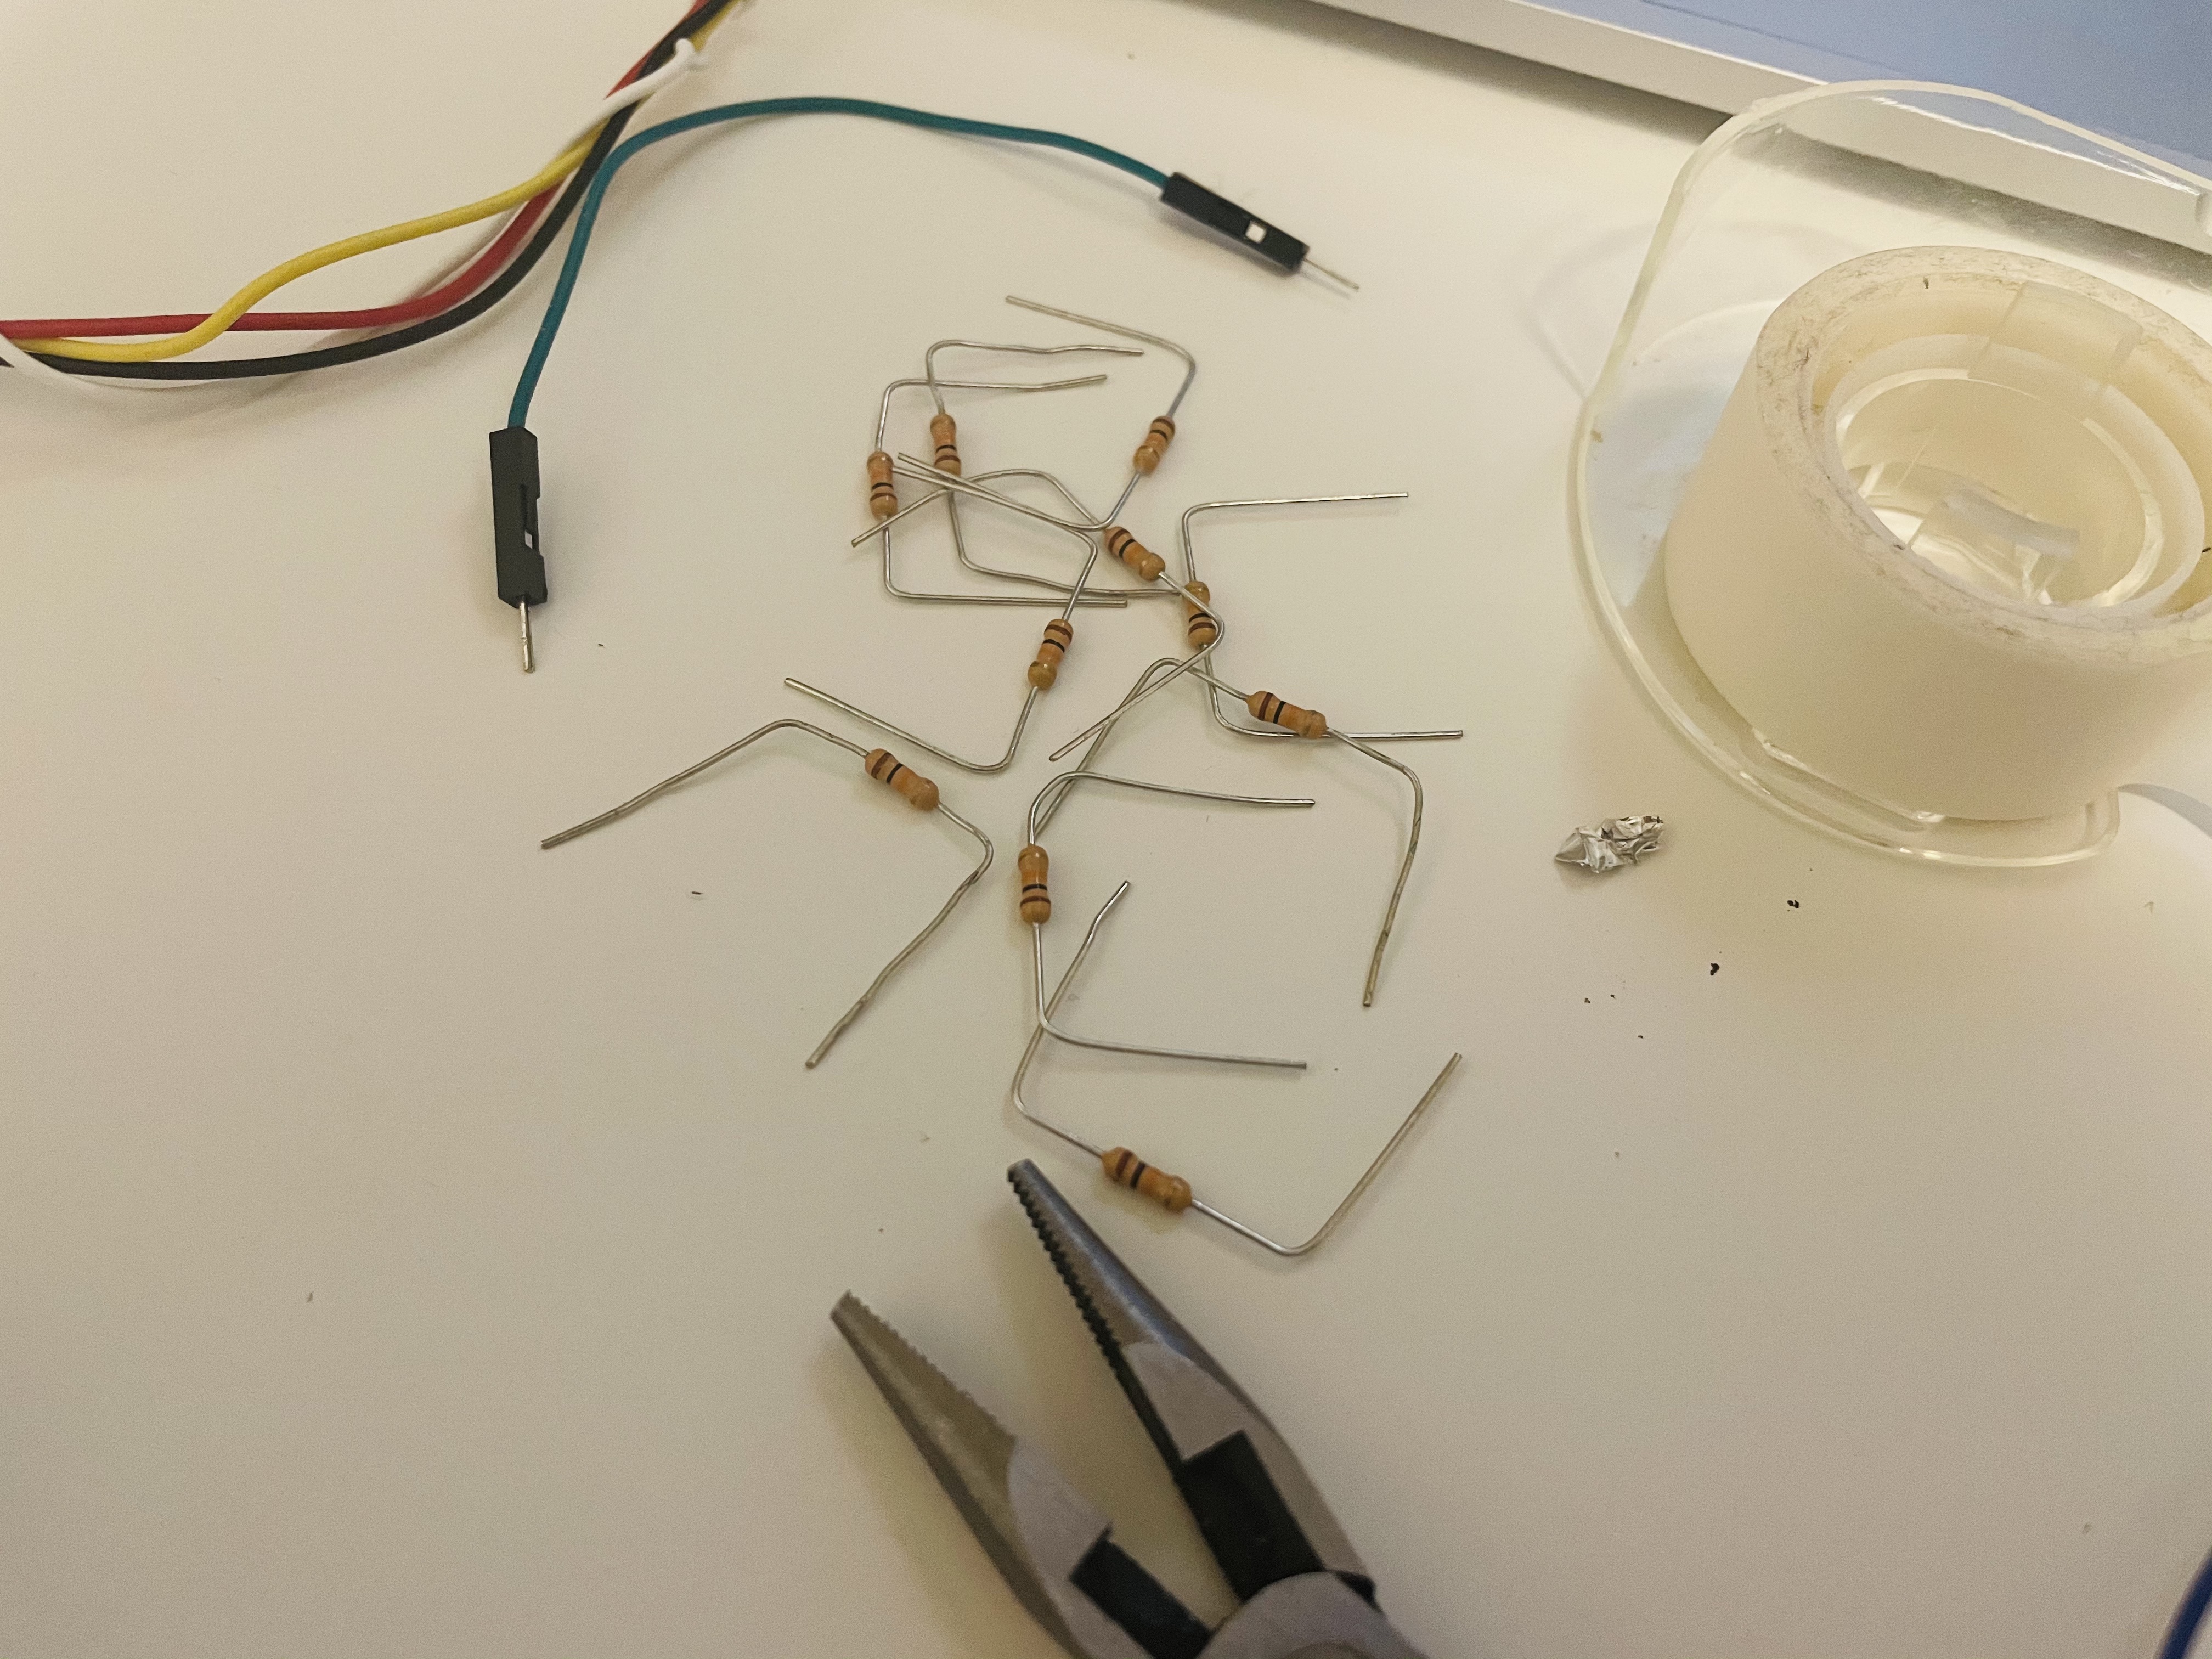
Looks quite nice, actually?
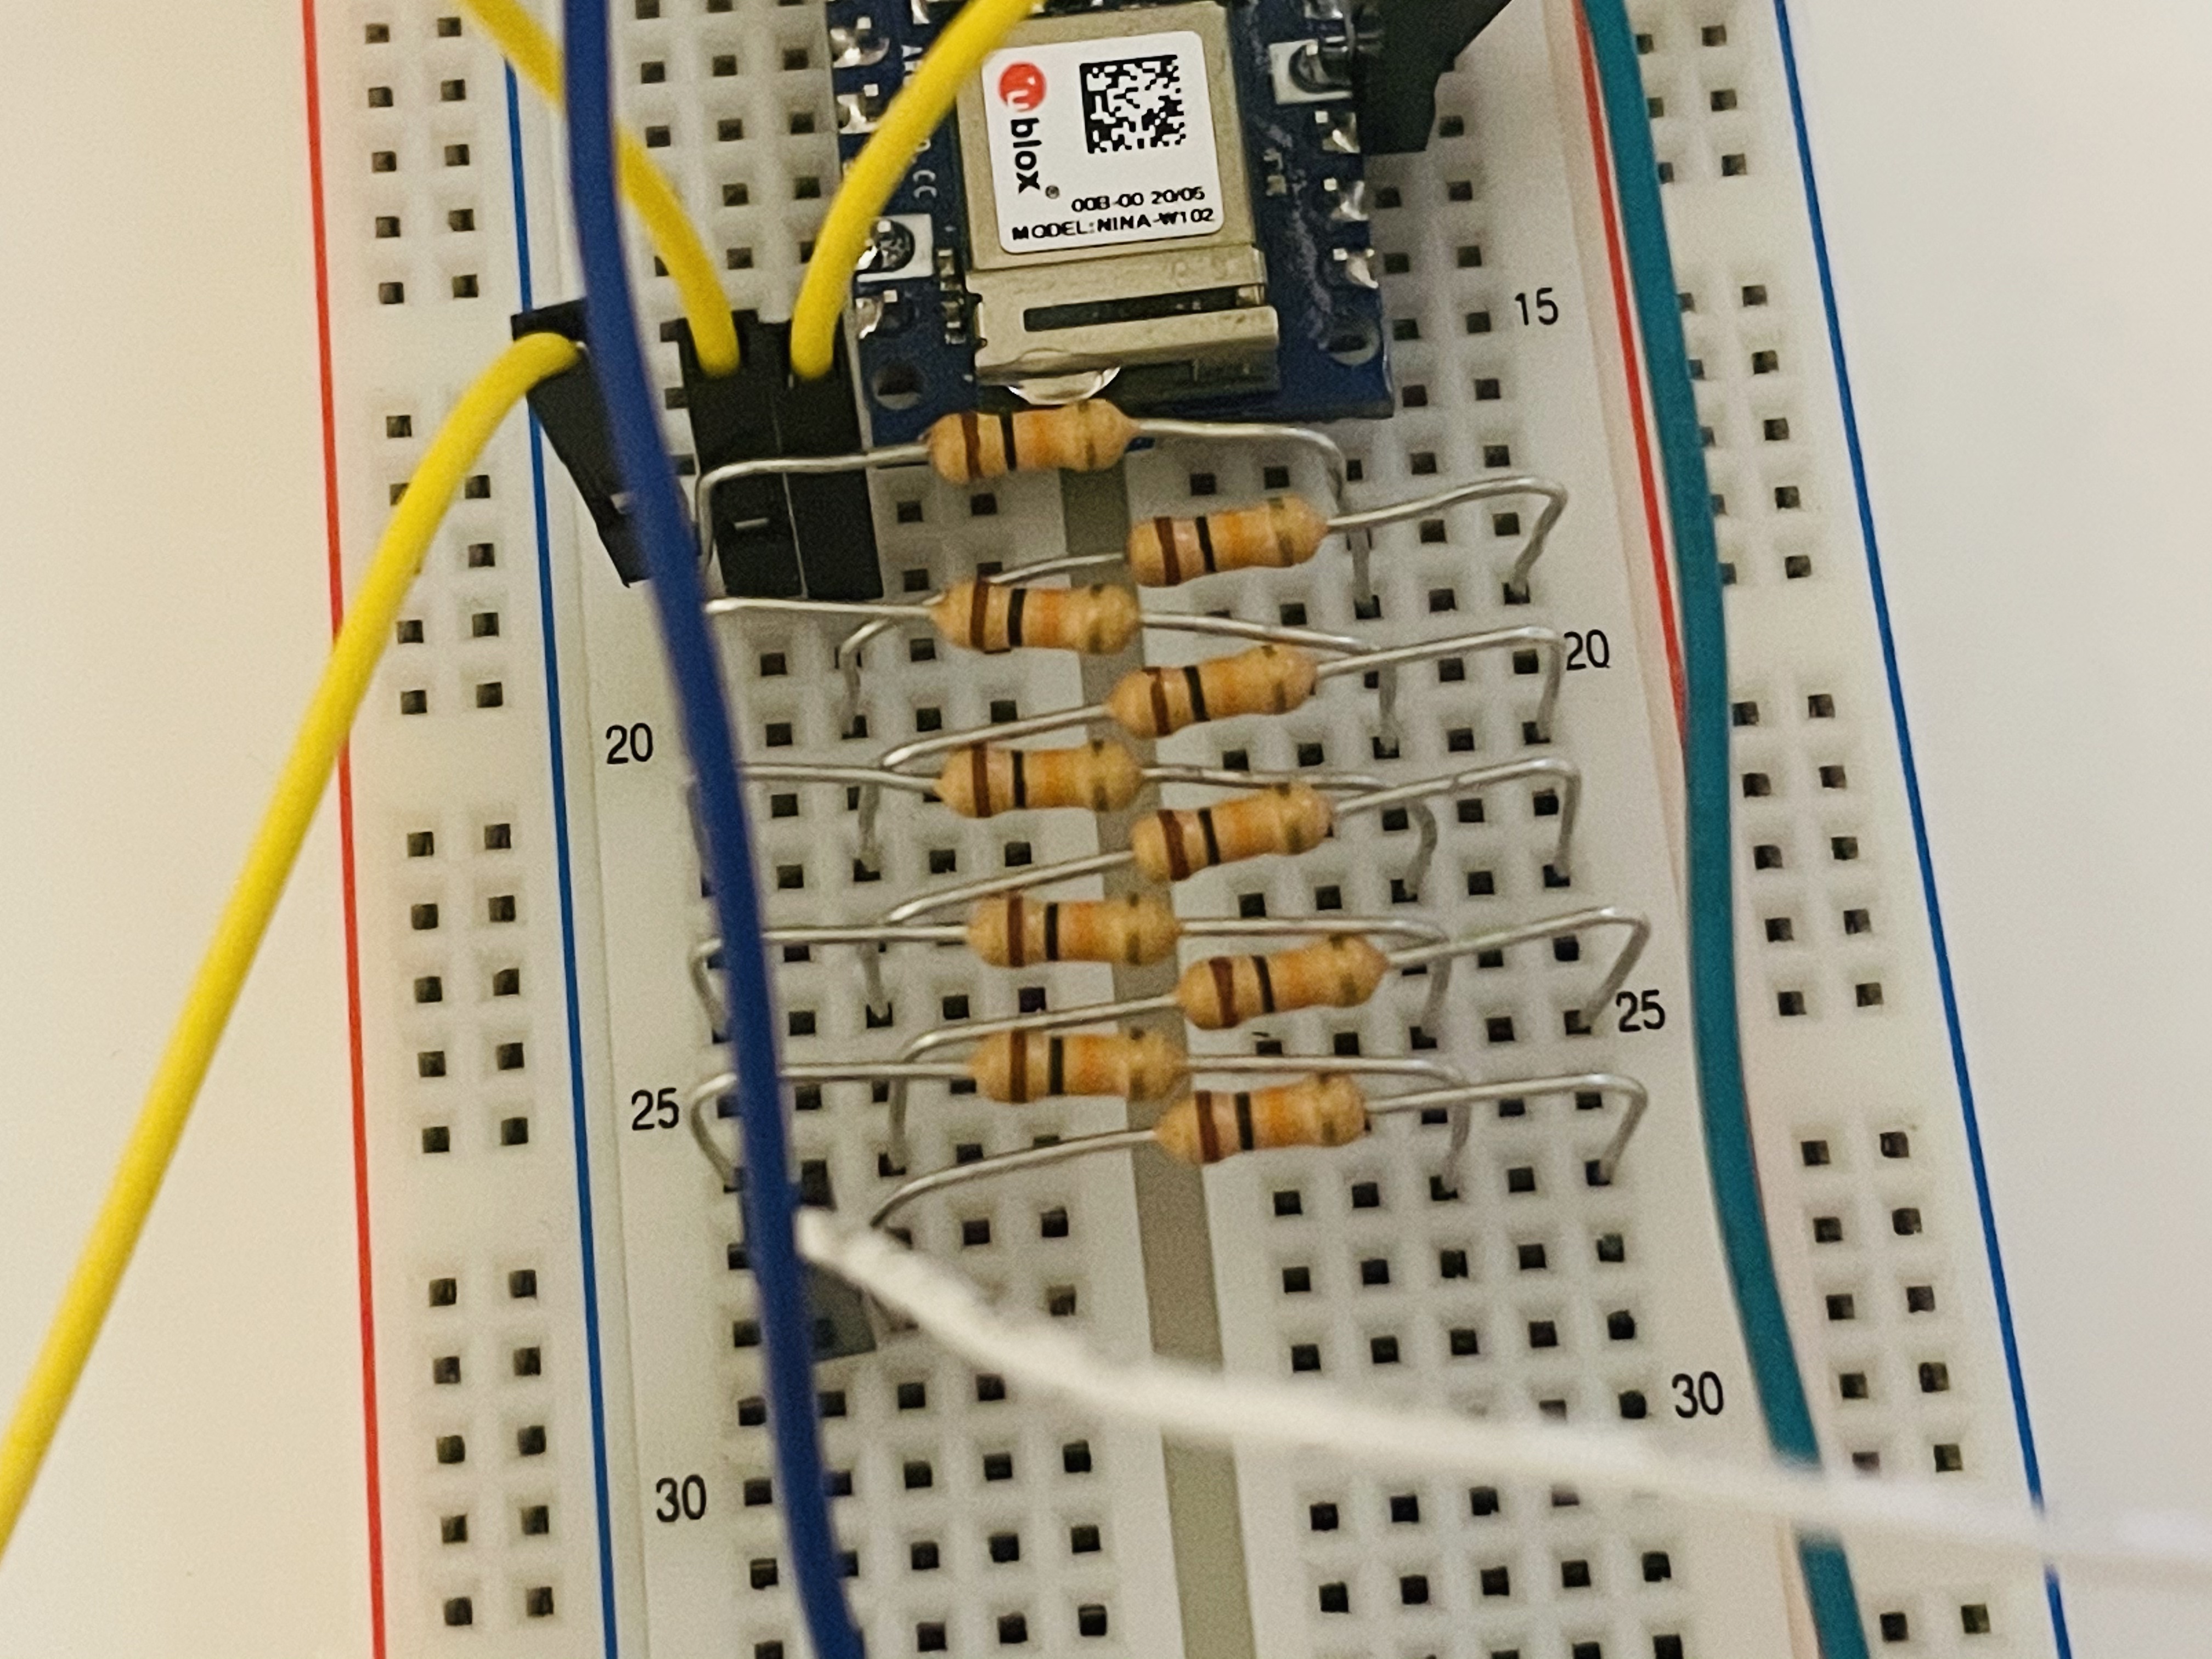
Alas, the combined 100kΩ resistance was not enough. The time it takes a capacitor to charge to some significant degree is defined by τ = RC. Wikipedia says human body capacitance is "typically in the tens to low hundreds of picofarads".
τ = RC = 100kΩ × 100pF = 10μs, or 1/100000 of a second
The code I wrote ran much fewer than 100000 loops per second, which meant that any delays in voltage change would have appear instantanous to the code. A larger resistor would be required.
I confirmed this in practice as well, by logging the voltage reading at every loop as I turned the voltage source on and off. The signal was very noisy, but there was generally no indication that it was taking time to rise and fall.
So I ended up making my own resistor! I tried a few strategies before finding one that worked reliably.
- I first tried using a force-sensing resistor, but it was too hard to press it so that it would have the right resistance.
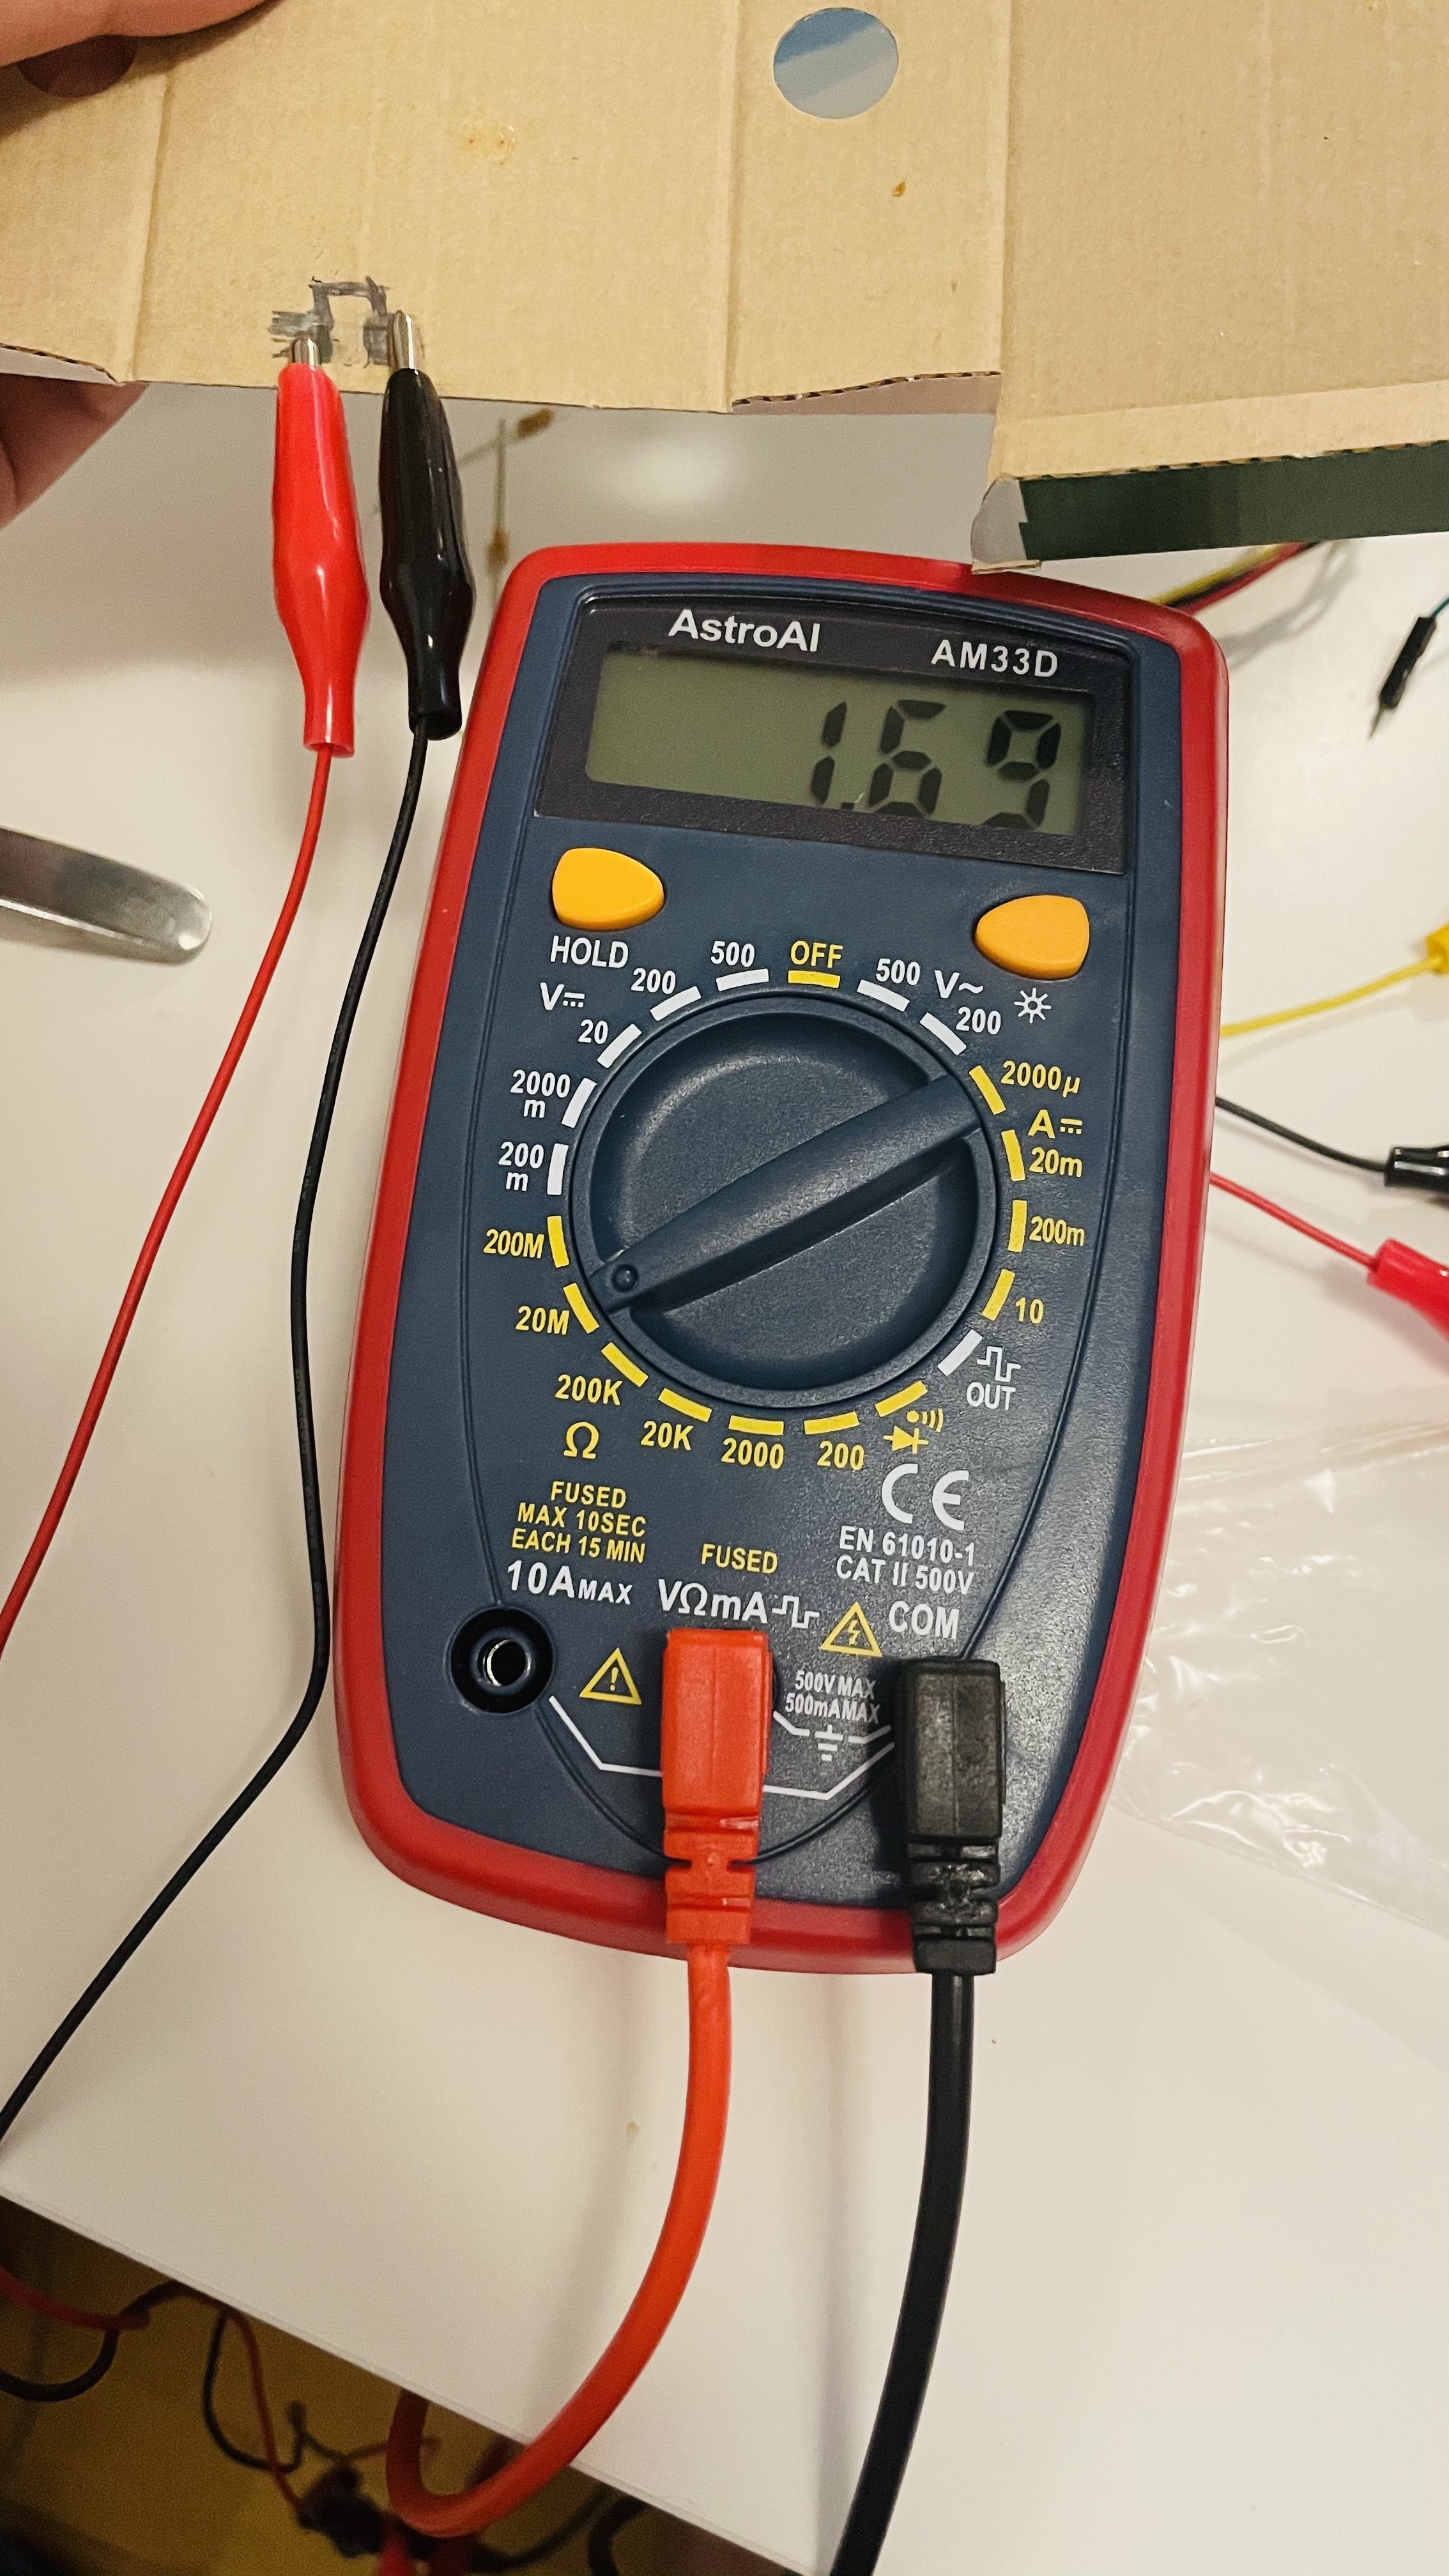
- I then tried to make resistor our of pencil lead, which actually worked quite well when testing with a multimeter. But it was hard to attach to the circuit, as pencil lead rubs off very easily and it was hard to maintain a constant connection.
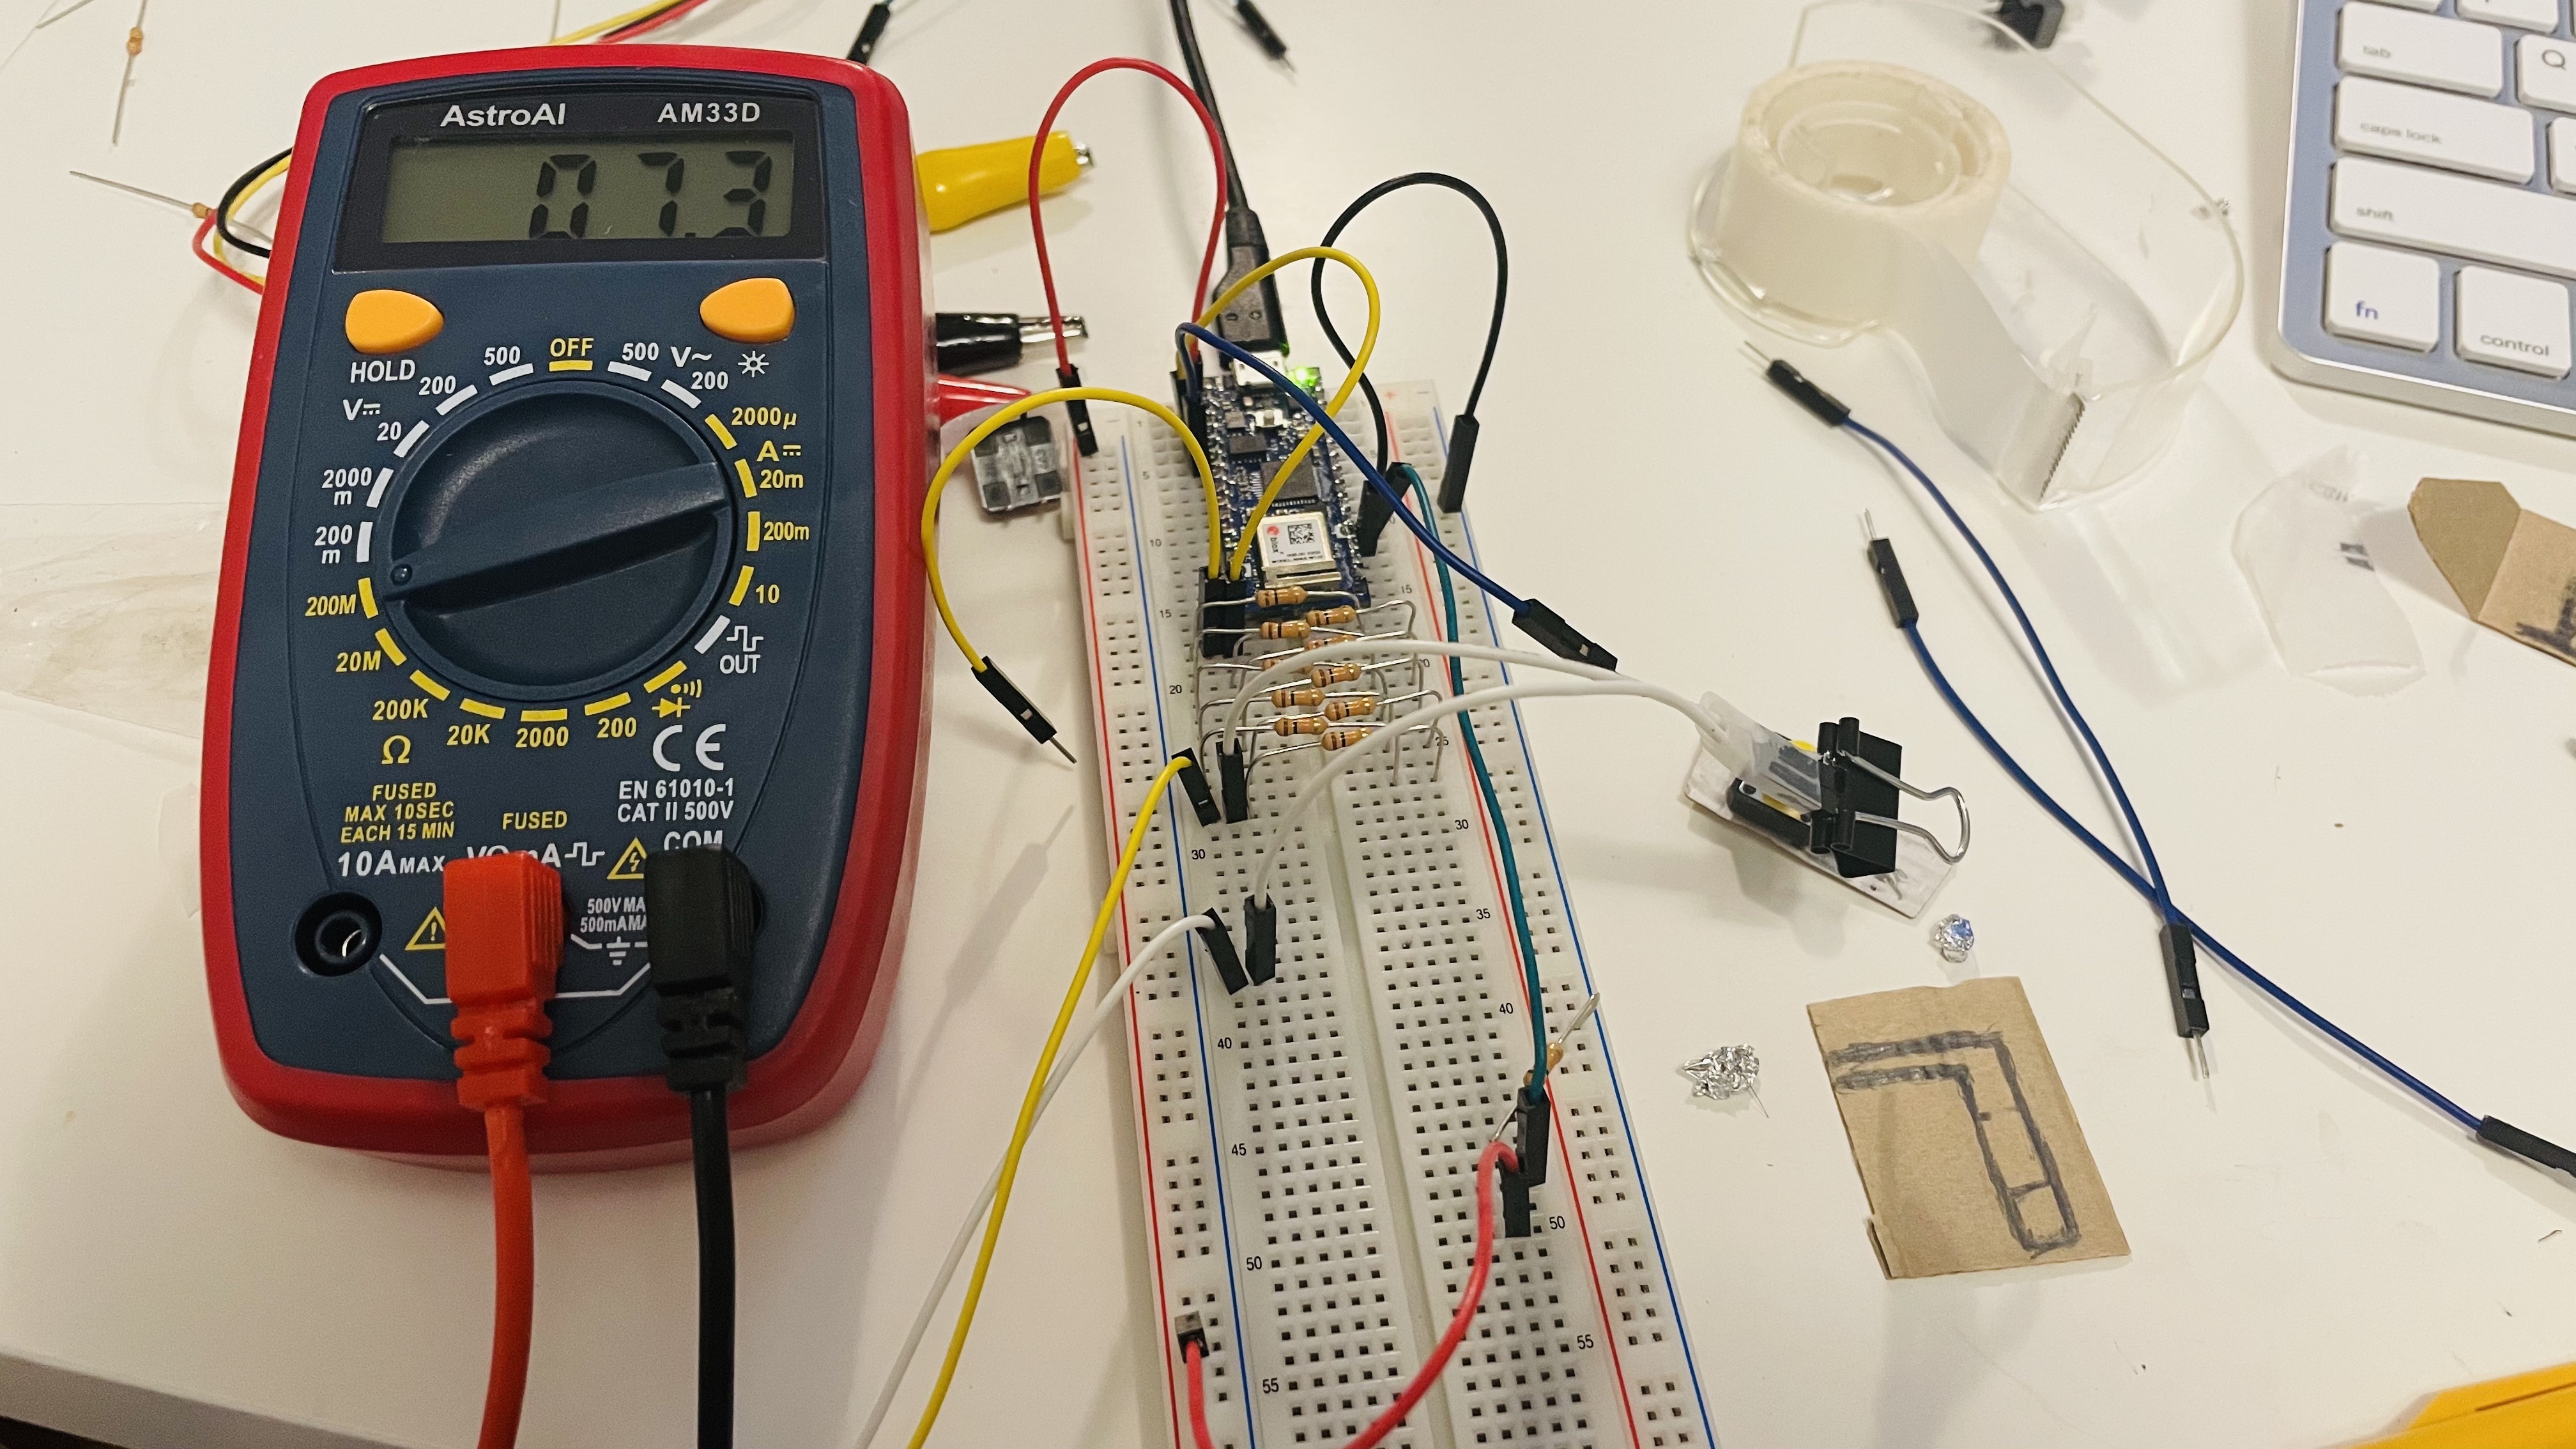
- I tried using a binder clip to fasten the pencil lead resistor to the wire, and accidentally discovered, to my surprise, that the resistance of the binder clip itself was perfect!
Pencil lead resistor.
Binder clip resistor.
Doing all of this took so much time. Here's a snapshot of the tabs I ended up with:
The true moral of the story is to order parts so that they arrive on time.
I never ended up figuring out if CapacitativeSensor worked; I ended up writing my own code based on the code I used to log the voltage.
The code quickly alternates the input voltage between 3V and 0V, and takes the average voltage reading for the next few loops. If a capacitor (me) is attached to the circuit, then voltage reading would be closer to the middle rather than the edges, as the capacitor would still be charging or discharging.
The sensing code wasn't perfect, and still registers phantom presses sometimes. Maybe I'll try using the CapacitiveSensor library at some point.
Here's the feedback I received in class:
- This project can be made easier to deploy. It can be made to better blend in better with the decor, or it can be made to be part of the decor.
- Normally we are "taken hostage" by how we interact with the computer, using only a mouse and computer, but this takes is in a new direction, letting us interact in a way that is more integrated into our lives.
A few people expressed that this is something they'd like to use themselves, commenting on the practicality:
- "This demo is amazing. I need this -please!!"
- "Want to set one up for me? So I don’t have to get up? Could really use this."
- "YES I want one as well. How much is it????? Let's get funding for it I’ll take two please, thank you."
- "I love this! I also want to pre-order."
Someone commented on the nature of the projects I've made for class so far:
- "The idea is super unique, I could see you are really into this direction of combining 2 different things (coding and daily life)"
Thank you for the support friends, I'll let you know when this is live on Kickstarter 🙃 (jk) (unless…?)