https://itp.nyu.edu/fab/cad/week-3/
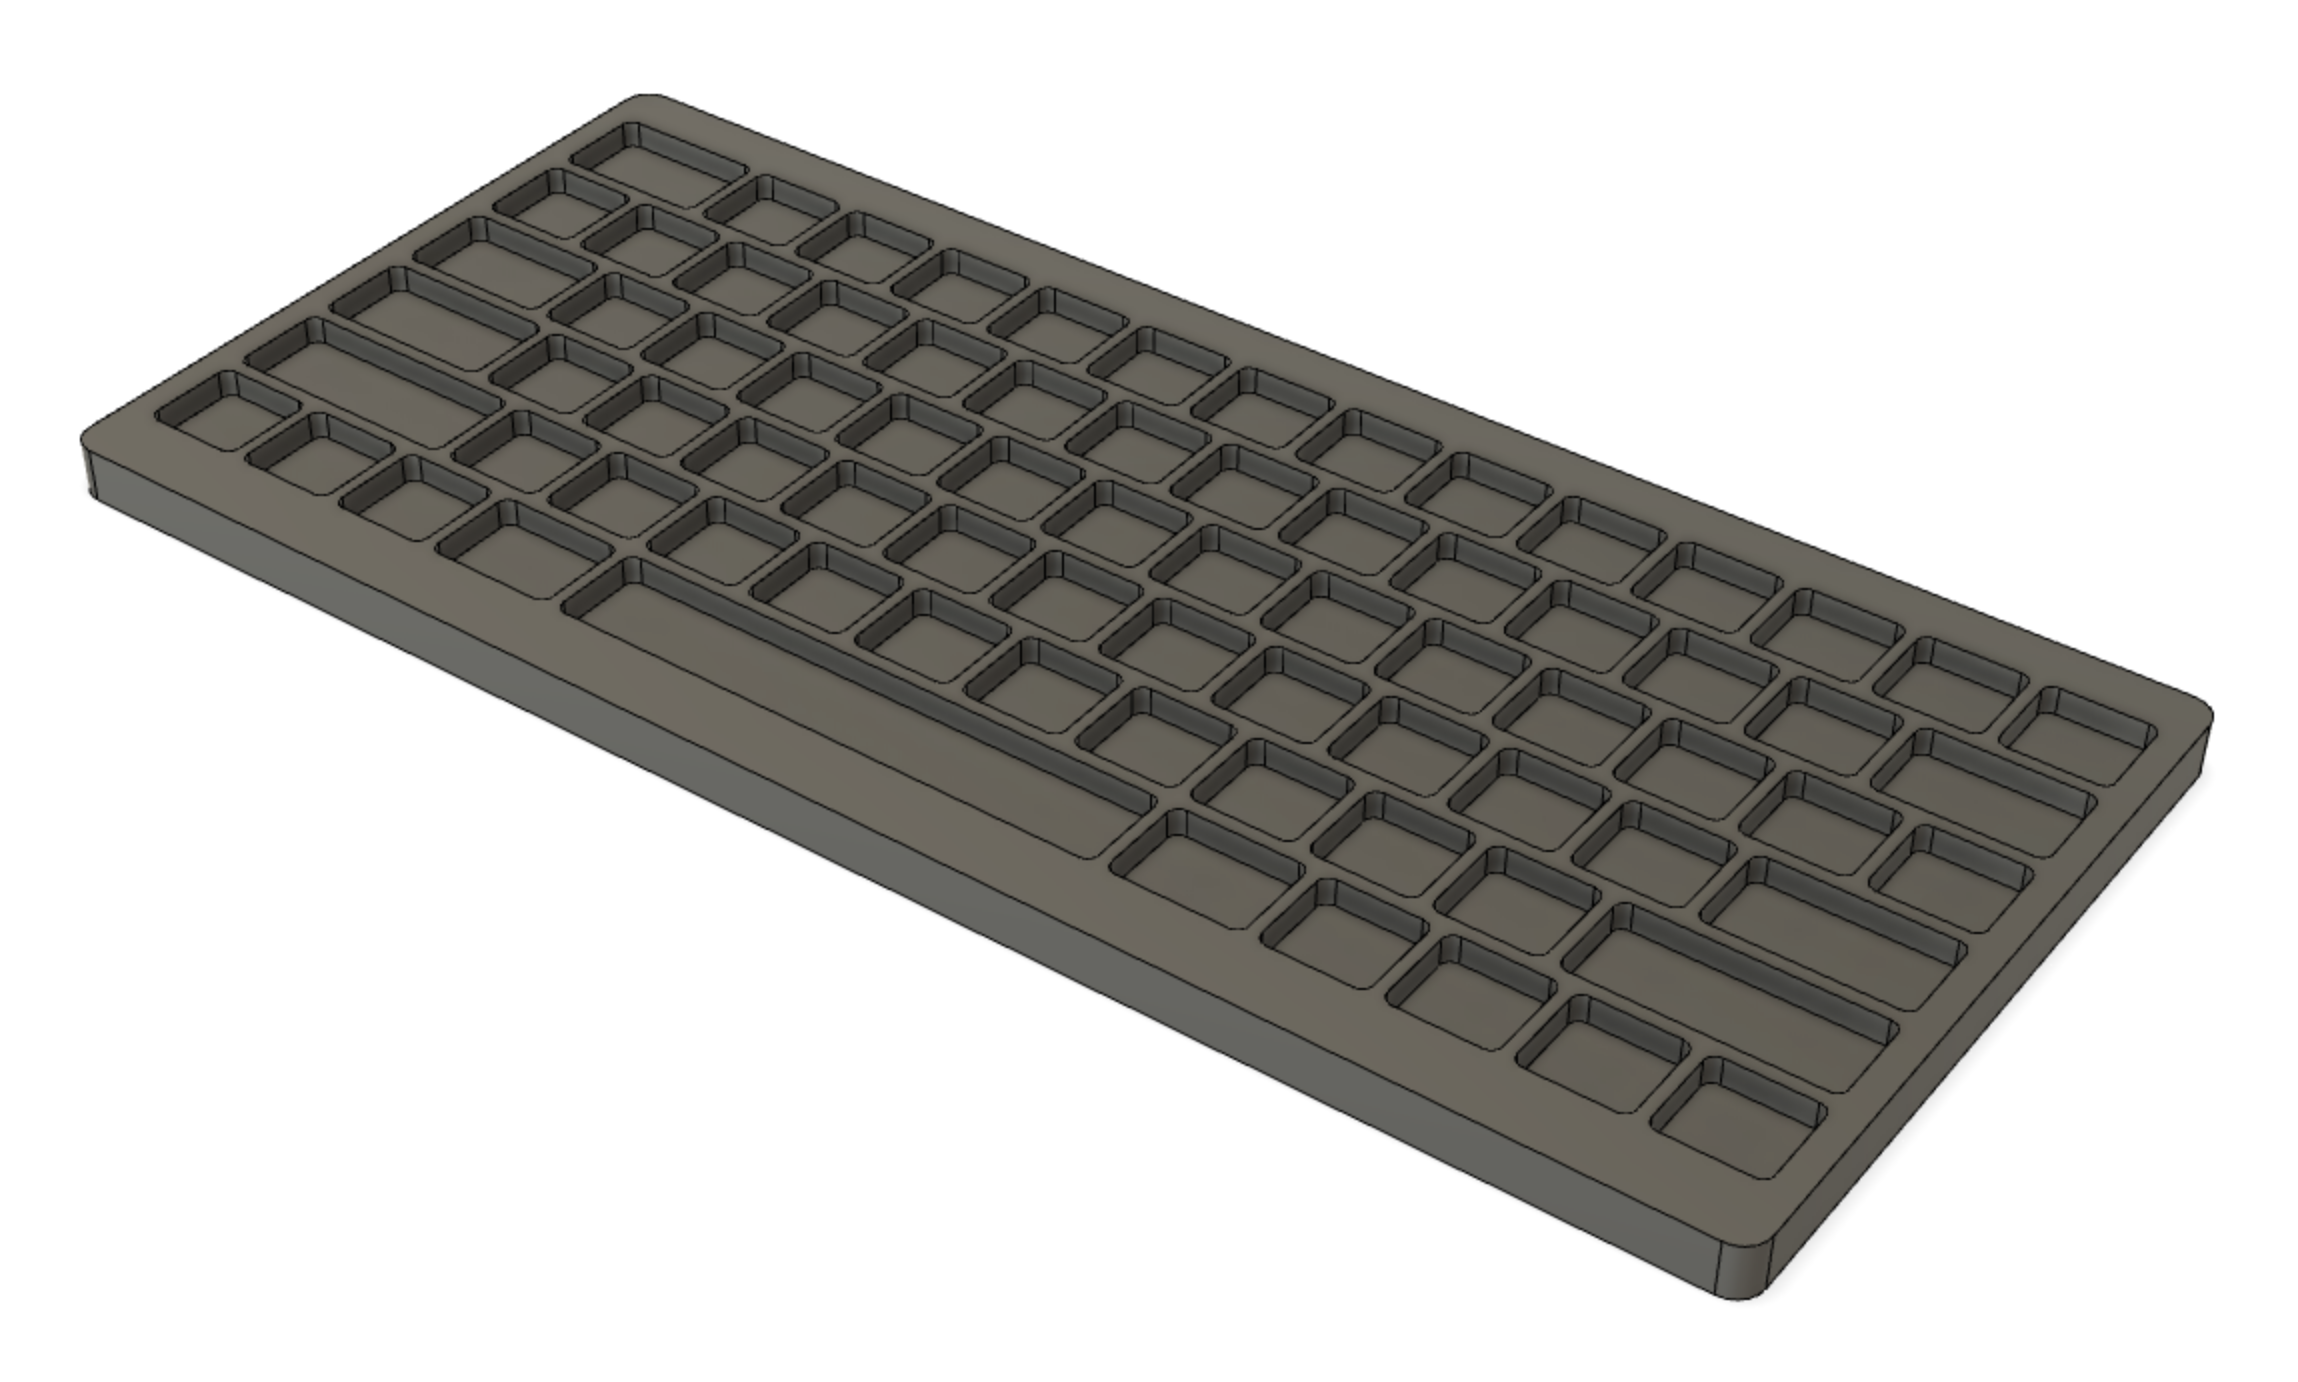
For my first object, I made a keyboard chassis. Why?
- I wanted to try out out SVG imports. I'm familiar with working with SVG, so I'm hoping that being familiar with the SVG → CAD process will allow me, for complex shapes, to lean on processes that I'm already with.
- I wanted to try out the Fillet tool.
- For my thesis, I want to make a custom, keyboard-like interface, so this was good practice in the same domain.
To make this object, I first found a vector graphic of a keyboard:

I tried importing the SVG directly into Fusion the resulting sketch was slow and complicated. There were a lot of lines I didn't need. I just needed the outlines of each of the keys.
I wasn't able to figure out how to remove the lines I didn't want en masse, and doing it manually would have taken forever. Luckily, I know how use JavaScript to manipulate SVGs, and after a minute of playing around with the SVG in Chrome DevTools, I was able to figure out how to remove everything except the key outlines:

JS code
for (let path of document.querySelectorAll(
  `#g843 path:not([style="fill:#40434a;fill-opacity:1;fill-rule:nonzero;stroke:none"])`
  //                      ^~~ the shapes I wanted to keep had this style ~~~~~~~~~^
)) {
  if (path.children.length === 0) path.remove();
}
The new, trimmed SVG imported fairly quickly. I was able to add a rectangle around it and use the Extrude tool to carve out some recessions for the keys. To make the shape look more polished, I added a fillet to the four vertical sides.
For my second object, I created a 3D model of a computer interface button. Why?
- I want to learn CAD because I want to use it to create things that haven't existed before, so I thought it would be good practice to create something that hadn't existed before as a 3D object or model.
- Computer user interfaces, especially older ones, are embrace skeuomorphism in order to convey a mental model to the user. They tend to be not inconsistent with a physical form, if not outright suggesting one. This is also not the first time I've 3D-ified a user interface.
- At the outset, I had no idea how I would create this shape. Would I use some kind of "rectangular revolve" tool? I had no clue how to start, and I would be a good challenge.
- The resulting model could be fun to 3D print, without wasting too much material.
I decided to use the primary button from Mac OS 9 UI, because of its heavy skeuomorphism, simple lines, and iconic look. Here's a screenshot I found off the Internet:
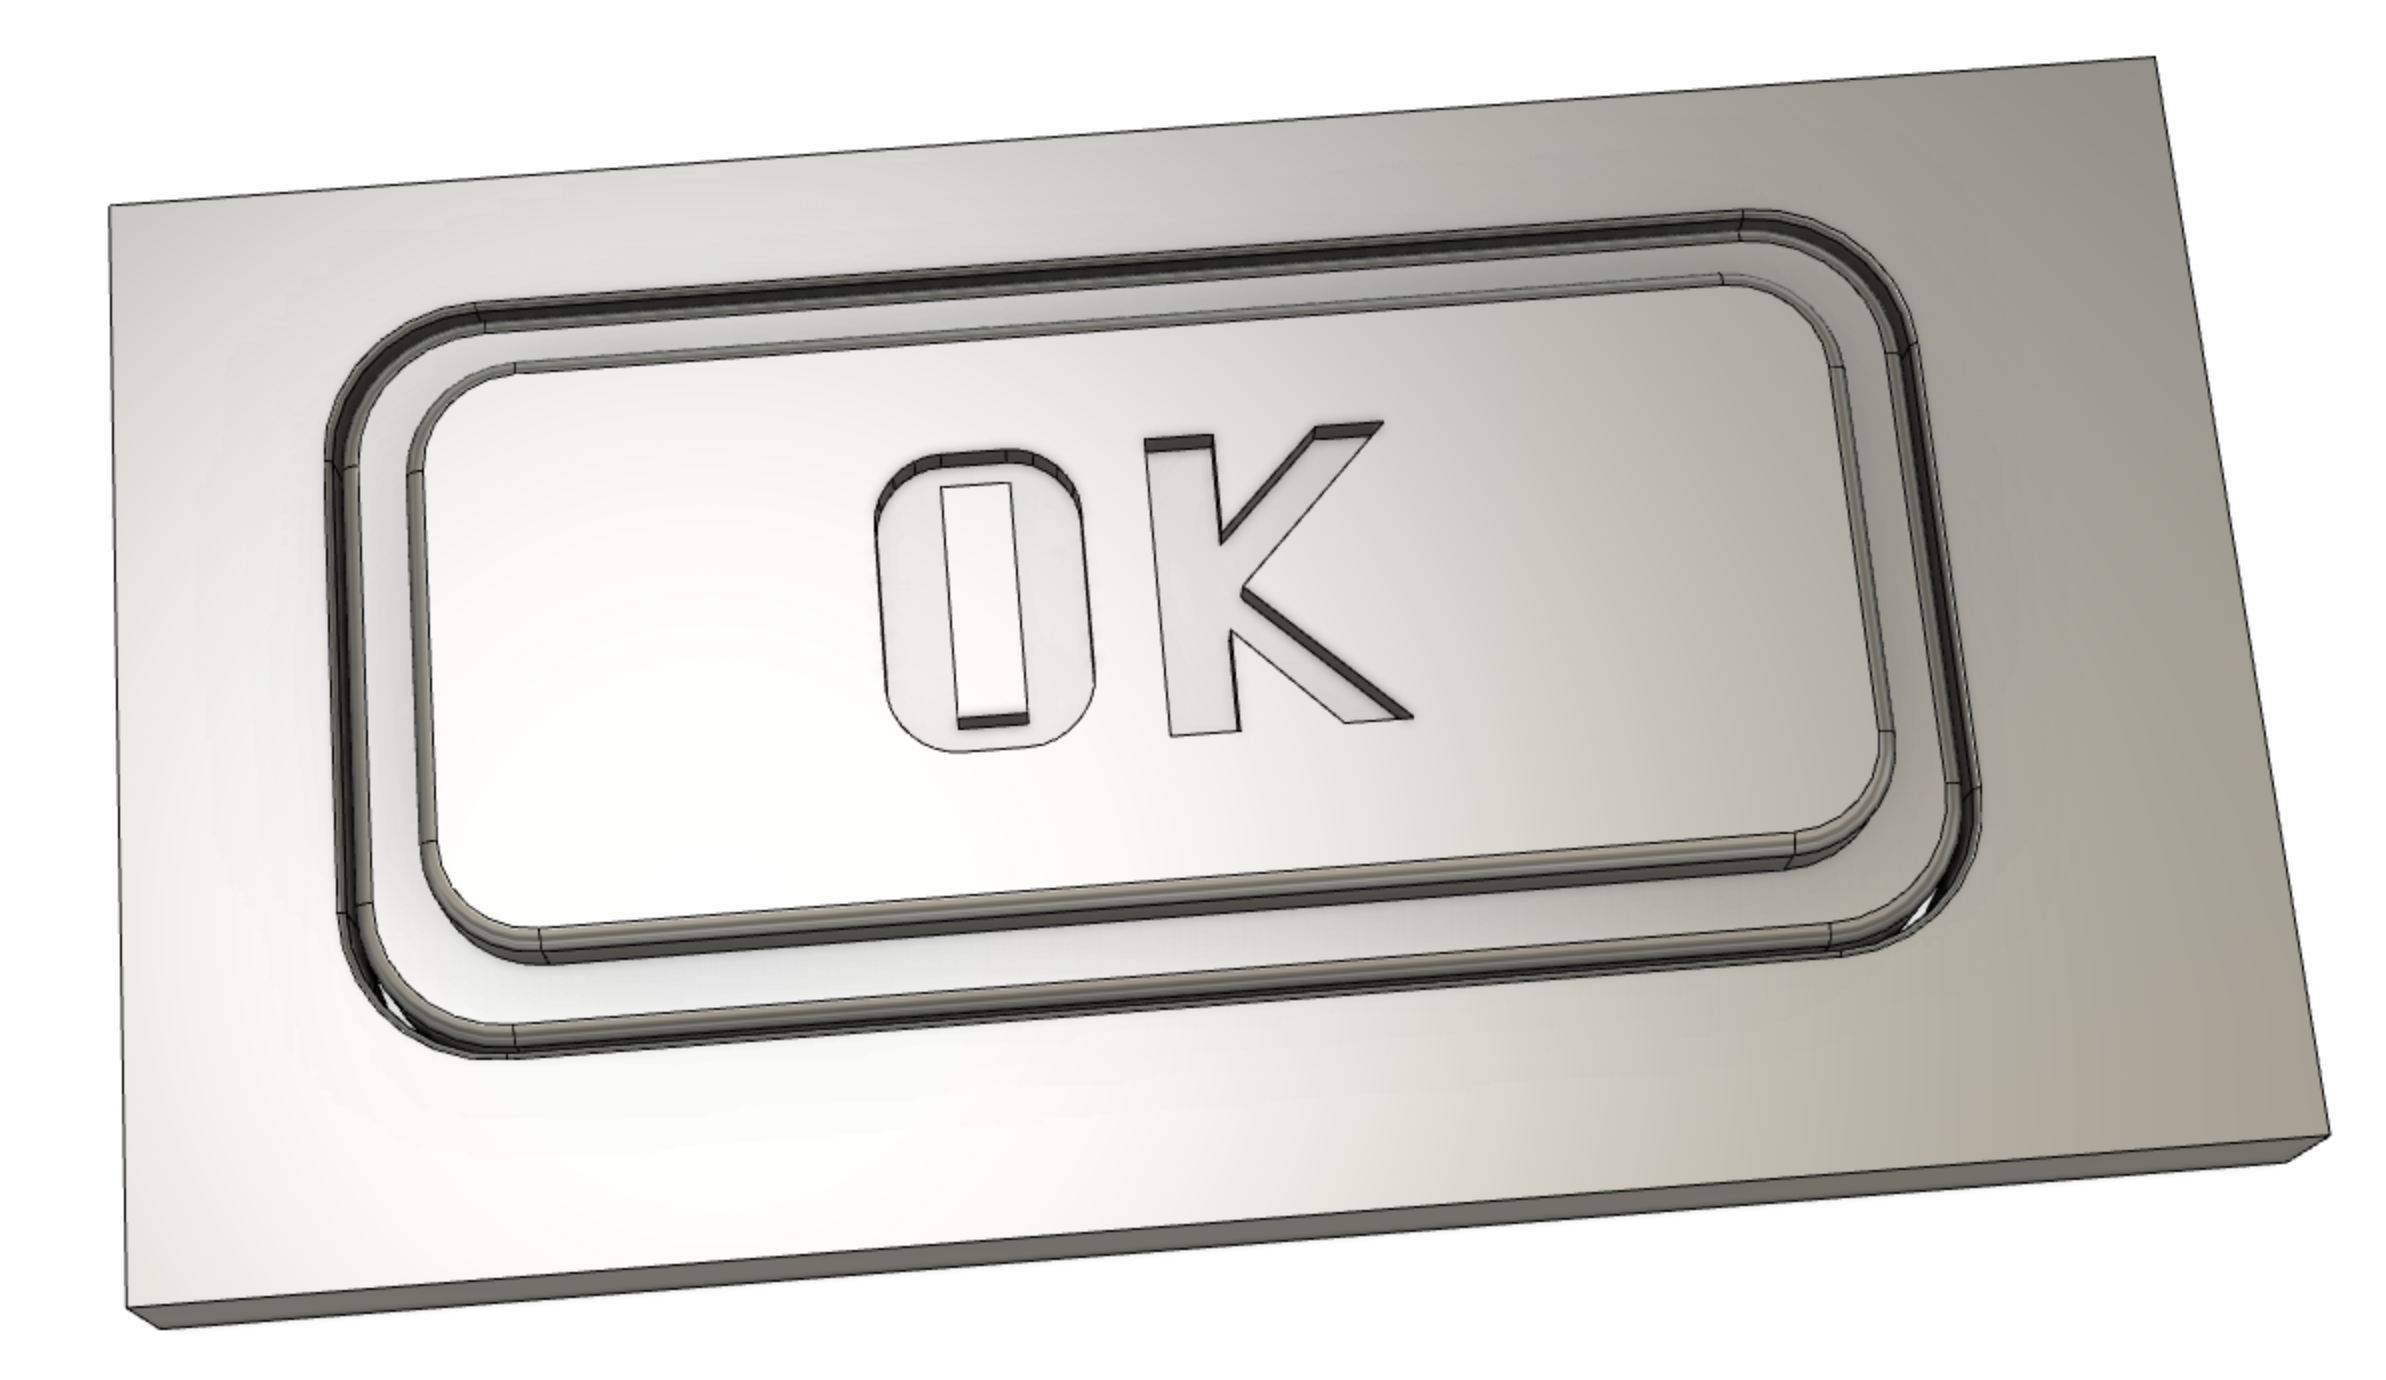
As mentioned above, I was stuck figuring out how to make create the shape for a while. After a bit of thinking, I realized that I could start with a rectangle and maybe use the Fillet tool aggressively to create curves that rounded in multiple dimensions.
Amazingly, the tool worked exactly as I had hoped! The only thing I didn't anticipate was I needed to round out the outer edges more than the inner edges, so I had to go back and change that.
Time for the text. I figured out that the Mac OS Classic font was Chicago, and I found a lookalike font that I could experiment with. I used Inkscape to convert the text to a SVG path and used the Extrude tool to carve it out of the top face of the button.
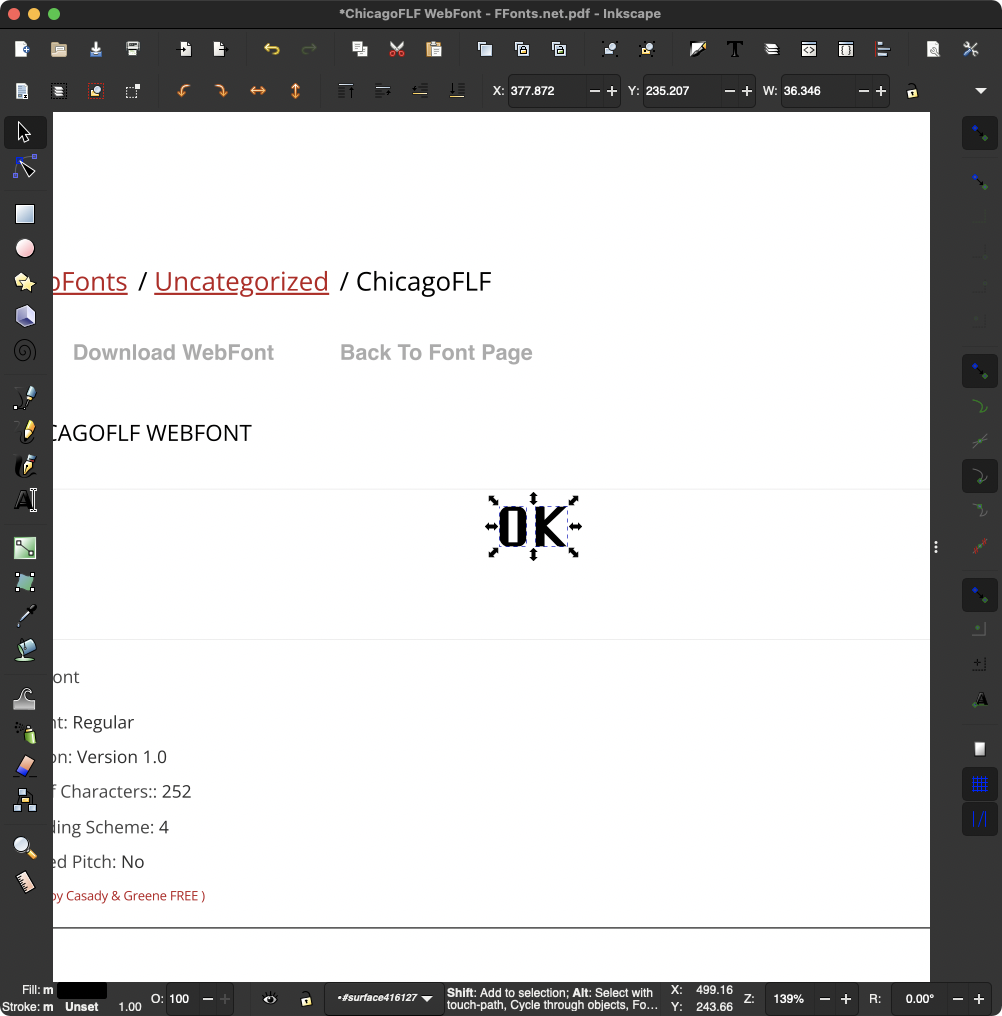
I ran into one issue consistently through this week's homework, but it especially sucked here: I can't seem to move imported SVG sketches in space after the import. I had to import the "OK" shape multiple times until I felt like I got it centered enough.
Finished product:
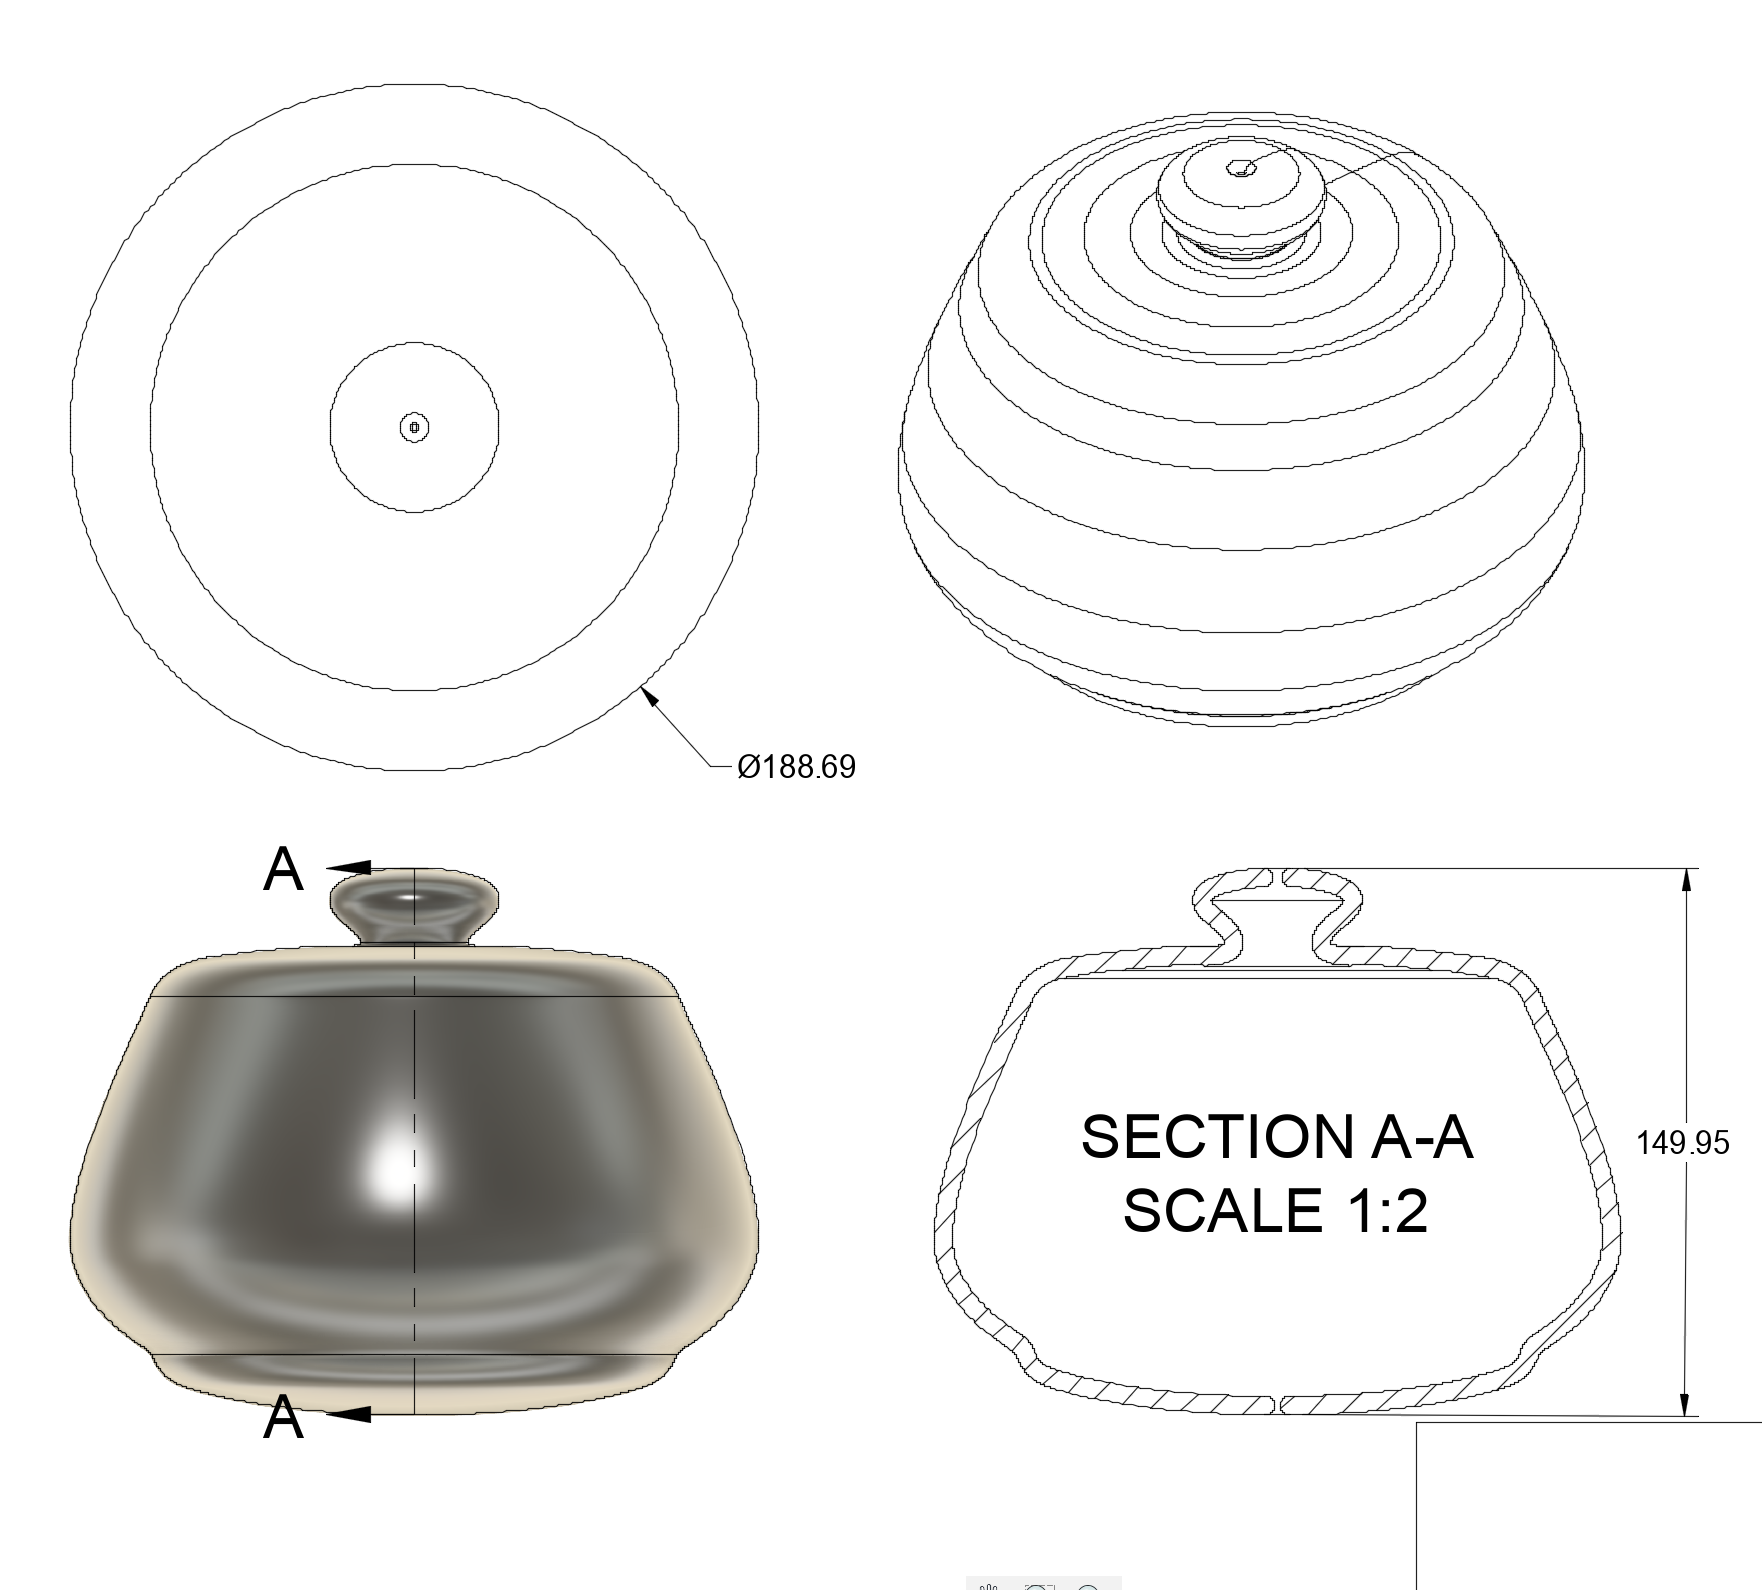
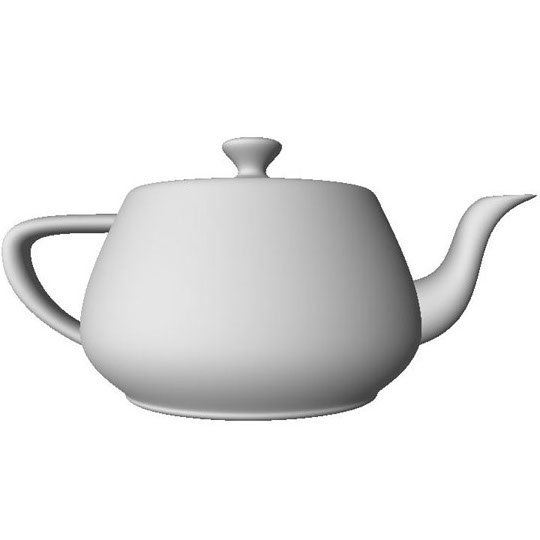
For my last object, I tried my best to recreate the Utah Teapot. Why?
- The Teapot is a ubiquitous reference object in computer graphics, so why not?
- I knew I was definitely going to use the revolve tool, which I hadn't used yet.
- This is an object with well-known dimensions, so it would be a good candidate for a drawing.
- I wanted to make something just a little harder than what I was able to do.
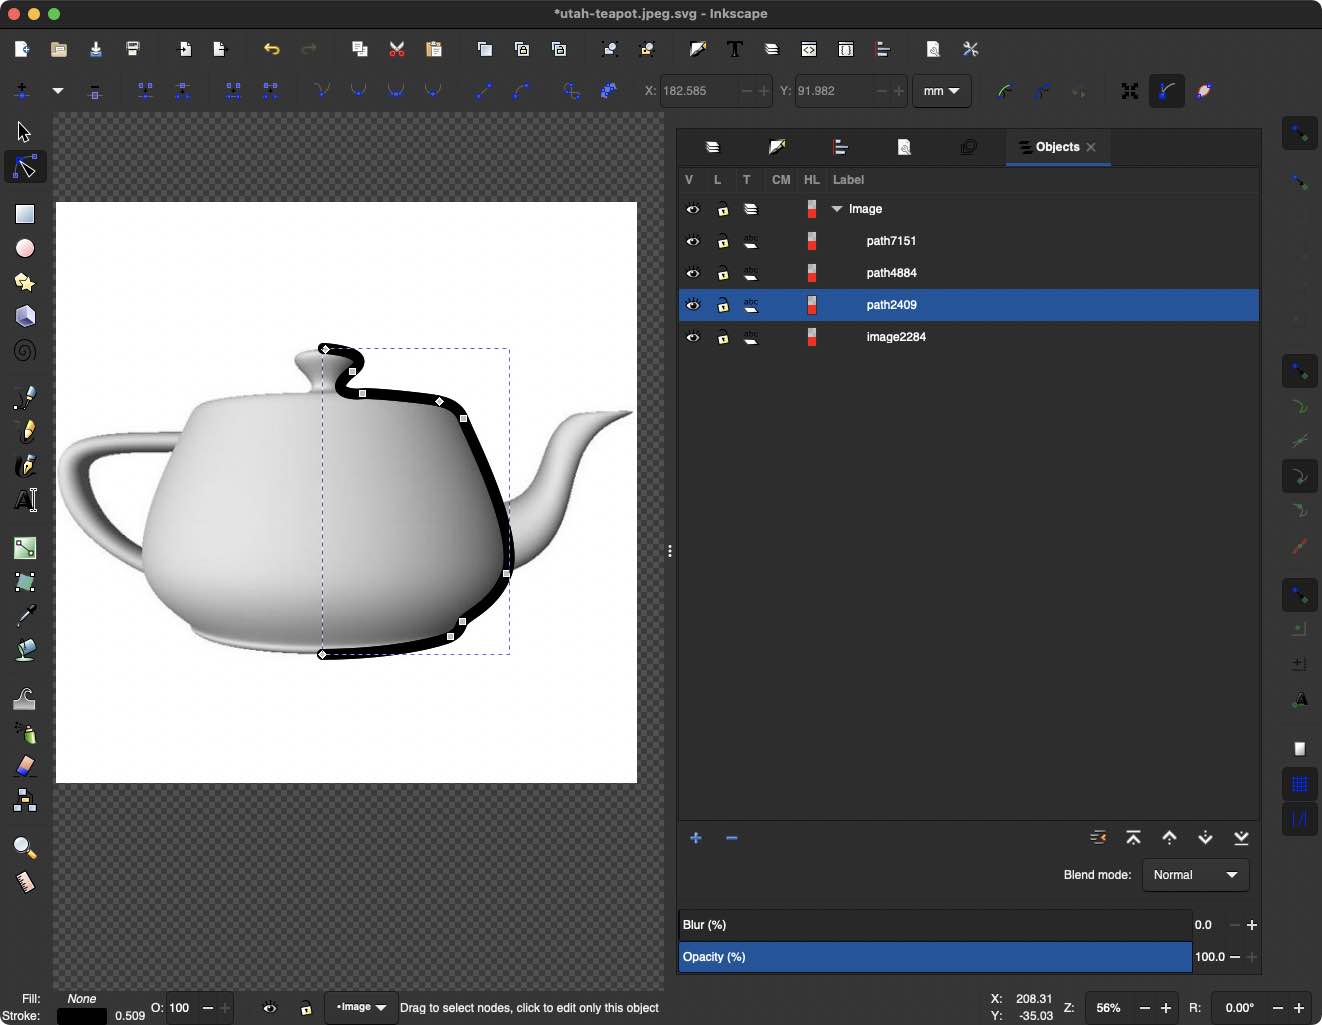
I found an image of a side profile of the teapot [source], and traced in in Inkscape.

Then I exported the line out, and I couldn't use the revolve tool on it. I think it was because the revolve tool is for revolving areas into solids, not revolving lines into surfaces. I'm sure there's a way to get Fusion to do it, but I couldn't figure out how. So I went back to Inkscape, made the stroke path thicker, and outlined the stroke. I was successfully able to revolve that:
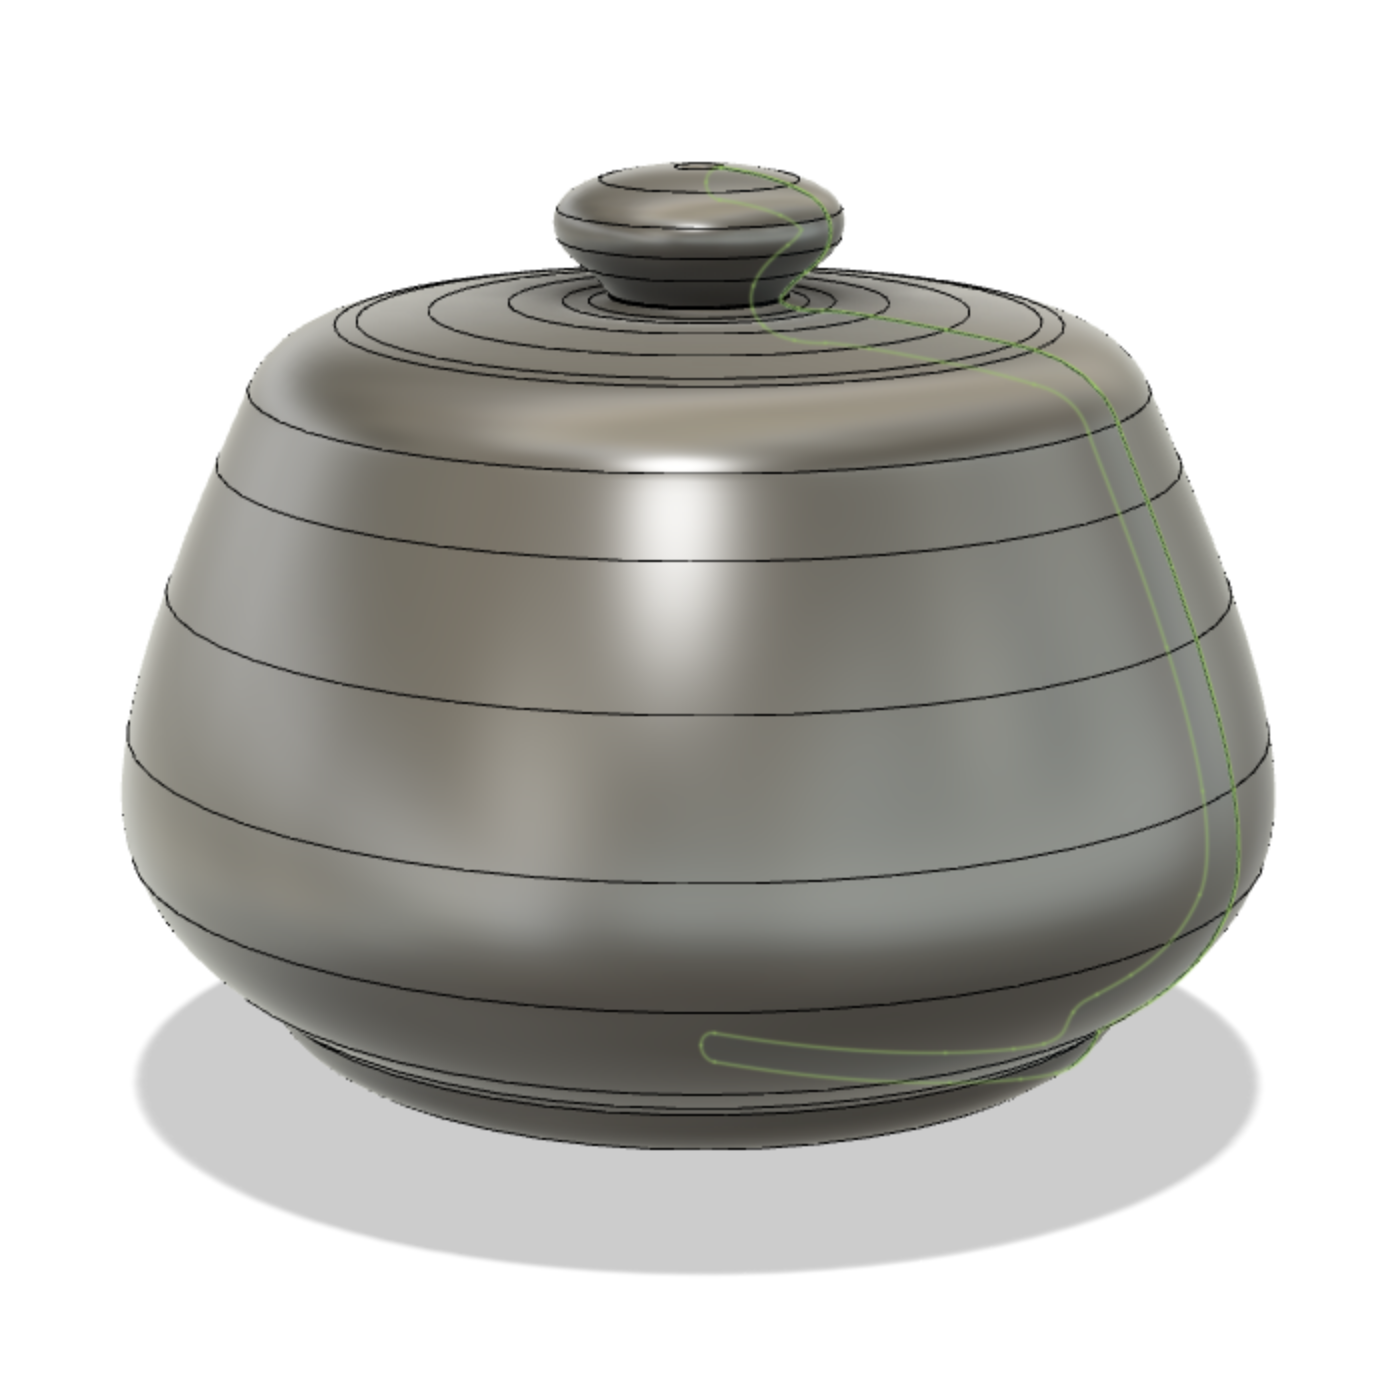
Note that the SVG path that is being revolved is visible in green.
This is about as far as I got. I ran into two unresolved (unrevovled?) issues:
- I was only able to figure out how to create the body and lid of the teapot. The handle and spout look like they require more advanced tools than those I've learned.
- There is a tiny hole at the top and bottom of the shape. Bringing the area to be touching the axis of revolution resulted in the following error -- "The profile crosses the revolve axis" -- even though I was hoping Fusion would be smart and just ignore the overhang.
Given that this is about as good as it was going to get, I moved on to the drawing.
At this point I realized that I hadn't been keeping track of what dimensions I was making everything. But also I didn't know what dimensions the teapot should have. So I looked it up.
I found that the easiest way for my to adjust the size of the model was to resize the SVG and run Revolve again. Maybe one day I'll be more familiar with how to scale objects directly in Fusion.
Finished drawing: