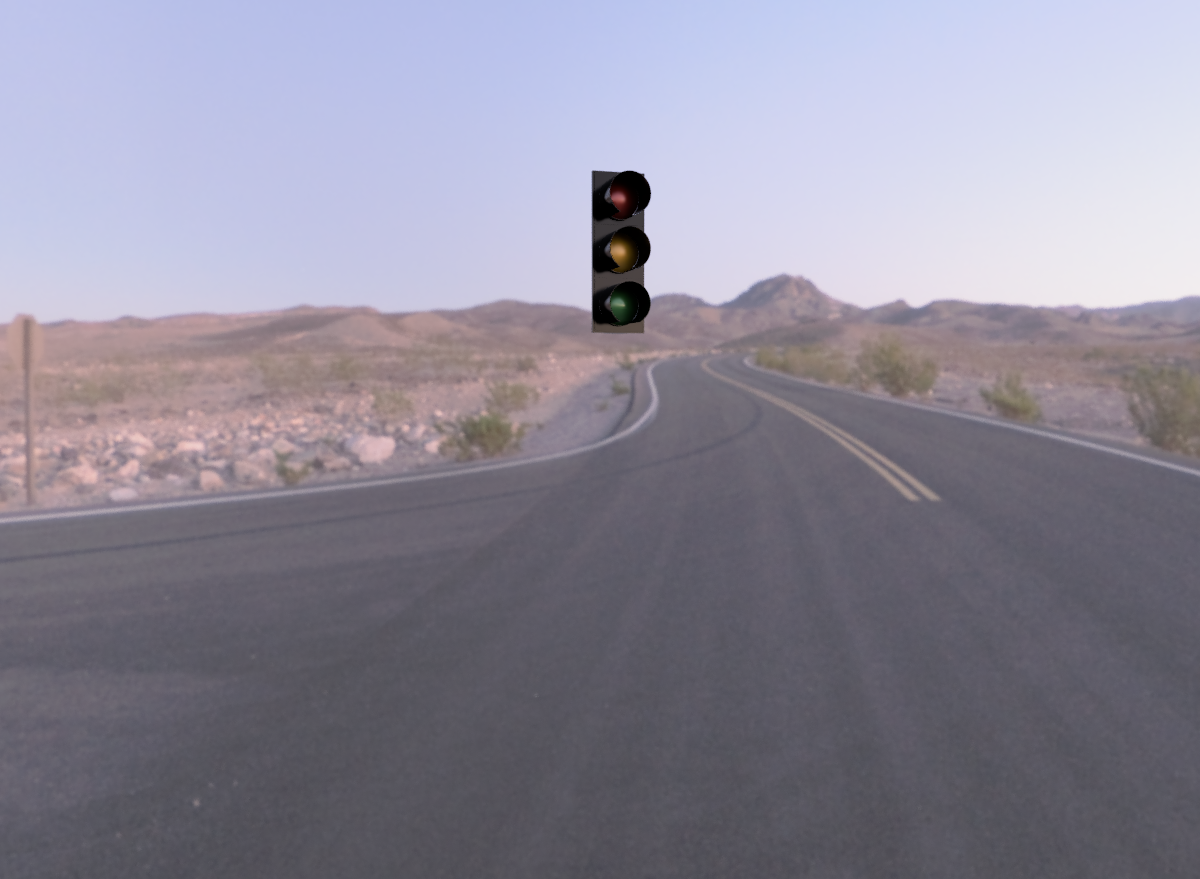
See Week 10 for part 1 and Week 11 for part 2.
Time to render the the traffic light!
Selecting the material for the light covers:
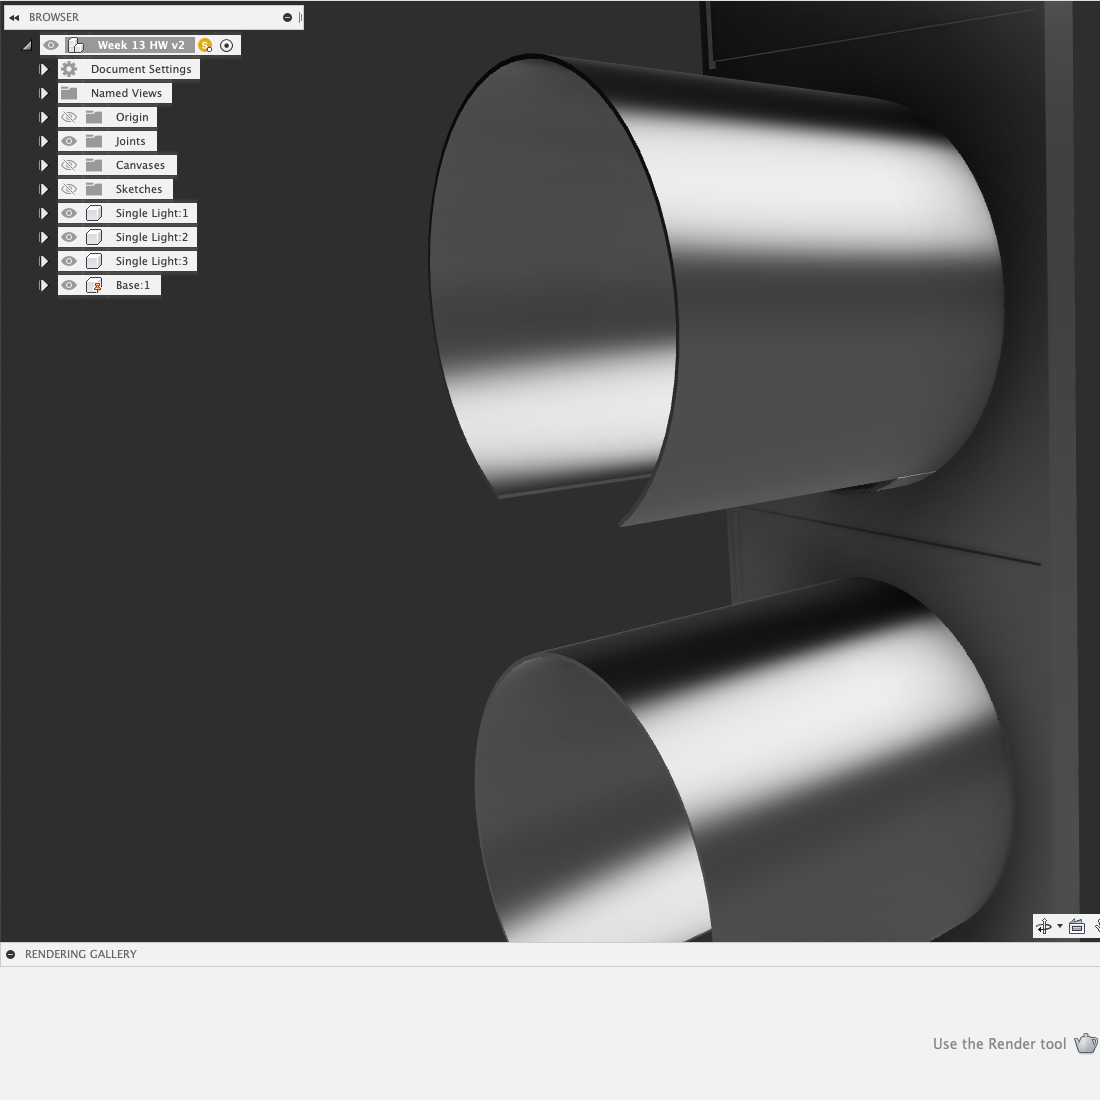
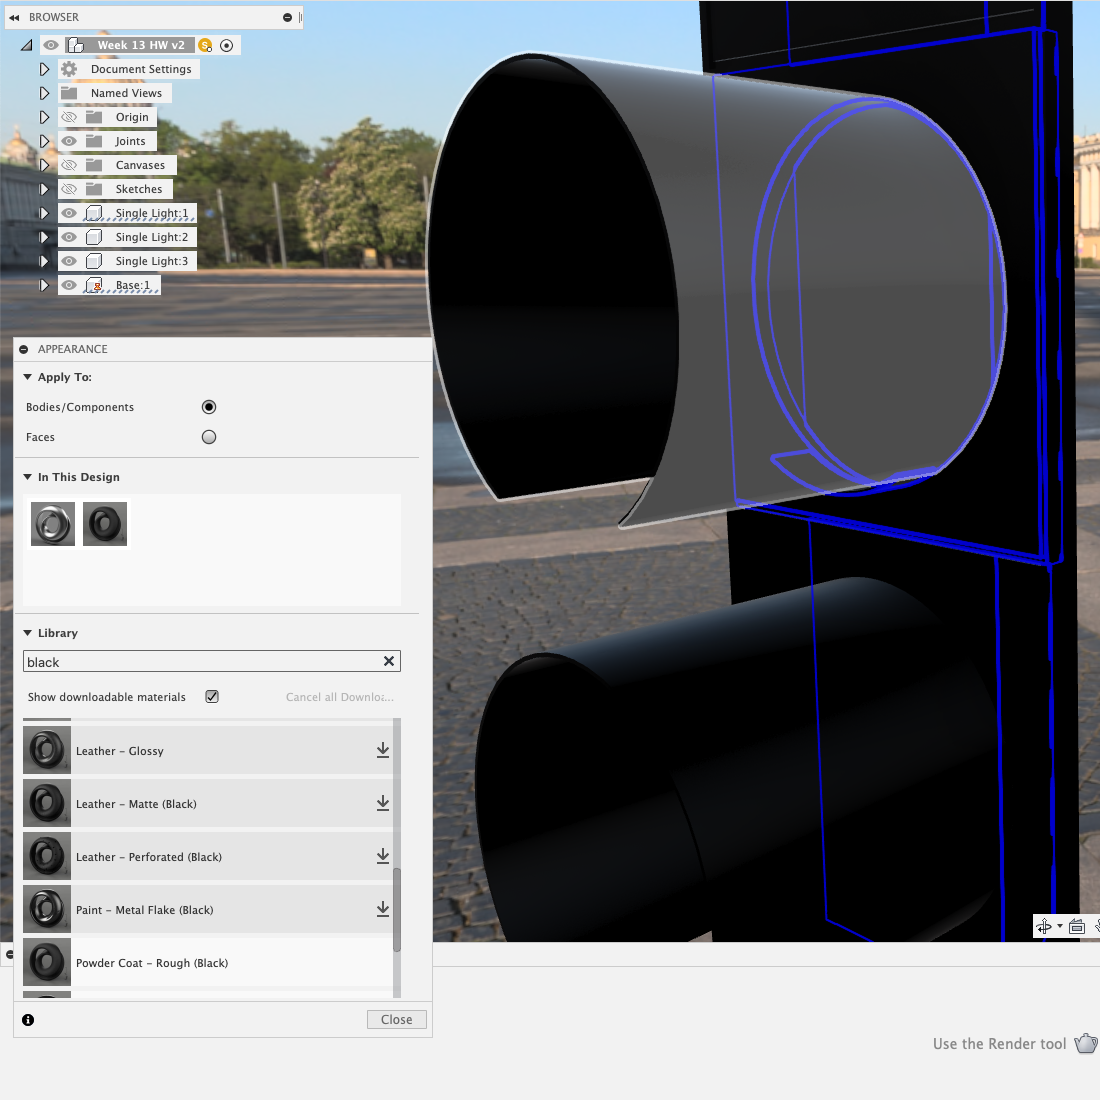
Then I turned on the environment. A highway environment seems appropriate for this.
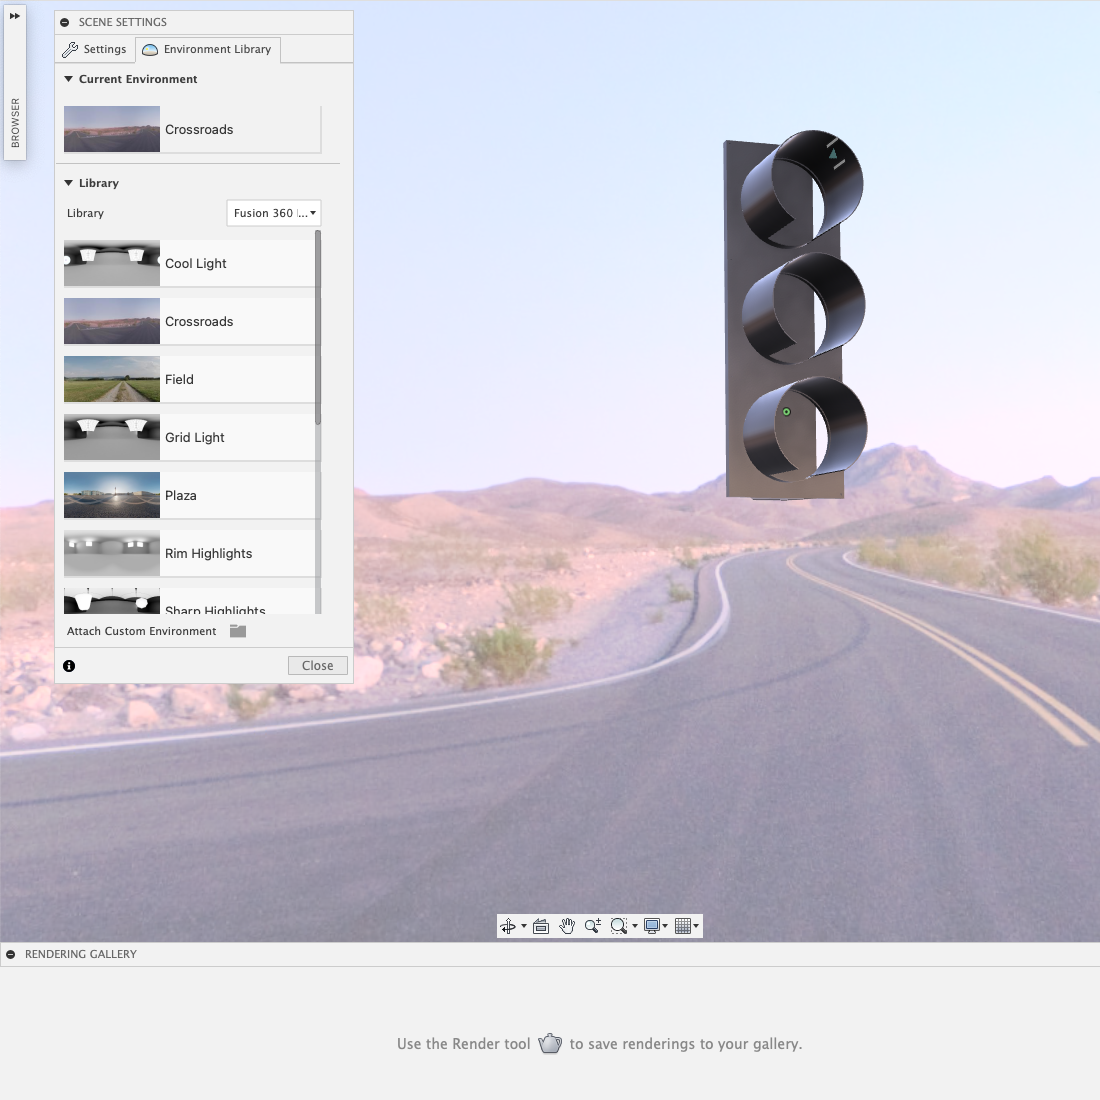
This looks pretty good, except the lights are still missing.
To create the colored part of the light, I created a sphere, and split it across a plane..
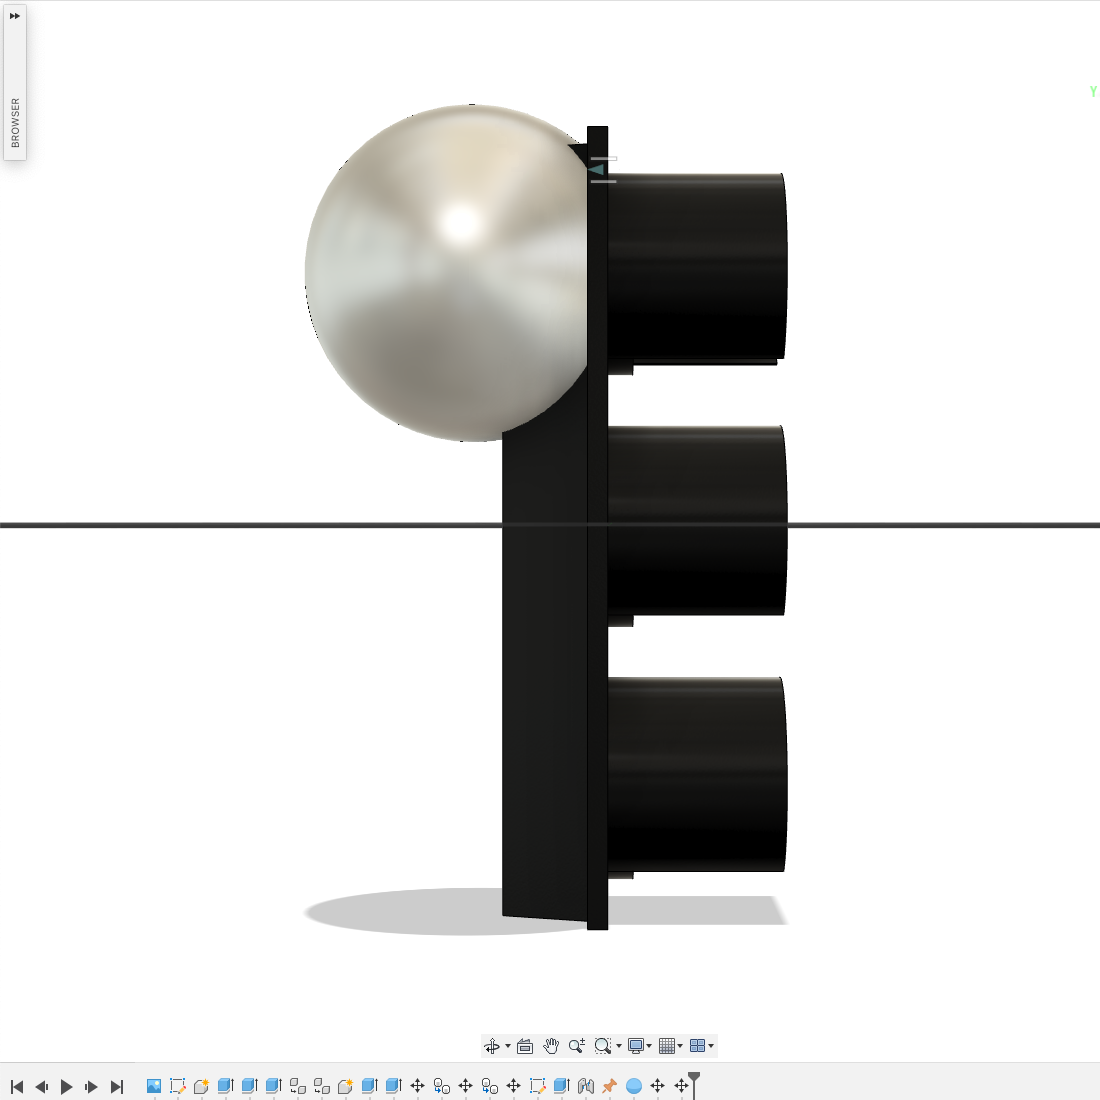
I chose an appropriate material for the light. Out of the built-in materials, "red glass" and "red acrylic" seemed closest to what the real-life would be. However, it seemed to be only a good representation of a light switched off. I chose a very different material simulate a light switched on.
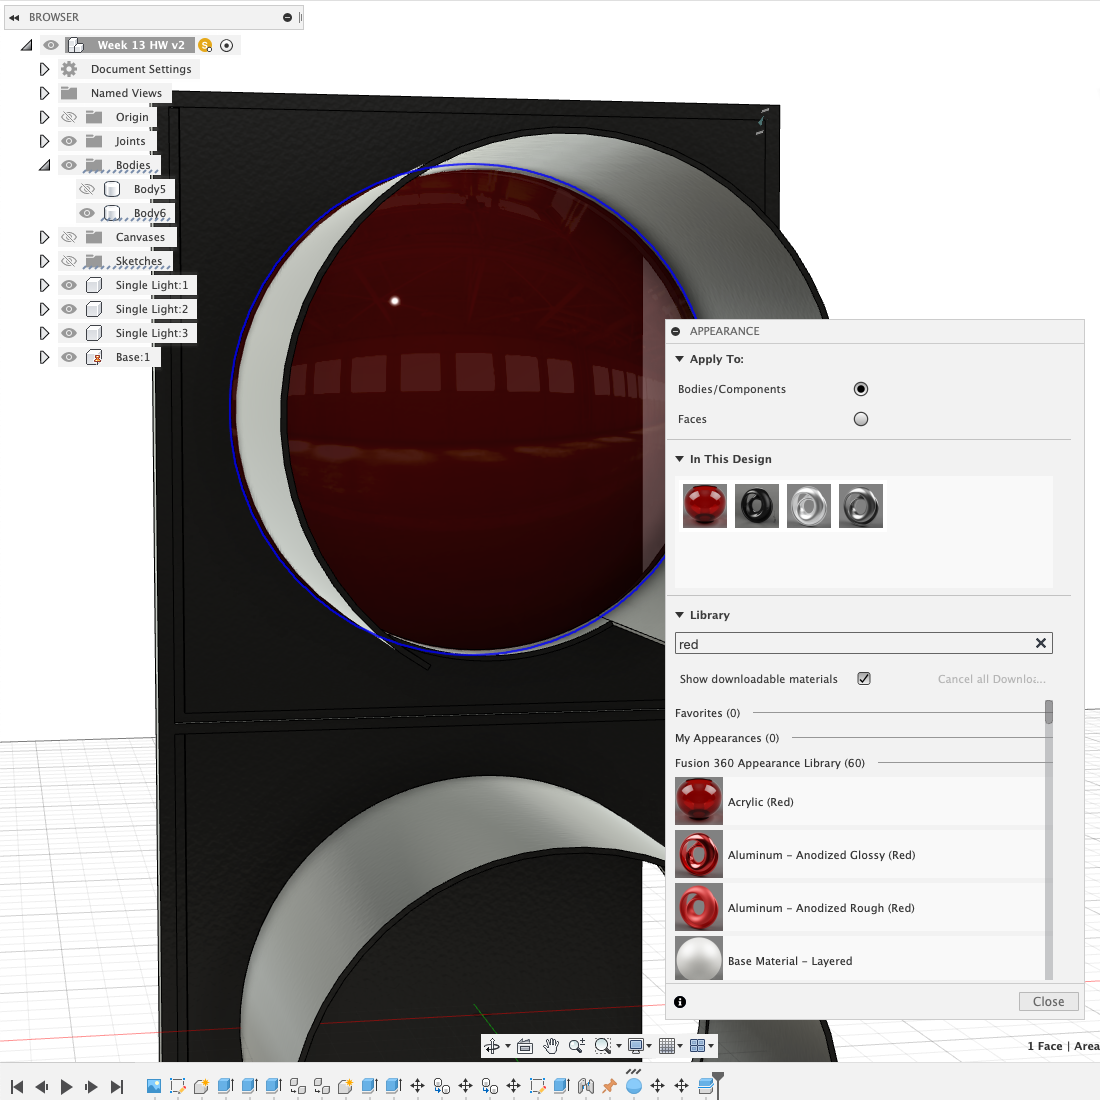
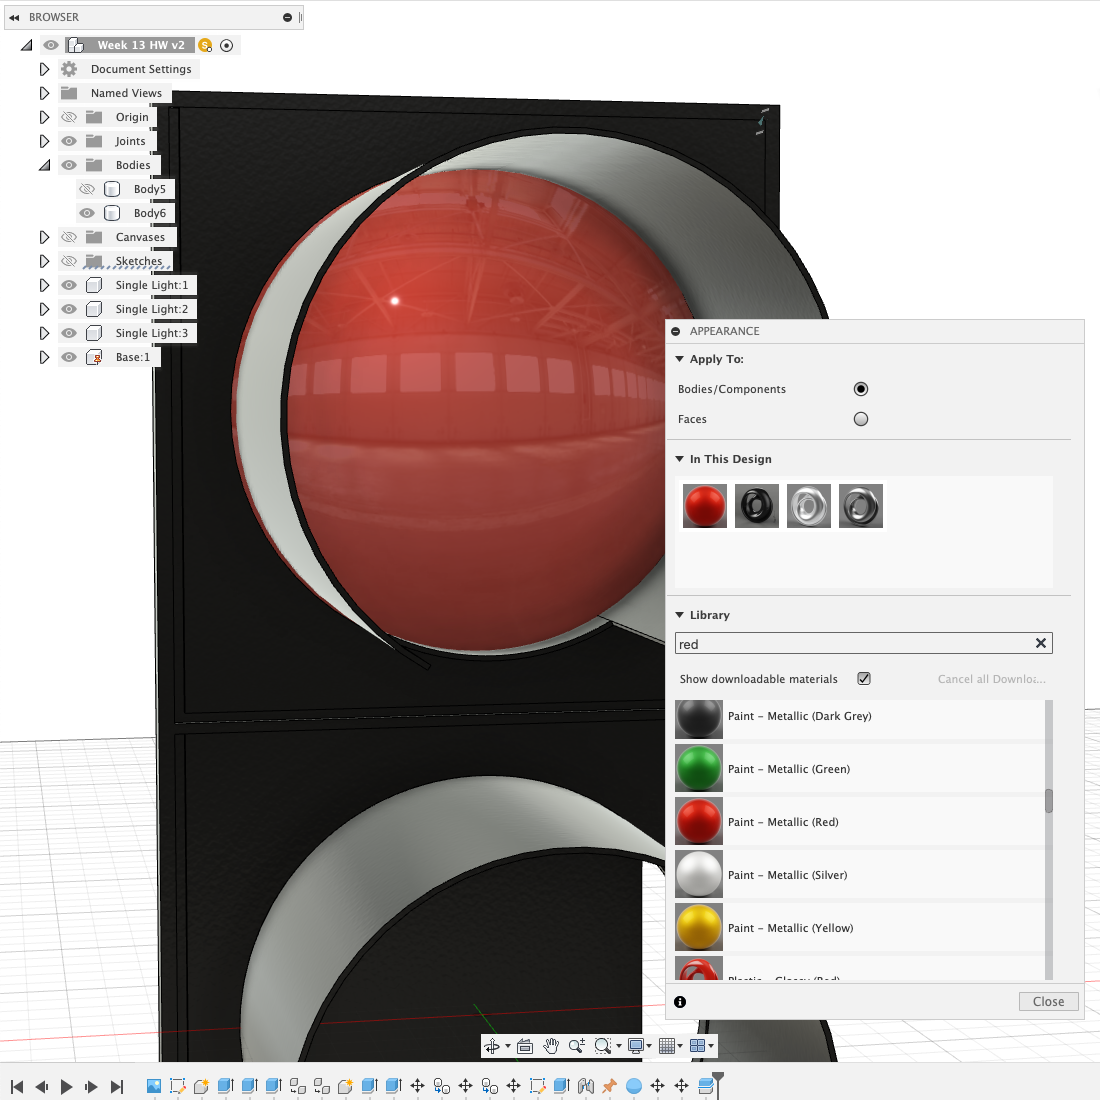
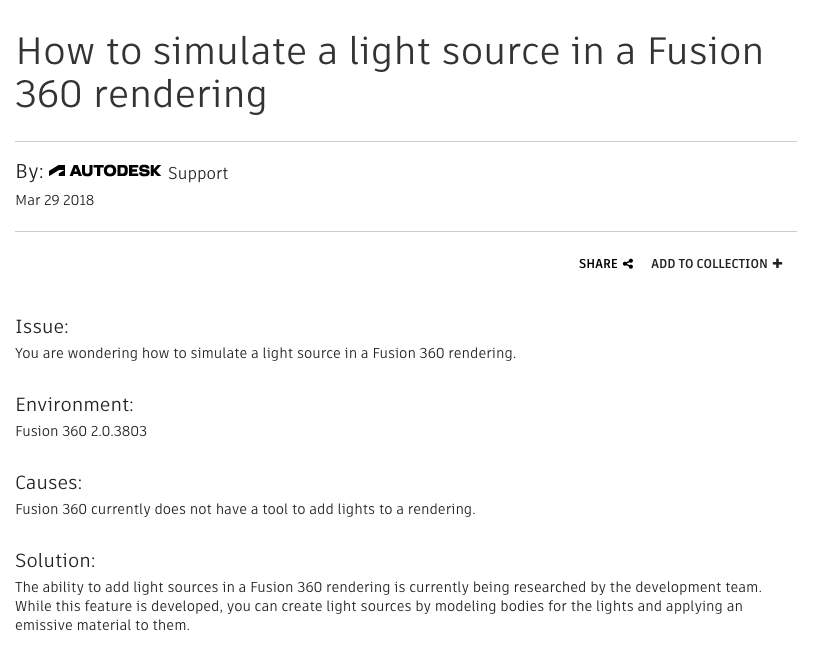
Ideally, I would keep the same material, and add a light source behind it, but it seems like Fusion doesn't support adding light sources.
I then moved it into a component and copied it twice. I ran into a problem -- the copies' appearances were linked. When I changed the appearance of the yellow light, all the other lights would turn yellow as well.
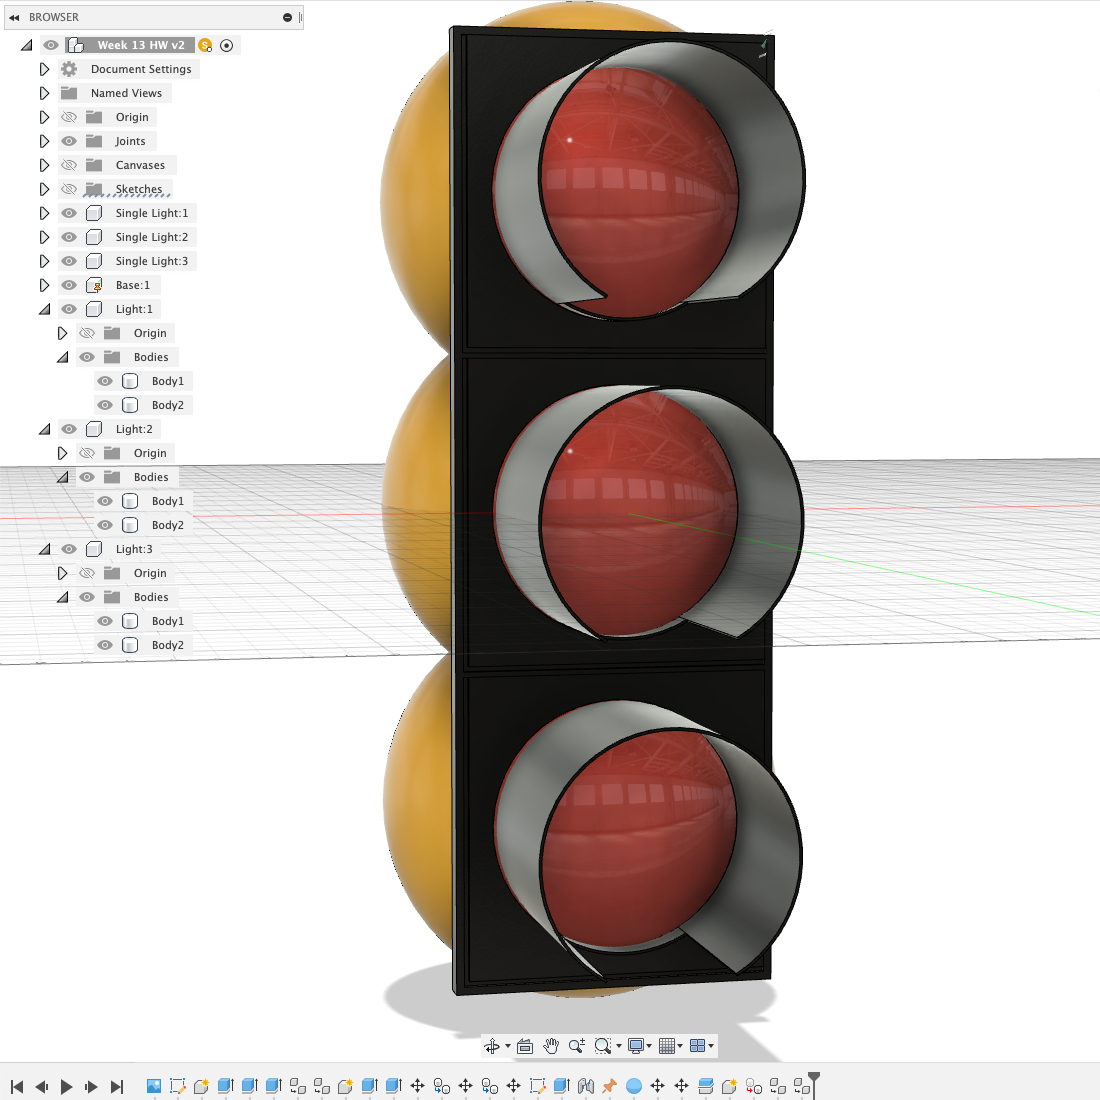
This took a while to figure out. A solution was to copy the component and use the "Paste as New" command, rather than the "Move/Copy" command. The final model has six light
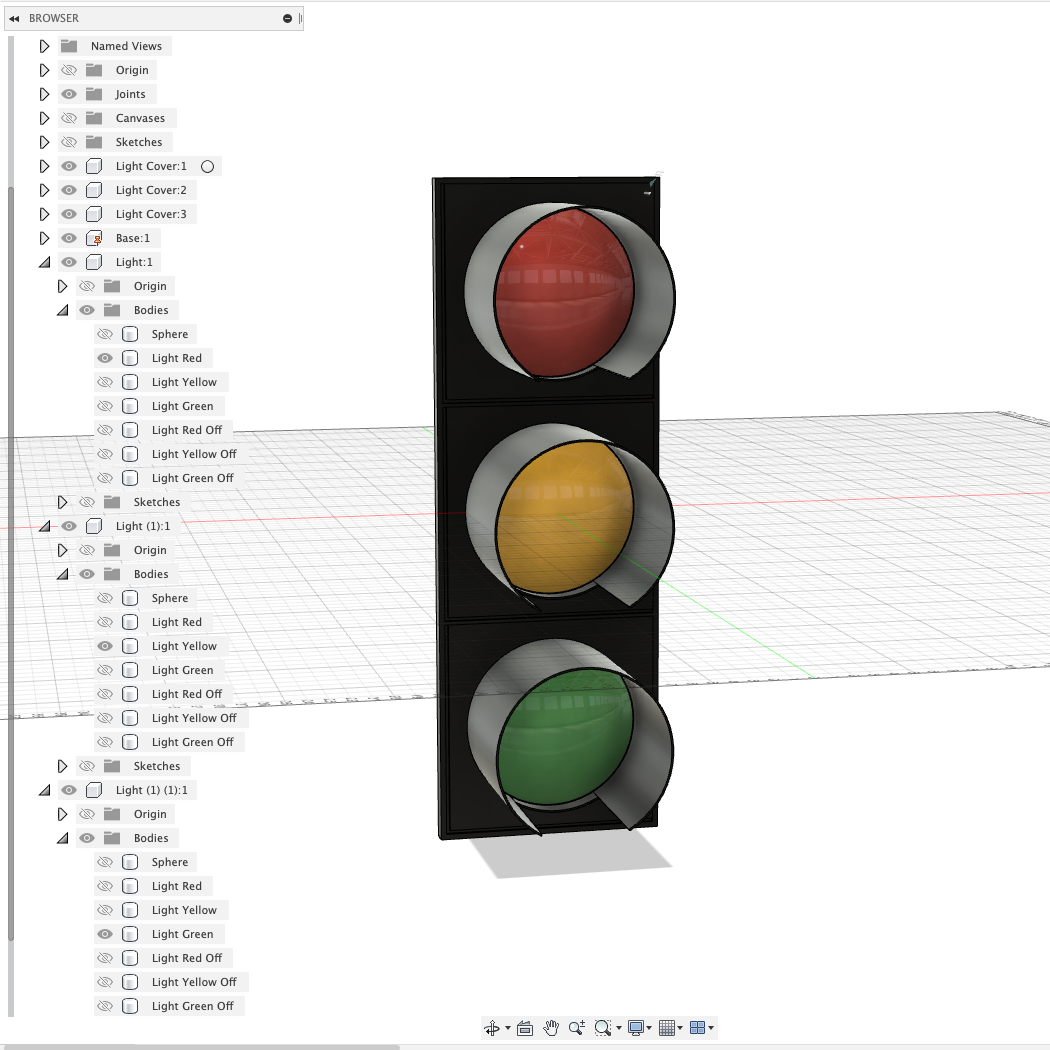
I created an animation that simulated the light cycle:
I also created a final rendering with the final model:
